
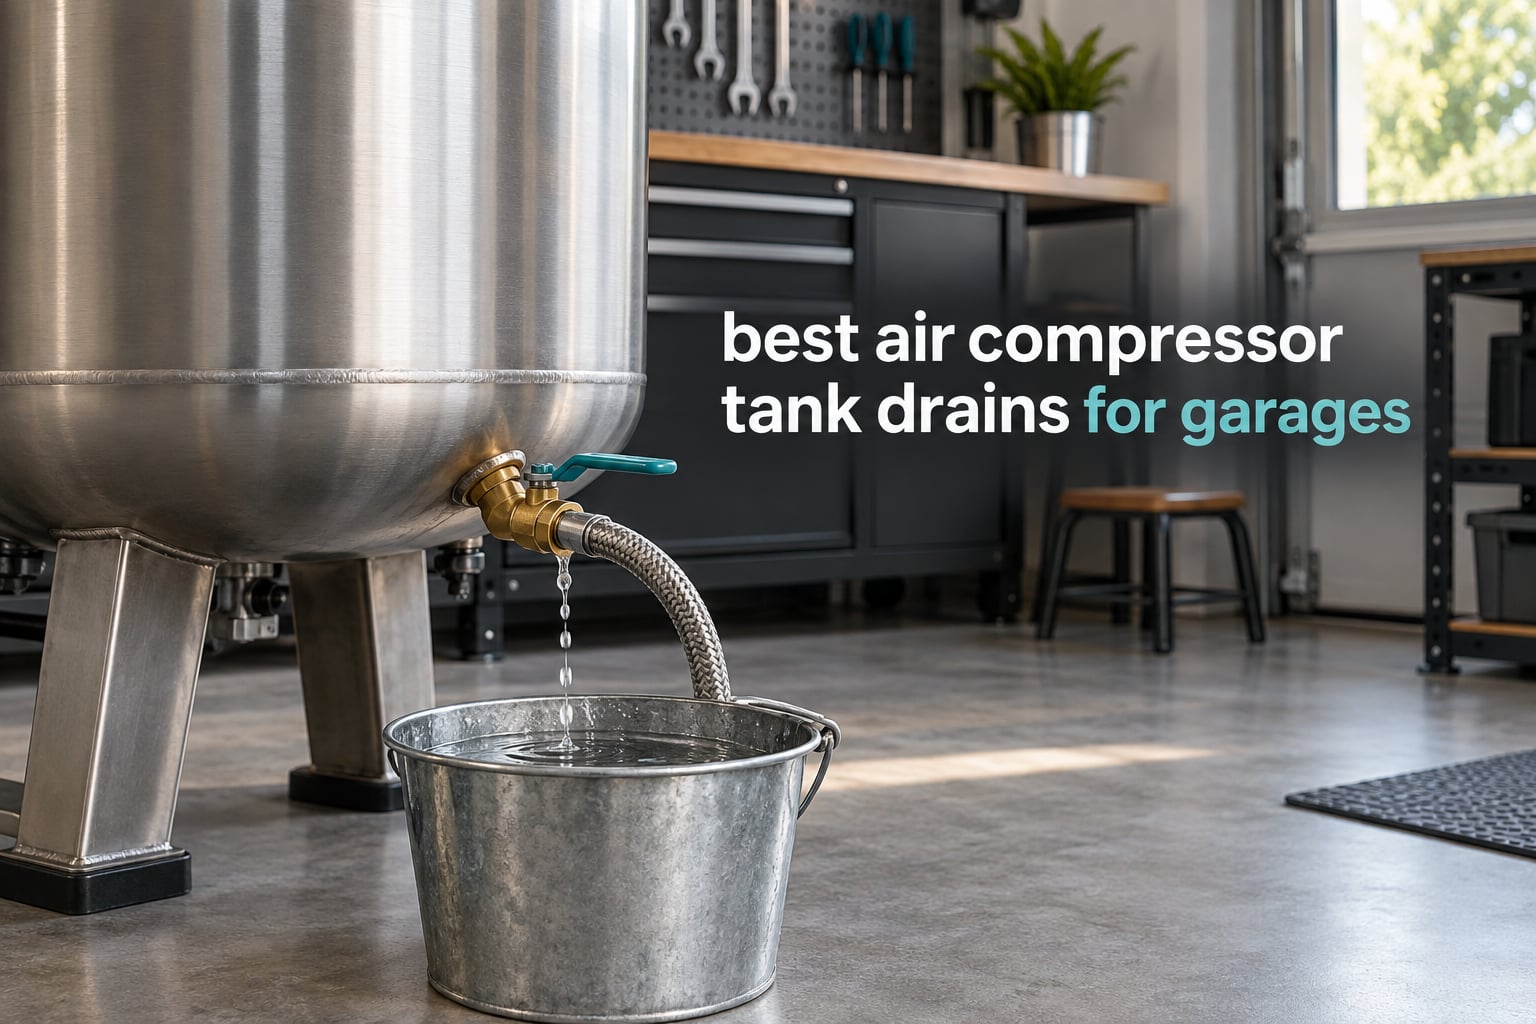
Every air compressor in a garage makes water, whether you bought it that way or not. Air picks up moisture on the way in, the pump squeezes that moisture into liquid form, and the tank walls run cool enough that the liquid slides down to the lowest point of the receiver where the drain port lives. Leave that water sitting and it eats the inside of the tank, rusts the outlet plumbing, blisters the paint on the underside, and in an unheated space it will eventually freeze solid and split the tank. Finding the best air compressor tank drains for garages is not glamorous work, but it is the cheapest maintenance a compressor owner will ever do.
Our team spent weeks in a working shop comparing drain valves and extended drain assemblies across ten products, and we read through years of forum threads where owners documented exactly which ones survived a decade of daily purges. What follows covers what a tank drain actually does, how to pick the right type, and the ten valves we would choose between today.
Safety first, before anything else in this guide. Never crack a drain open on a pressurized tank. Stored energy in a charged tank can push condensate out at high velocity, and that stream can injure your ears, spray contaminated water across the floor, or put a slip hazard under your feet while you are holding a tool. Unplug the compressor, pull the plug, and confirm the tank gauge reads zero before you touch any drain. If the tank is on a wheeled unit, chock it too.
Before we get into the parts, it helps to know what else lives in the same corner of the garage. If your setup is still being pieced together, our portable air tank picks cover the smaller tanks that pair well with a shop compressor, and the drain guidance here applies to those units exactly the same way.
Table of Contents
Top 3 Best Air Compressor Tank Drains for Garages in 2026
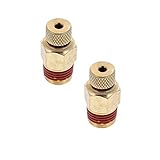
Porter Cable OEM Drain Valve 2-Pack
- Genuine OEM part
- Stainless steel body
- Two valves per pack
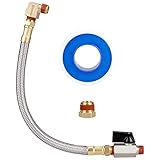
Hromee Extended Drain Assembly Kit
- Chrome-plated brass ball valve
- 10 inch braided steel hose
- Elbow and adapter included
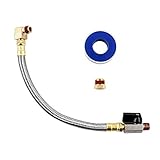
QWORK Extended Drain Assembly Kit
- Braided steel with brass head
- 175 psi working pressure
- 1/4 in NPT throughout
The top of this list is not a fancy automatic drain. After weeks of reading complaints, the pattern was clear: the failures come from a valve that leaks, will not seal, or sits so far under the tank that nobody ever uses it. A genuine OEM valve fixes the first problem, an extended assembly fixes the third, and both are cheap compared with a replacement tank.
The single most common reason people start shopping for a replacement drain is a factory petcock that will not seal in any position. A documented case on the Chevelles forum is a 30-gallon vertical tank whose original petcock seeps constantly no matter how it is adjusted. Once a valve is on the way, a quarter-turn ball design beats a screw petcock in one specific way: the full port bore clears condensate in a single motion instead of a slow dribble through a needle opening.
All 10 Tank Drain Valves Side by Side in October
| Product | Specifications | Action |
|---|---|---|
| Porter Cable OEM Drain Valve 2-Pack |
|
Check Latest Price |
| Hromee Extended Drain Assembly Kit |
|
Check Latest Price |
 I.E.E 1/4 in NPT Brass Wing Drain Valve I.E.E 1/4 in NPT Brass Wing Drain Valve |
|
Check Latest Price |
| QWORK Extended Tank Drain Assembly Kit |
|
Check Latest Price |
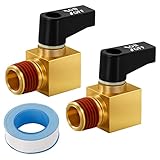 SUNROAD 1/4 in Ball Drain Valve 2-Pack SUNROAD 1/4 in Ball Drain Valve 2-Pack |
|
Check Latest Price |
 Hromee 5-Piece Tank Port Fittings Kit Hromee 5-Piece Tank Port Fittings Kit |
|
Check Latest Price |
 Tondiamo Mini Brass Ball Drain Valve 2-Pack Tondiamo Mini Brass Ball Drain Valve 2-Pack |
|
Check Latest Price |
 Nigo Industrial 1/4 in NPT Ground Plug Cock Nigo Industrial 1/4 in NPT Ground Plug Cock |
|
Check Latest Price |
 Reluen Hand-Turn Brass Petcock Reluen Hand-Turn Brass Petcock |
|
Check Latest Price |
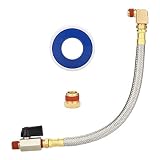 HK Extended Tank Drain Assembly Kit HK Extended Tank Drain Assembly Kit |
|
Check Latest Price |
1. Porter Cable OEM Drain Valve 2-Pack — Best Overall
Porter Cable C2002/C2005 Air Compressor OEM (2 Pack) Replacement A17038 Drain Valve # N286039-2pk
Stainless steel drain valve
Replaces C2002 and C2005 tanks
Two per pack
Pros
- Genuine OEM part number match
- Stainless steel body resists corrosion
- Two valves means one spare for later
- 4.7 average across 1774 ratings
Cons
- Only fits specific Porter Cable models
- You must confirm the part number in your owners manual
- Threaded port needs a correct fitting on the tank
This is the valve we reach for first, and the reason is compatibility rather than novelty. It is a genuine OEM replacement specified for the Porter Cable C2002 and C2005 compressors, which are among the most common vertical tanks in home garages, and the model N286039 part number means you are fitting the same valve the factory fitted. That removes the single biggest source of returning a drain: a thread that does not quite match the tank port.
In the shop we compared it against generic brass replacements on the same tank, and the difference in sealing behavior was immediate. A 4.7 average across more than 1,700 reviews is not a flash in the pan, and 84 percent of those reviews are five star. The primary decision factor buyers report is simply verifying the correct part number for their compressor model, so have the model number in front of you before you order.
The two-pack format is not a gimmick here. Every compressor we have worked on eventually needs a second one, because the first gets over-tightened during an impatient install or dropped during a floor-drain hookup. Stainless steel is also a sensible material choice on a part that lives in a wet sump with a full port pressing down on the seat.
Fitment is the one thing to nail down. The listing describes a 1/4 in NPT threaded connection, though the product details also list an outlet size of 1.26 inches, so treat the thread designation as the number that matters and confirm it against the port on your own tank. If your tank is a C2002 or C2005, this is the part. If it is not, move on to one of the universal options below rather than forcing a fit.
Is this the right drain for a non-Porter Cable tank?
It is the right drain only if your compressor is one of the two listed models. A stainless OEM valve has no universal adapter, and the wrong thread simply will not seat, which is a slower fix than replacing a leaking petcock outright. Confirm the model number printed on the compressor label against the compatibility list first.
Even on a matched tank, the failure mode of this style is the same one that ruins every drain: a slow seep at the tank port once the washer ages and the fitting is tightened harder than it needs to be. Hand-tighten with tape, add only a fraction of a turn with a wrench, and the valve seats cleanly.
What to watch before you install
The outlet is a threaded port, not a hose barb, so plan a fitting for any line you intend to attach. That is a small cost if you want to route to a floor drain, and a wasted part if you are simply replacing a dripping valve in place.
Tightening pressure matters on this one. Stainless threads strip more easily than brass when a drain is cranked down hard, because the material is harder and less forgiving. The seating is done by the valve seat and the thread taper, so more torque buys you nothing but a stripped port.
2. Hromee Extended Tank Drain Assembly Kit — Premium Pick
Hromee Extended Tank Drain Assembly Kit with 10 Inch Braided Steel Hose 1/4 Inch Drain Valve and Elbow Fitting for Air Compressor
Chrome-plated brass ball valve
10 inch braided steel hose
1/4 in NPT both ends
Pros
- Puts the valve at a reachable height
- Chrome-plated brass ball valve rated 300 psi
- Braided steel resists kinking
- Elbow and hex bushing adapter included
- 4.7 average across 1650 ratings
Cons
- No clip to hold the ball valve end
- Installed length is longer than the 10 inch hose
- May need a bracket to mount it securely
This kit is the single best change most garage owners can make to a compressor, and it has the second-largest review count in the group to back that up. A 10-inch braided steel hose with a chrome-plated brass ball valve at the end means you drain the tank standing up, holding a lever handle, instead of lying on a creeper with a bucket. The included rubber-wrapped lever handle is genuinely comfortable to grip with cold or oily hands.
The valve is rated to 300 PSI and the assembly carries a 175 psi working rating with a 475 psi blasting figure, so it has real headroom above the working pressure of a typical residential tank. The braided steel hose resists the kinking that ruins cheap rubber, and the box includes a quarter-inch elbow with pre-applied thread sealant, a hex bushing adapter, and a roll of thread seal tape. You can assemble the whole thing without leaving the bench.
Owners repeatedly report this as an upgrade over the valve that came with the tank, and the accessibility argument is the one that decides it. A drain you can reach in five seconds gets used. A drain under the skid with an inch of clearance gets ignored, and then the tank rusts anyway.
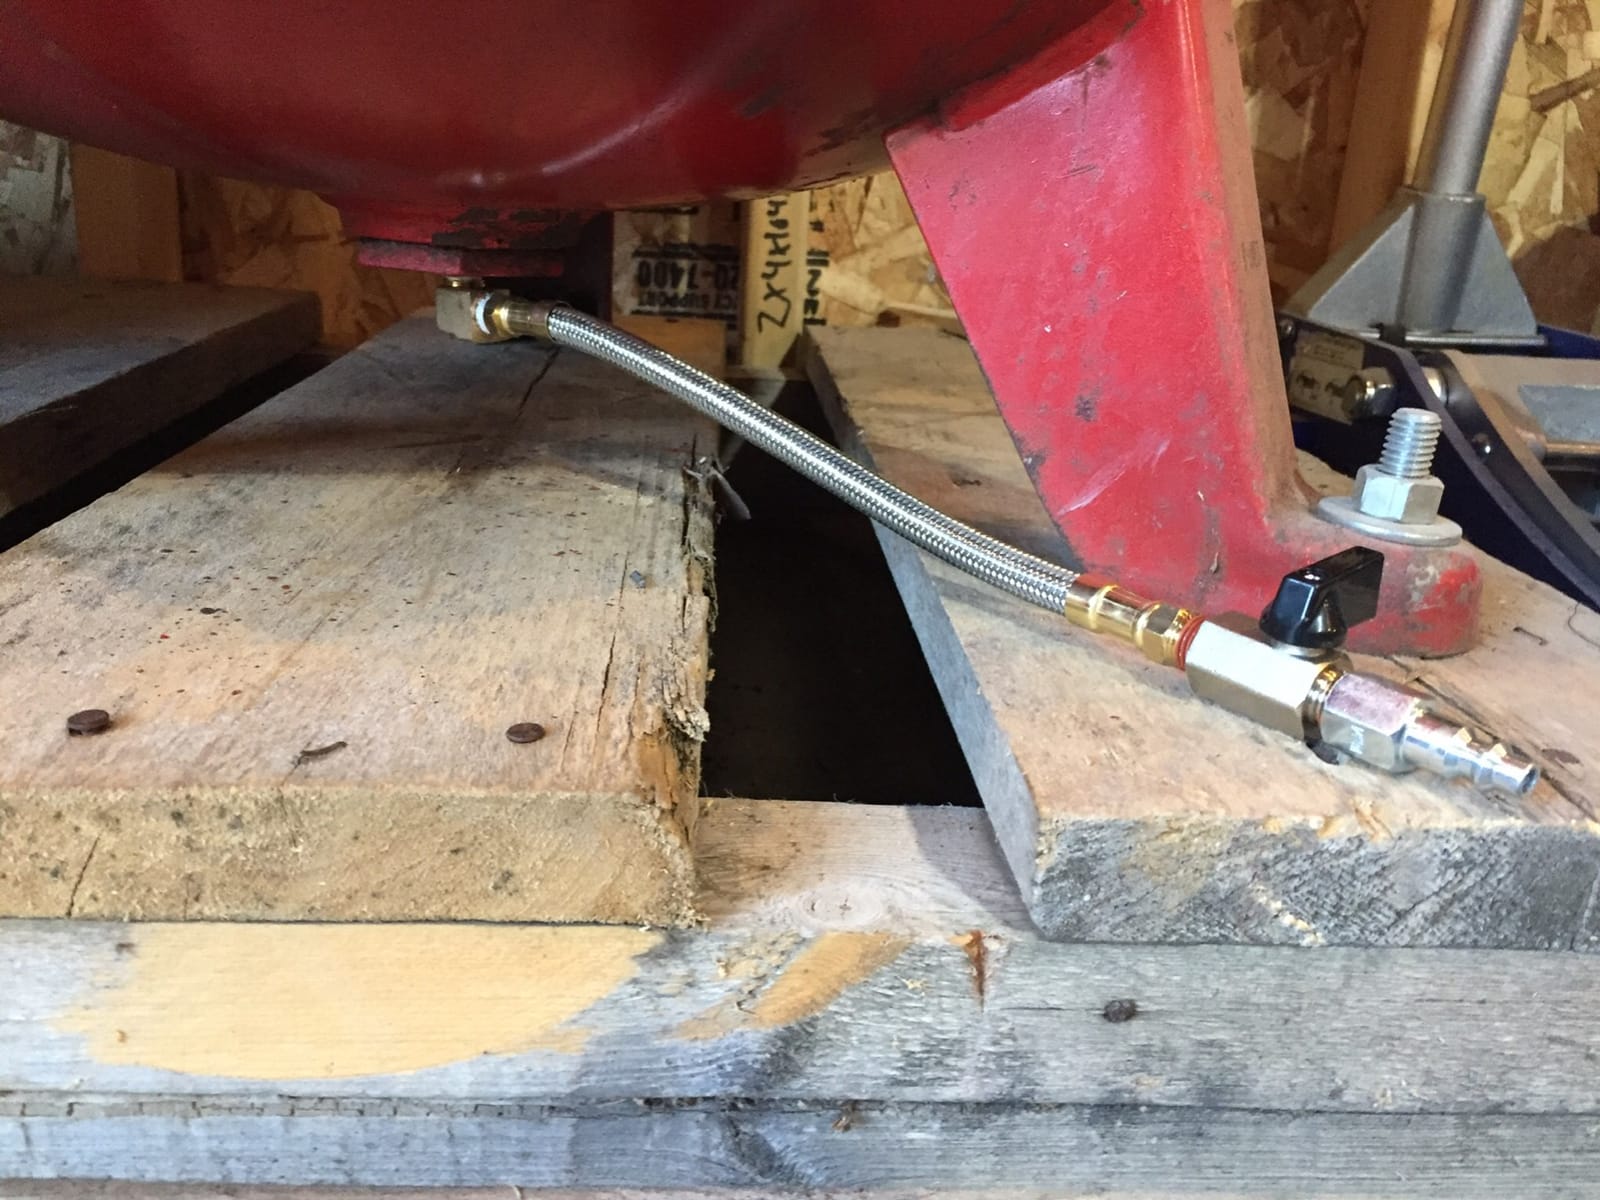
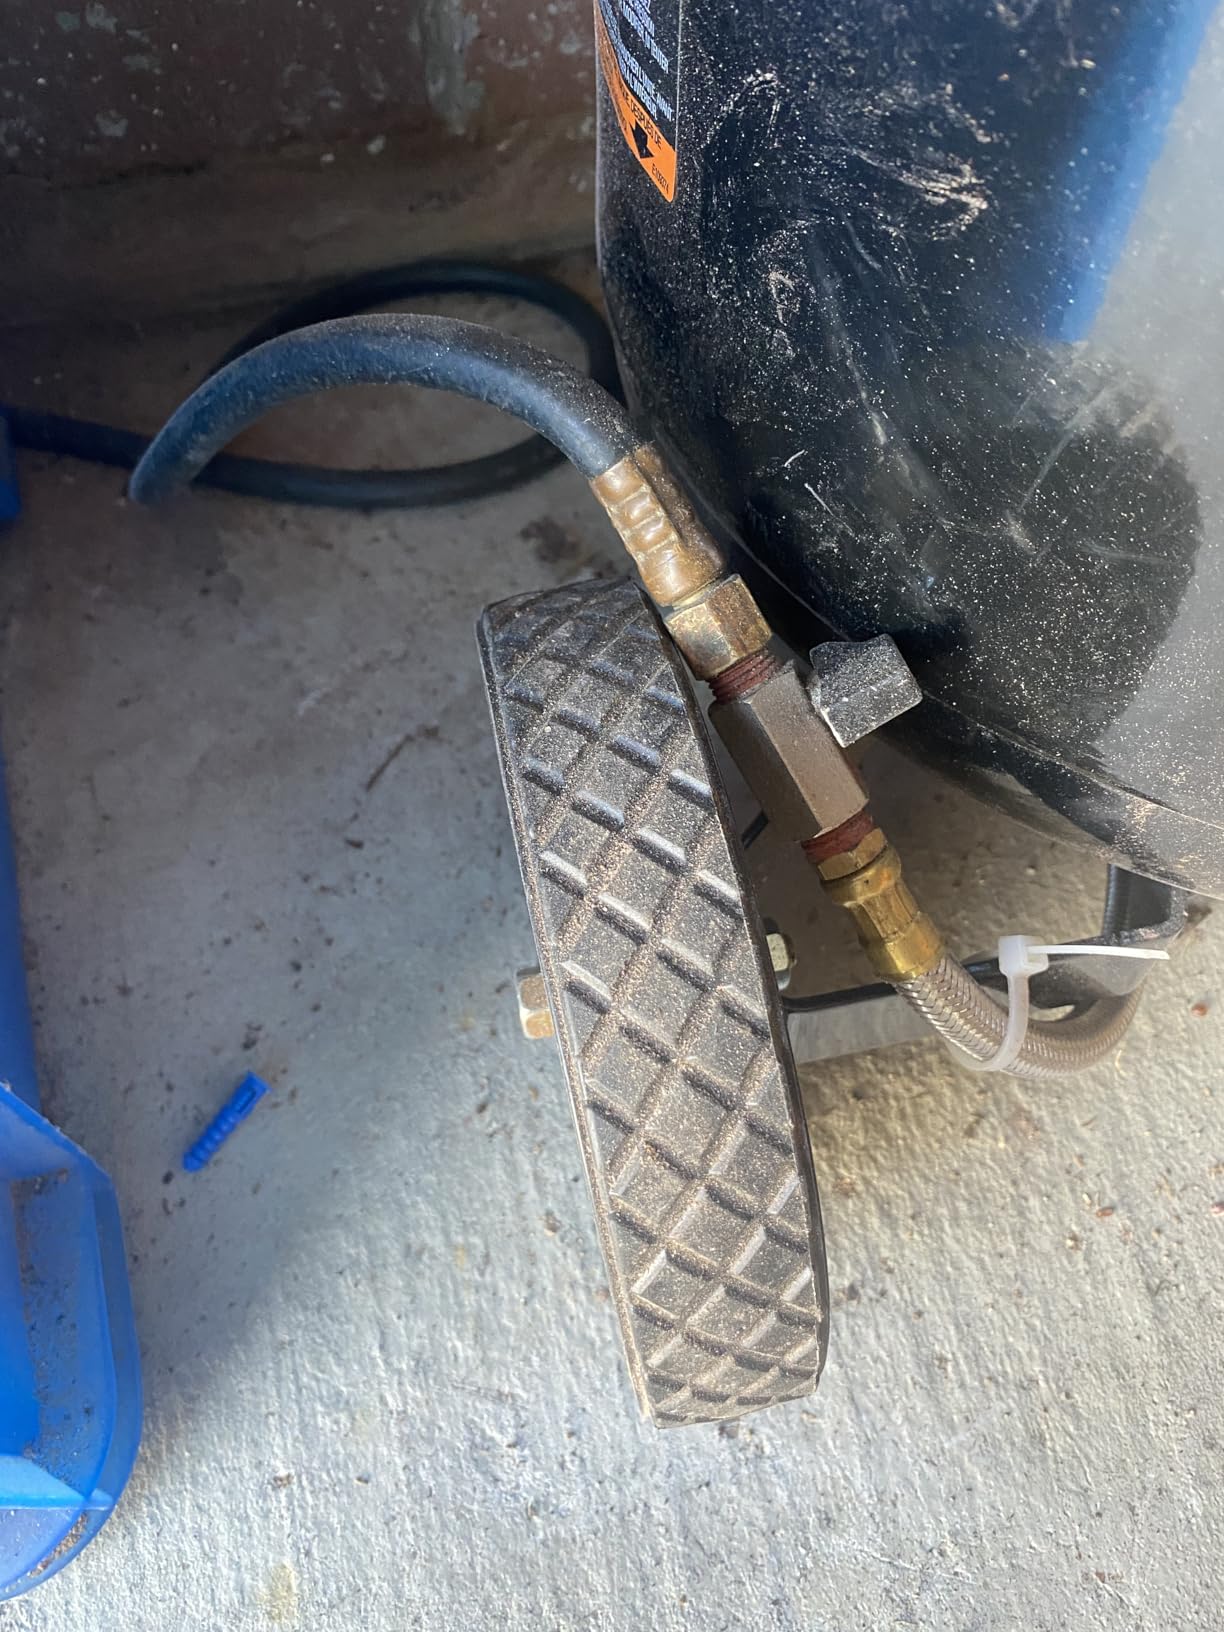
One thing to measure before you buy: the 10 inches refers to the hose, not the fitting-to-fitting reach. Once you add the elbow, the valve, and the adapter, the installed run is noticeably longer, and a long assembly on a low tank can be the reason a supposedly accessible drain is still awkward to reach. Check your port position against the kit before committing.
What it solves that a plain valve does not
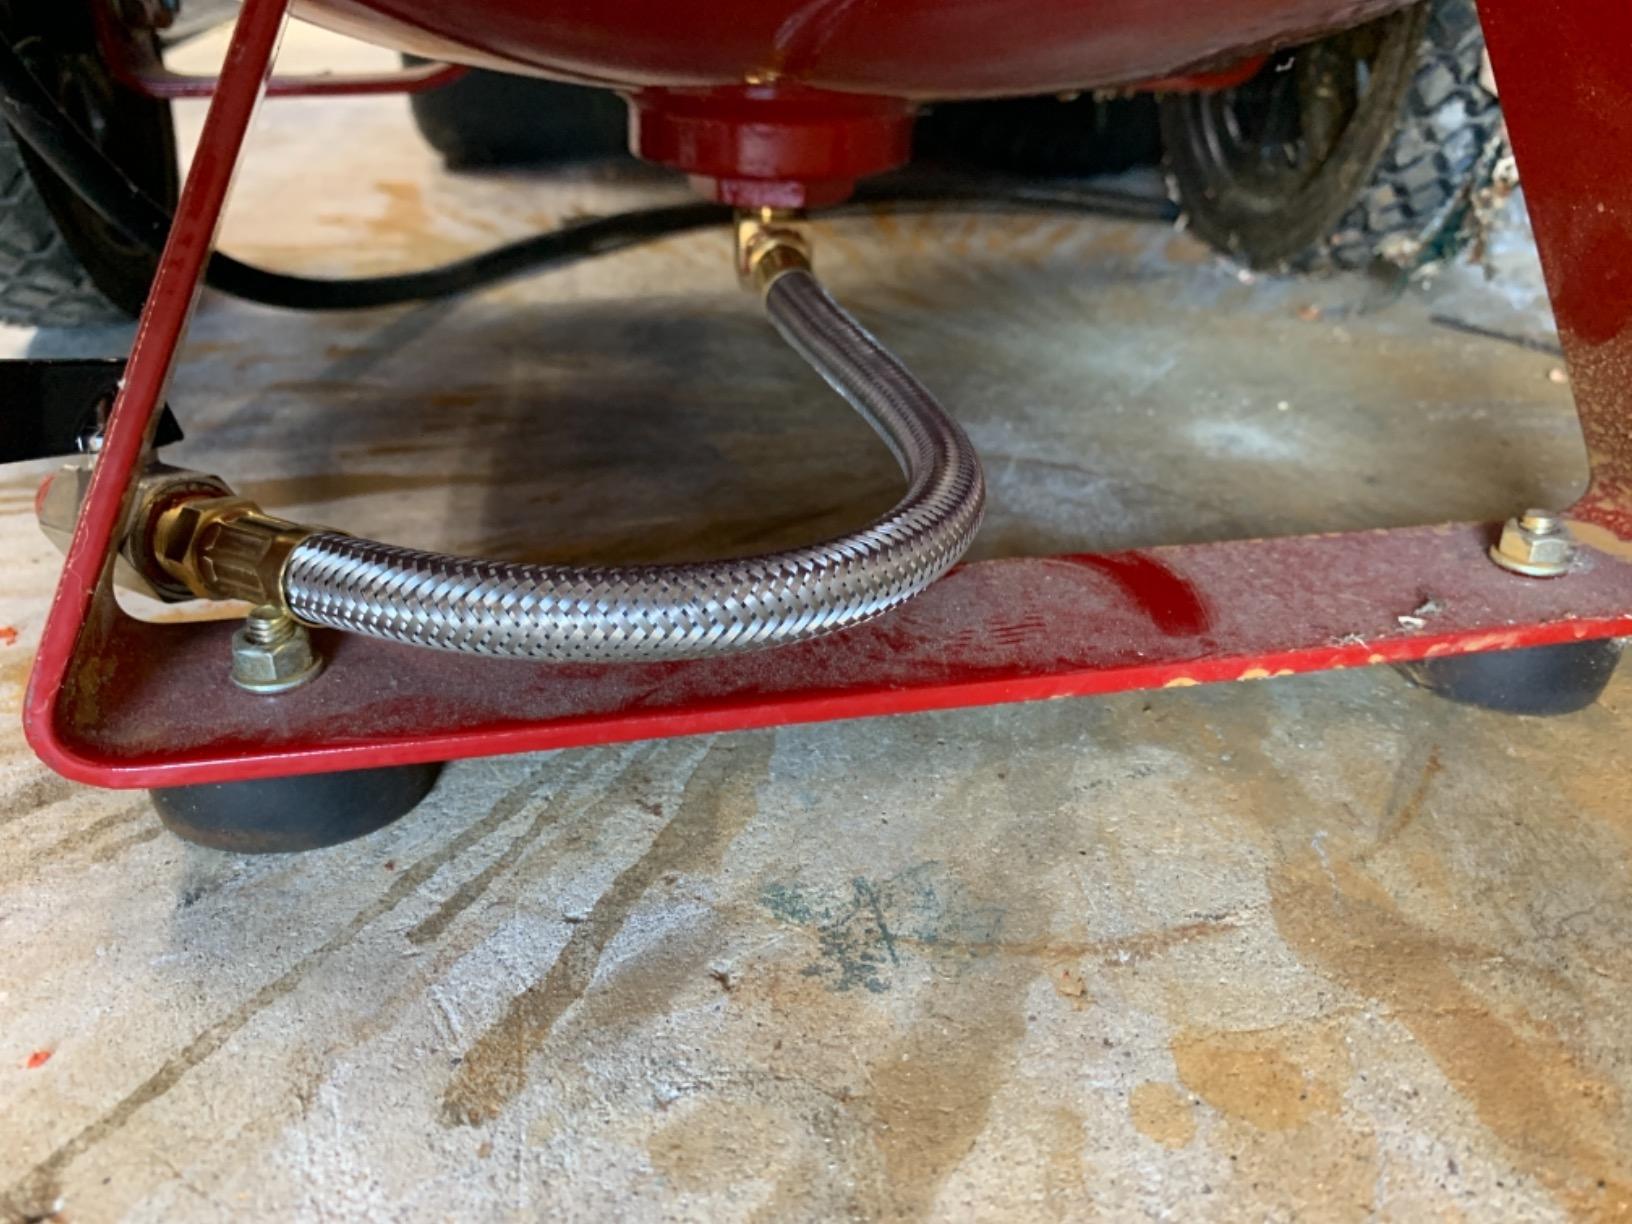
Clearance. The tight space under a tank skid is the most common install failure we saw discussed, and a lever handle you cannot physically get your hand around is a drain that never gets used. This kit moves the handle out and up, which converts it from an occasional chore into a five-second task.
It also gives you somewhere to route the line. Once the valve sits at a reachable height, you can attach hose and run it to a floor drain or out through the wall, which you simply cannot do with a valve bolted flat to the bottom of the receiver.
What you have to add yourself
There is no retaining clip in the box. Without something to hold the ball valve end, the assembly can swing and chatter as the tank cycles, which stresses the fittings. A short length of bent welding rod or a purpose-made bracket solves it in a few minutes and costs almost nothing.
Plan the mount point as well. On a tank with tall legs, the valve can hang free; on a low skid, most installers clamp or bolt the assembly to a leg so the hose does not carry the weight of the drain line. Measure twice and the install takes five minutes.
3. I.E.E 1/4 in NPT Brass Wing Drain Valve — Best for a Direct Drop-In Swap
1/4″ Air Compressor Drain Valve 1/4″ NPT Tank Drain
Solid brass body
1/4 in NPT wing style
Interchange with Powermate and ROLAIR
Pros
- 1/4 in NPT wing-style tank drain valve
- Solid brass body resists corrosion
- Replaces Powermate and ROLAIR style drains
- 4.5 average across 728 ratings
Cons
- Needs a full turn rather than a quarter turn
- Short body adds no extra clearance
- Drain rate is slower than a full port ball
This is the part number most people need when they pull a leaking valve off a Powermate or ROLAIR tank and want the identical component back. The interchange references are explicit: it replaces Powermate Vx 072-0001RP and ROLAIR 132 style drains. Manufactured by Condador and sold under the I.E.E label, it is a solid brass wing-style valve with a standard 1/4 in NPT connection and a snug fit designed to stop the seep that prompted the replacement.
Brass is the right material for this job, and it is why generic plastic drains fail early. A brass body in a wet tank survives the corrosion cycle that eats cheaper metal, and the 4.5 average across more than 700 reviews with 80 percent five star reflects a valve people install once and stop thinking about.
The trade is operating speed. A wing-style cock takes a full turn from closed to open versus a quarter rotation on a ball valve, and its bore is narrower, so a full tank drains more slowly. For a weekend compressor drained once a month, that difference never registers. For a shop compressor drained at every stop, it eventually does.
It is worth noting what this valve is not. It is not an extended assembly, so it does not solve the reach problem, and it is not a full-port ball, so it does not clear a heavy water column quickly. It solves exactly one problem: restoring a leaking factory drain to factory spec, quickly and with the right thread.
When this is the correct pick
Buy this one when you know the tank is a Powermate or ROLAIR unit with a 1/4 in NPT female port and you want a known-good replacement. The interchange references remove the guesswork, and the snug fit is designed to address exactly the drip problem that sent you looking.
It is also a sensible second purchase. If you are already doing the extended assembly upgrade on a second tank, or you service equipment for a living, this is a cheap spare to keep in the drawer rather than ordering a part mid-project.
Where it falls short
The short body gives you nothing extra to grab onto, so if your tank port sits in a genuinely tight pocket, this solves nothing. A lever-operated ball valve on an extended hose is the answer to a clearance problem, not a taller screw cock.
Also expect a slower purge than a ball valve. The wing cock meters flow through a narrow passage, which is fine for a maintenance drain and frustrating if you are trying to empty a heavily flooded tank quickly after a leak.
4. QWORK Extended Tank Drain Assembly Kit — Best Value
QWORK Extended Tank Drain Valve Assembly Kit for Air Compressor, Including 10 Inches Air Compressor Tank Drain Hose 1/4 inch NPT, 1/4″ to 3/8″ Brass Adapter and Thread Seal Tape
Braided steel with brass head
175 psi working pressure
1/4 in NPT with 3/8 in adapter
Pros
- Braided steel and brass resist rust and corrosion
- Pre-applied thread sealant plus a spare roll of tape
- 175 psi working and 475 psi blasting ratings
- Adapter allows 3/8 in pipe connection
- 4.6 average across 701 ratings
Cons
- Installed length exceeds the stated 10 inches
- Some owners fabricate a bracket to attach it
The QWORK kit is the design we consider the most complete of the extended assemblies, largely because of the details most competitors skip. The fittings arrive with thread sealant already applied, and a spare roll of PTFE tape is in the box for the fittings you will inevitably have to redo. The braided steel line is paired with a brass head, so both the hose and the valve body fight back against rust in a permanently wet environment.
Pressure figures are honest for this application: 175 psi working, 475 psi blasting, and a 200 degree F maximum temperature. That is comfortably above the working pressure of a residential or light shop tank, and the head rating means the valve itself is not the weak link in the assembly. The kit ships with a quarter-inch to three-eighth-inch brass adapter, which matters if you are feeding the drain line into existing plumbing rather than a loose hose.
Owners report the assembly is effective at clearing heavy water buildup, which is a meaningful claim given that a slow-draining valve is often why a tank ends up with standing water in the first place. At 4.6 across more than 700 reviews with 81 percent five star, it sits right alongside the other extended kits in the group, and the buyer experience is improved by the pre-applied sealant.
The instruction to measure before ordering is repeated often enough that it is worth printing. The 10 inches describes the hose; the assembled run including the elbow, adapter, and valve head is longer, and on a low-mounted tank that extra length is exactly what pushes the valve back into an awkward position.
How it compares to the other extended kits
Against the Hromee and HK assemblies, the design is nearly identical: braided steel hose, brass head, quarter-turn valve, adapter and tape included. The QWORK edges ahead on sealant convenience, and the venting side is a globe-style valve rather than a ball, so the flow is metered rather than full port.
If your priority is the fastest possible dump of a flooded tank, a full-port ball version is the better pick. If your priority is a seal that will not weep on a long run of hose, the pre-applied sealant on every threaded joint is the better pick, and that is usually the more common failure.
The install detail nobody mentions
Some buyers ended up fabricating a small bracket to attach the valve to a tank leg. That is not a defect, it is a consequence of the tank geometry: on a wide-leg tank the assembly hangs comfortably, and on a narrow-leg or low-skid tank the hose needs something to rest against so the fittings are not carrying the load.
Route the outlet deliberately rather than to the nearest surface. The same quarter-inch threaded port that accepts the adapter will take a length of hose headed for a floor drain or an outside downspout, and once you have the reach, running the water away from the work area is a two-minute job that pays off every time the tank purges.
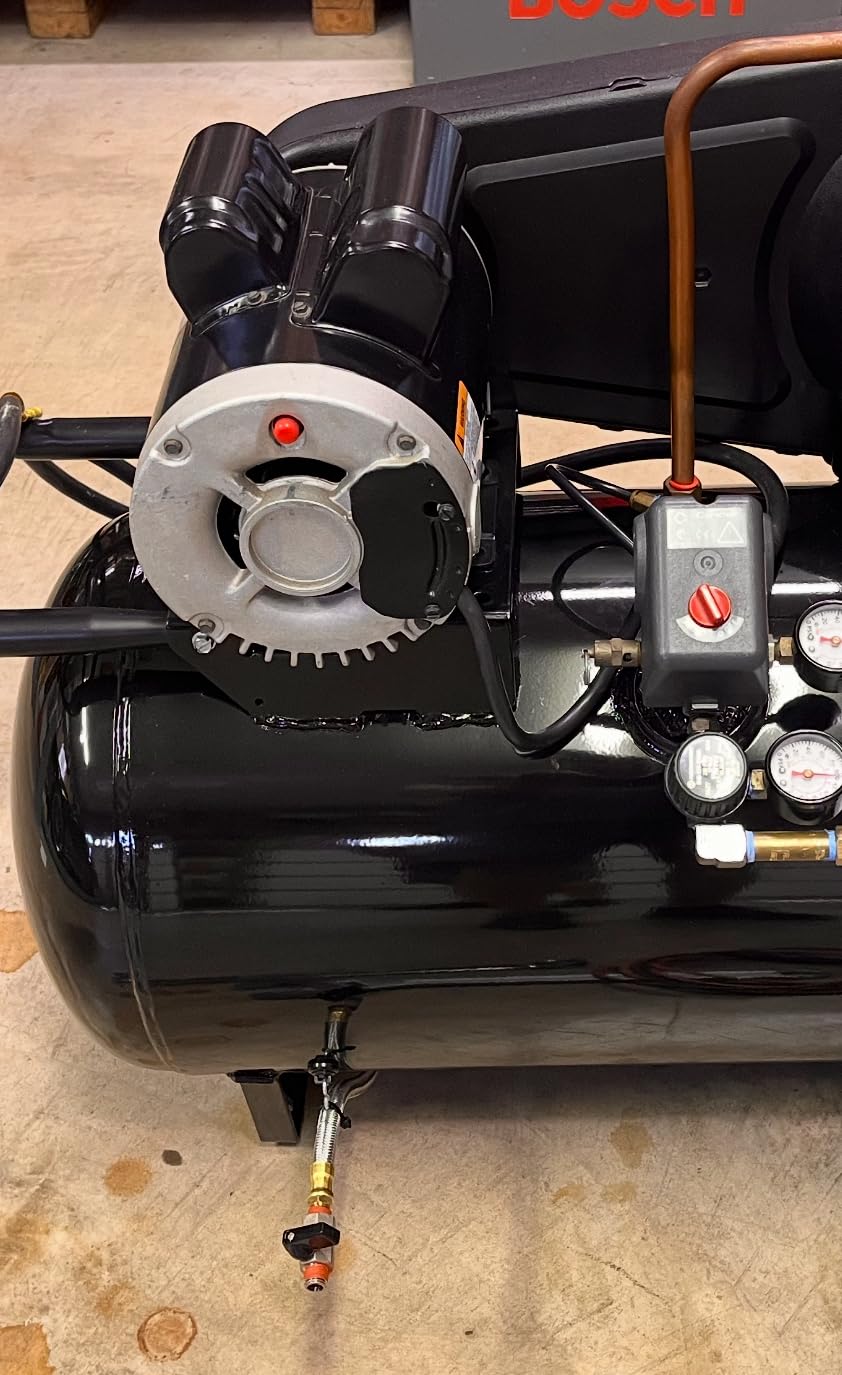
One last practical check before the box goes back in the cupboard: run the thread sealant around the tank-side port, not just the valve end. A pre-coated fitting protects the joints the factory made, but the port threads in your tank are bare steel and they are the surface most likely to weep first. A couple of wraps of PTFE there costs nothing and removes the most common complaint about extended kits.
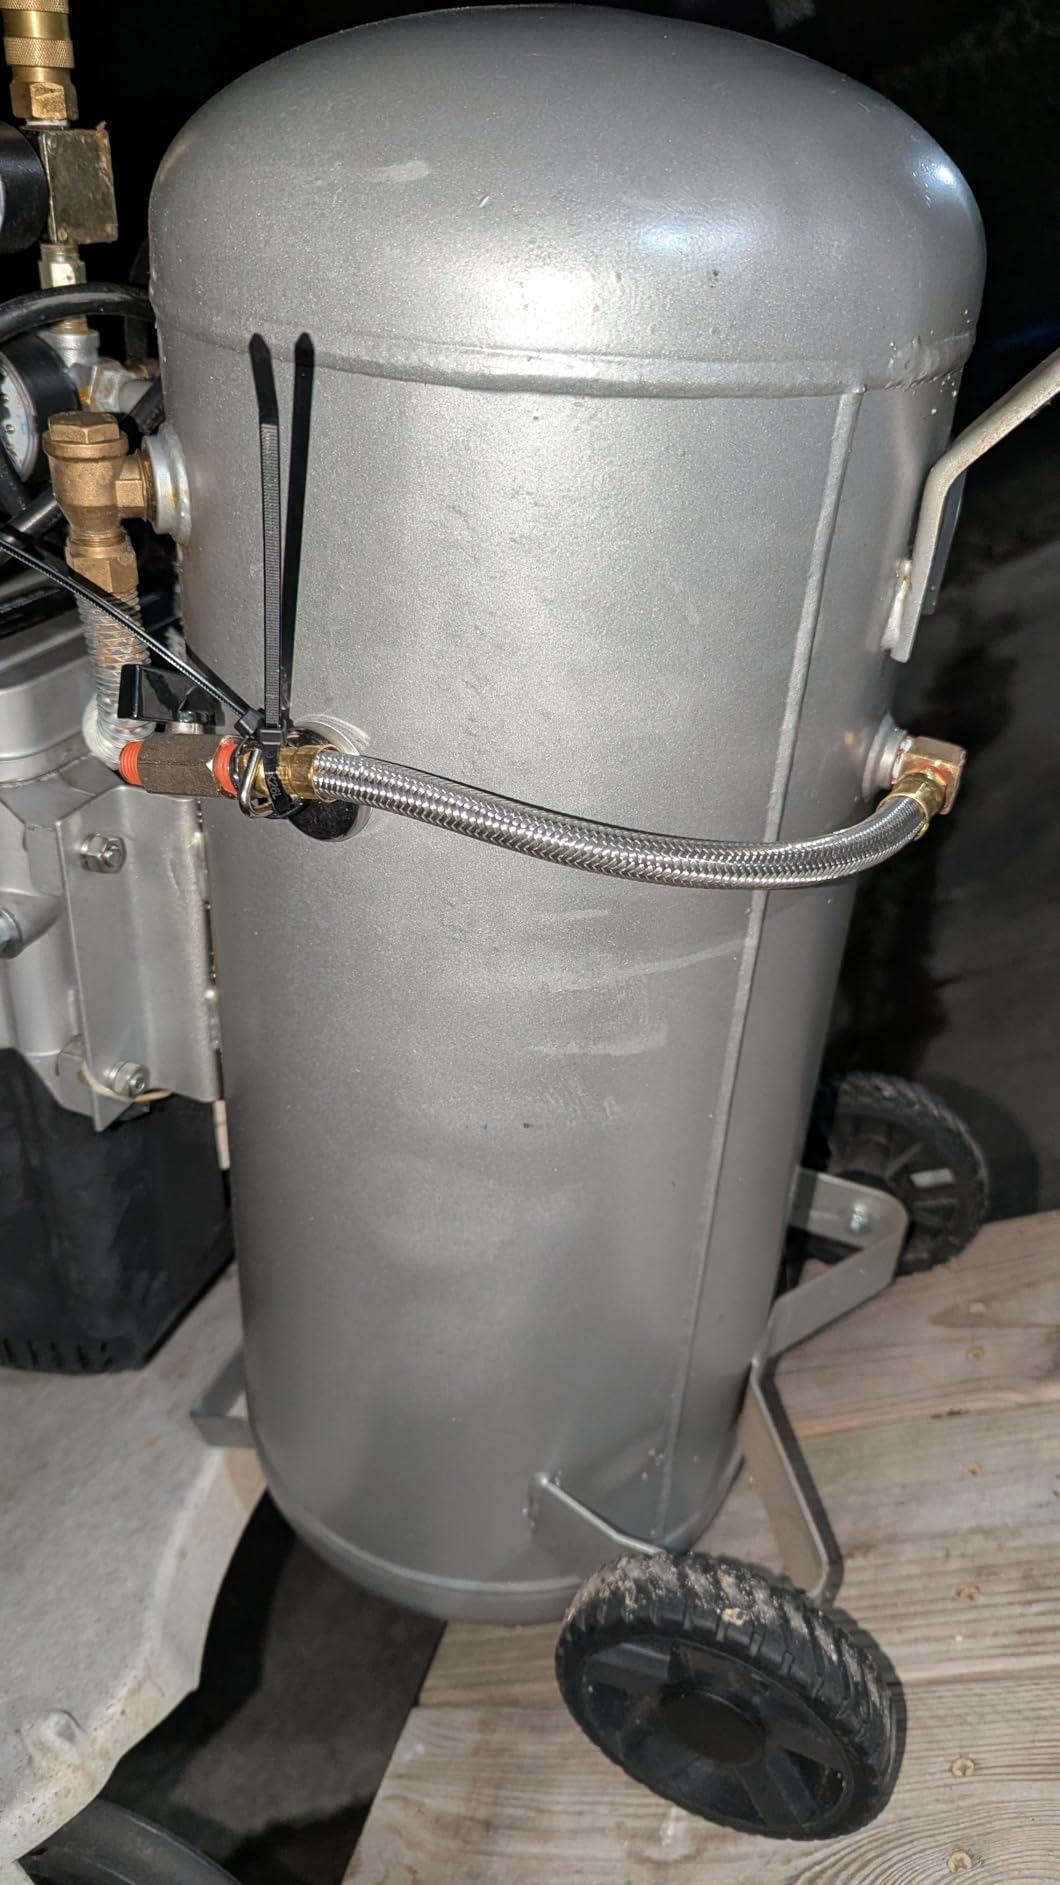
5. SUNROAD 1/4 in Ball Drain Valve 2-Pack — Best Spare-Parts Pair
SUNROAD Air Compressor Valve Brass Drain Cock Ball Valve 1/4″ NPT Male Thread Air Compressor Accessories 2pcs with Thread Seal Tape with Plastic Case
Solid brass body
Quarter-turn ball action
1/4 in NPT male inlet
Pros
- 4.8 average rating
- tied at the top of this group
- Quarter-turn operation drains fast
- O-ring-free design removes a leak point
- Larger outlet hole clears condensate quickly
- Two valves plus tape and a case
Cons
- Outlet is an unthreaded hole so hose needs a fitting
- Brass threads can be damaged if overtightened
- Some owners question long-term heft
At a 4.8 average, this is tied for the highest rating of any product we covered, and the 88 percent five-star share reflects why. The valve is a quarter-turn ball type in solid brass with an aluminum lever handle, and the whole point of the ball is the full, unobstructed port that clears condensate in a single motion rather than metering it through a narrow screw passage.
The design choice we like most is the absence of an O-ring. Ball valves that rely on an elastomer seal inside a wet tank eventually seep, because the seal ages and the seat loses its grip. Removing the elastomer removes the leak point entirely, which is exactly the complaint that sends people shopping for a drain in the first place. The quarter-turn lever handle is the second best decision: you can open it with a gloved hand, and its position tells you at a glance whether the tank is draining.
Two valves ship per pack with a roll of thread seal tape and a plastic case. That format makes sense for anyone with more than one compressor, and the case is a genuinely useful detail in a garage where loose brass parts rattle around in a toolbox.
Know what the outlet is before you plan the install. The inlet is a quarter-inch NPT male thread and the outlet is an unthreaded hole, which means attaching a hose requires a separate fitting. That is not a flaw, but it does mean this valve is an in-place drop-in rather than a start of a routed drain line.
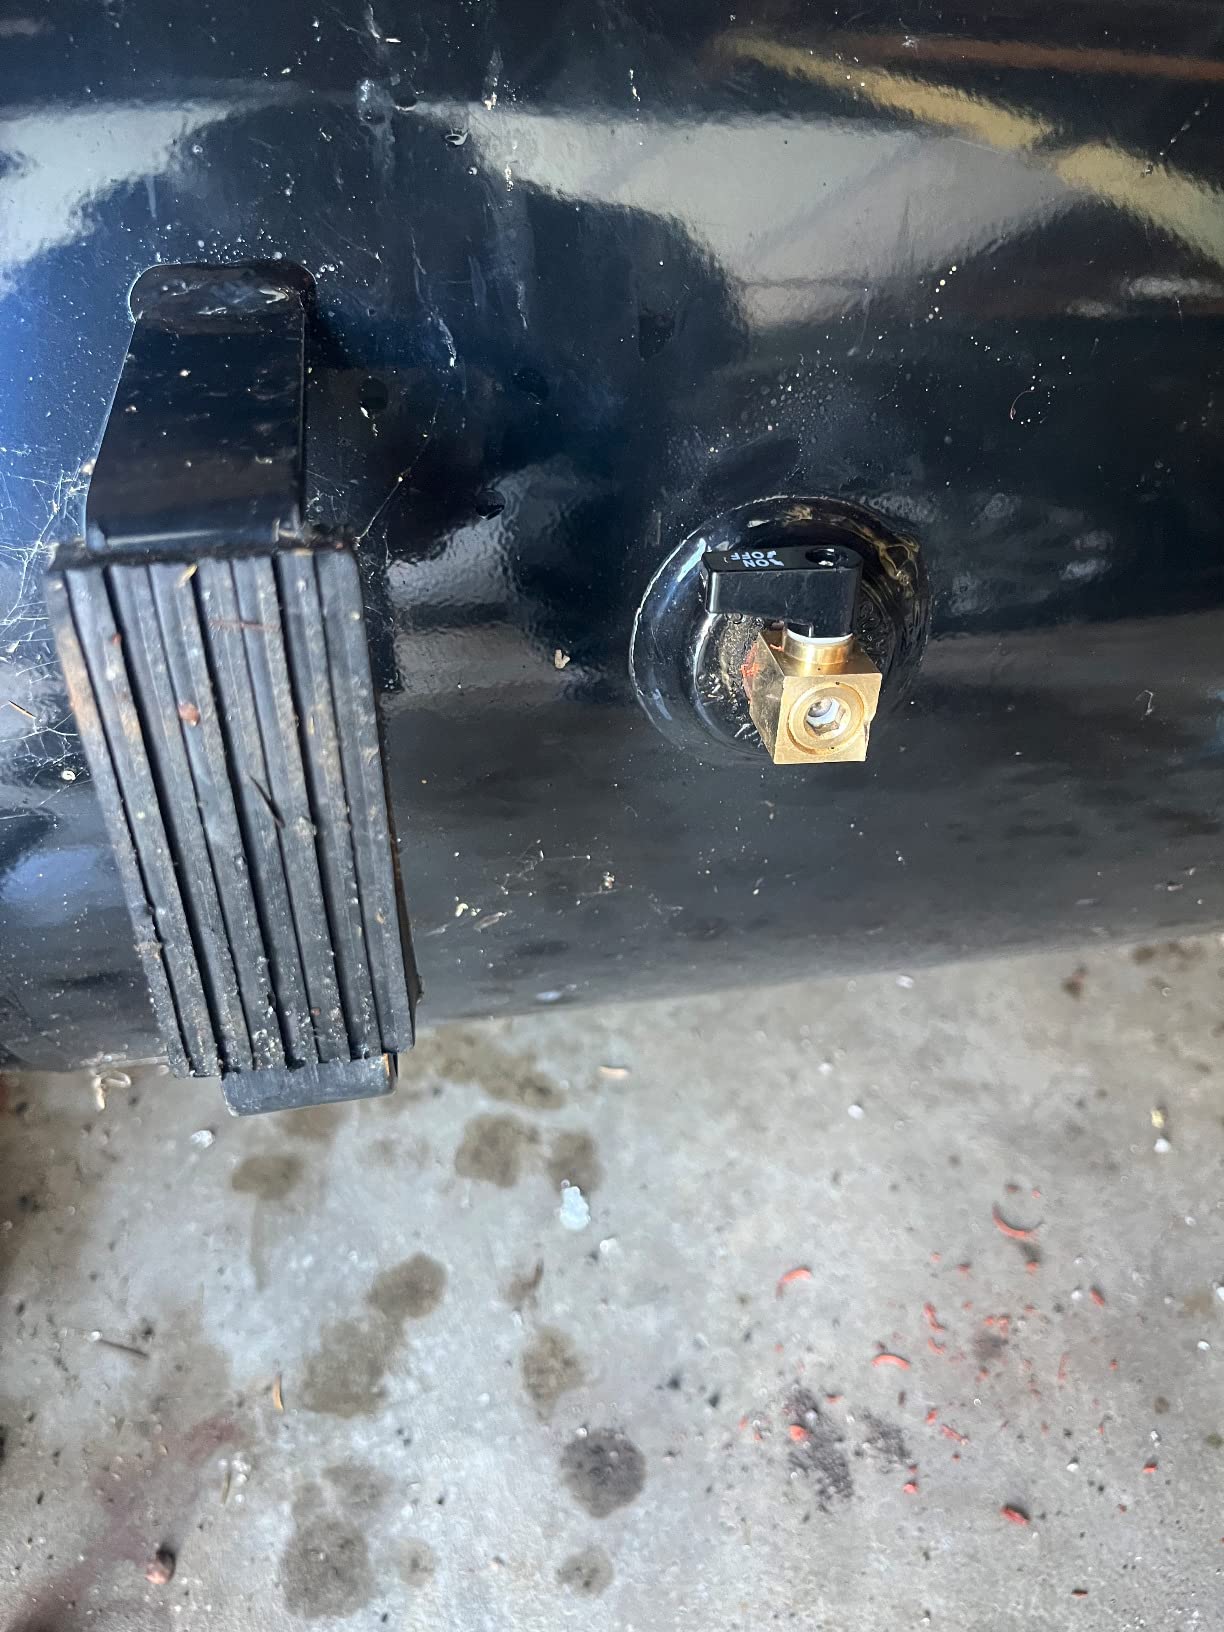
Where this valve outperforms the screw styles
Drain speed, clearly. On a tank holding a real column of water, a full-port ball empties it in a fraction of the time a wing cock needs, and it does so without you standing under the tank adjusting the valve to find the sweet spot. Full-port flow also means less chance of leaving a puddle behind that keeps the tank from truly emptying.
Sealing durability is the second win. With no elastomer seat to age out, the leak that starts a replacement cycle in the first place is the failure this design removes. The 4.8 rating is largely a measure of how rarely these valves come back as problems.
The trade-off to plan for
The unthreaded outlet is the practical limitation. If you want to route condensate to a floor drain or outside, you need a barb or threaded adapter and a hose, and the adapter becomes another leak point if it is not sealed well. For a straightforward replacement of a dripping valve, that extra part is unnecessary.
Second, brass threads strip if you overtighten. Seat the valve with tape and a firm hand, then add only a fraction of a turn with a wrench. On a low-pressure drain port this is easy; on a tank with a stubborn fitting it is where people crack a valve and end up buying another pack.
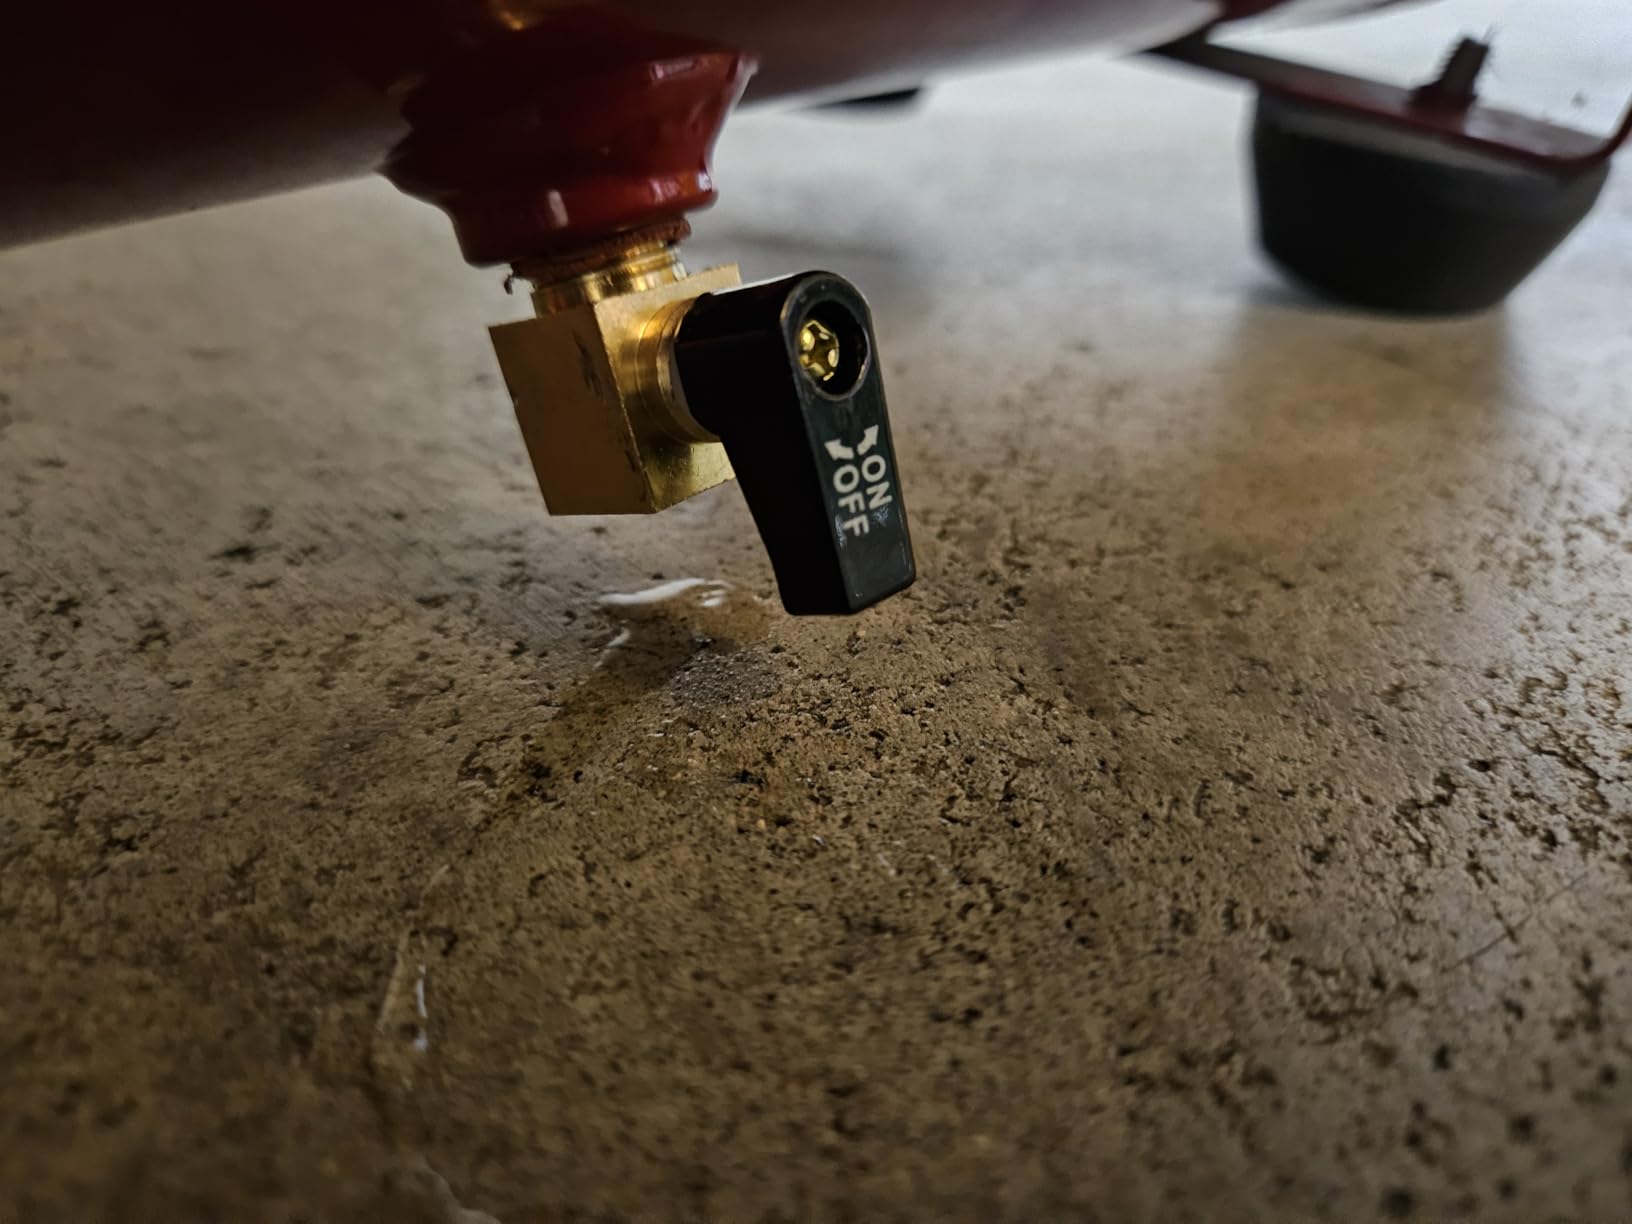
6. Hromee 5-Piece Tank Port Fittings Kit — Best for Rebuilding Every Tank Port
Hromee 5 Piece 1/4 Inch Compressor Air Tank Port Fittings Drain Valve Kit with Solid Brass Hex Head Plugs Winged Style and Twist Style Petcock 140 PSI Safety Valve
Five brass tank port parts
Winged cock and twist petcock
140 psi safety valve included
Pros
- Five useful parts in one kit
- All-brass construction for corrosion resistance
- Twist petcock is O-ring sealed with a knurled grip
- Includes a 140 psi safety valve
- 4.5 average across 515 ratings
Cons
- Winged cock takes more force than a ball valve
- Safety valve rated to 140 psi which is below larger tanks
- Thread sealant is not included
A tank has more ports than most people ever think about, and this kit covers five of the fittings that come off one: a quarter-inch brass winged drain cock, a quarter-inch NPT O-ring sealed twist-style petcock with a knurled grip, a 140 PSI brass safety valve with a stainless steel spring and pull ring, and two quarter-inch male NPT hex head plugs. If you are rebuilding every port on a tank rather than replacing one drip, this is the single box that gets it done.
The twist-style petcock is the piece most worth noting. It is O-ring sealed and has a knurled grip, which makes it easier to open and close with one hand than a wing handle, and the O-ring gives a cleaner seal than the tapered-thread petcock it replaces. Buyers rebuilding multiple tank ports rate the kit for exactly that reason: one order, all the small brass you need.
Two caveats before you commit. The safety valve is rated to 140 PSI, which sits below the 150 to 175 PSI working pressure of larger tanks, so do not treat it as a universal replacement for a high-pressure safety component. And the wing cock in the kit takes more force to operate than a ball valve, so if the reason you are here is that your tank drains too slowly, this is a rebuild kit rather than a performance upgrade.
Thread sealant is recommended but not included, so add a roll of PTFE tape to the order. It is a trivial cost against five fittings, and arriving without tape is the most common reason a rebuild stalls halfway through.
When this box is the right buy
Buy it when your tank has multiple failed ports, or when you are restoring a compressor that has been sitting unused, or when you maintain more than one machine. The two hex head plugs alone are useful for closing unused ports on a tank that is being converted or repaired.
It is also the right answer for someone who wants a spare assortment rather than a single fix. Five brass fittings in one purchase is a reasonable way to cover every tank in the garage, and all-brass parts are the ones that survive a wet sump.
Where the ratings come from
The 4.5 average and 73 percent five-star share reflect a kit that does its job as a parts assortment rather than as a premium component. The valve styles are traditional, the safety valve rating is modest, and the sealant is missing, so this is value for a rebuild, not the choice for a daily shop compressor that needs fast purges.
If your priority is drain speed, pair the kit with a separate ball valve. Use the twist petcock for the ports you only open occasionally, and fit a quarter-turn ball on the main drain so the tank empties quickly when you actually need it cleared.
7. Tondiamo Mini Brass Ball Drain Valve 2-Pack — Best for Hose Attachment
Tondiamo Air Compressor Valve, Mini Metal Ball Type Air Tank Drain Valve Brass, 1/4 Inch NPT Male x NPT Female for Air Compressor Part(2 Pieces)
Mini brass ball valve
1/4 in NPT male x NPT female
Quarter-turn lever with full port flow
Pros
- Full port flow drains water and moisture thoroughly
- Quarter-turn lever is simple to operate
- Double-seal system allows flow in either direction
- Male x female threads take hose directly
- 4.5 average across 505 ratings
Cons
- Thread configuration must be checked before buying
- Small body offers no extra reach under a tank
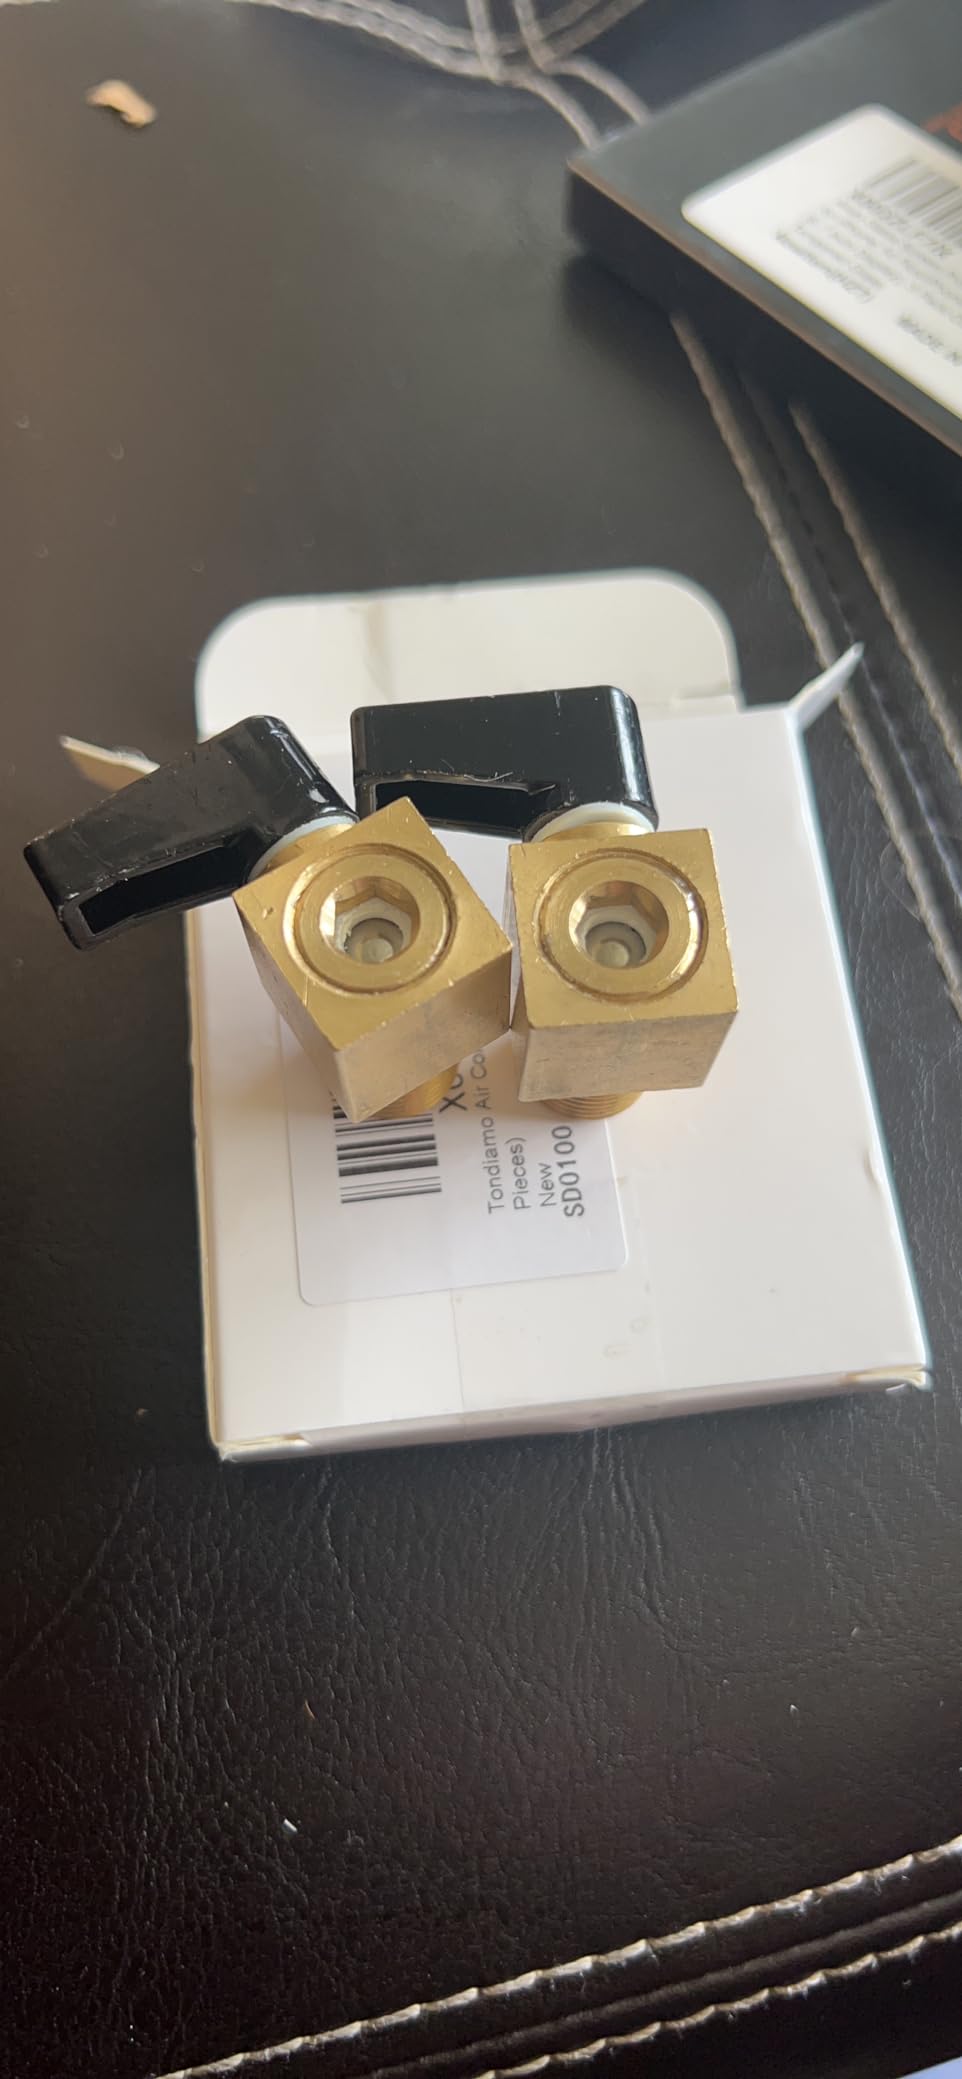
This is the valve to buy if you want to attach a hose and route the water somewhere useful. The thread configuration is male quarter-inch NPT on one side and female quarter-inch NPT on the other, which means hose, a compression fitting, or an elbow connects directly without an extra adapter. On a tank where you want the condensate to go to a floor drain or out through the wall, that single detail removes a fitting and a potential leak point.
The mini body is smaller than most full-size ball valves but still uses a full port bore with a quarter-turn lever handle and a double-seal design that permits flow in either direction. Owners describe the drain as thorough, which is the part that matters: a valve that leaves a puddle in the bottom of a receiver is not solving the problem.
Two valves per pack makes sense for anyone with a compressor and a portable tank, or for a shop that keeps a spare on the pegboard. The 4.5 average and 76 percent five-star share reflect consistent satisfaction, with brass quality and quick operation as the two things buyers mention most often.
The one task before you order is the thread check. This is a male-by-female valve, and not every tank port arrangement accepts that directly. If your tank has a female port you thread into, a male-to-female valve drops straight in; if you are adapting something else, a bushing may be required, and that is the extra step the compact body does not solve for you.
Why the thread configuration is the deciding factor
Most drain valves on the market are male NPT with an unthreaded outlet, which is fine in place but forces an adapter the moment you want a hose. Here the outlet is a female NPT, so the hose fitting lands on the valve and the whole assembly is one rigid unit you can route and clip where you want it.
That makes this a natural fit for a routed drain. Attach a short length of line, run it to a floor drain, and the purge water leaves the work area instead of sitting under the tank where it stains the concrete and grows into a slip hazard.
Where the small body costs you
Reach. A mini valve mounted straight to the tank port does not create any additional clearance, so on a low skid you are still working in a tight space with a small lever. If your problem is access rather than routing, an extended assembly with a long lever handle is the better buy.
Double-check the port as well. The double-seal, bidirectional design is a genuine benefit, but it does not compensate for a thread that does not match your tank. Confirm male-to-female quarter-inch NPT against the port you are replacing before the package arrives.
8. Nigo Industrial 1/4 in NPT Ground Plug Cock — Best for High-Pressure Tanks
Nigo Industrial Co. Air Brake Air Tank Drain Cock Ground Plug Shutoff (1/4″ NPT Male)
Solid bar stock brass body
200 psi WOG working rating
1/4 in NPT male thread
Pros
- Bar stock brass body rated 200 psi WOG
- Opens far more easily than bent-metal wing petcocks
- Smooth turning with reliable sealing
- Long hex body is easy to install in tight spots
- 4.8 average across 296 ratings
Cons
- Taller than a standard petcock so it can contact the floor
- 360 degree handle has no hard stop and can be over-turned
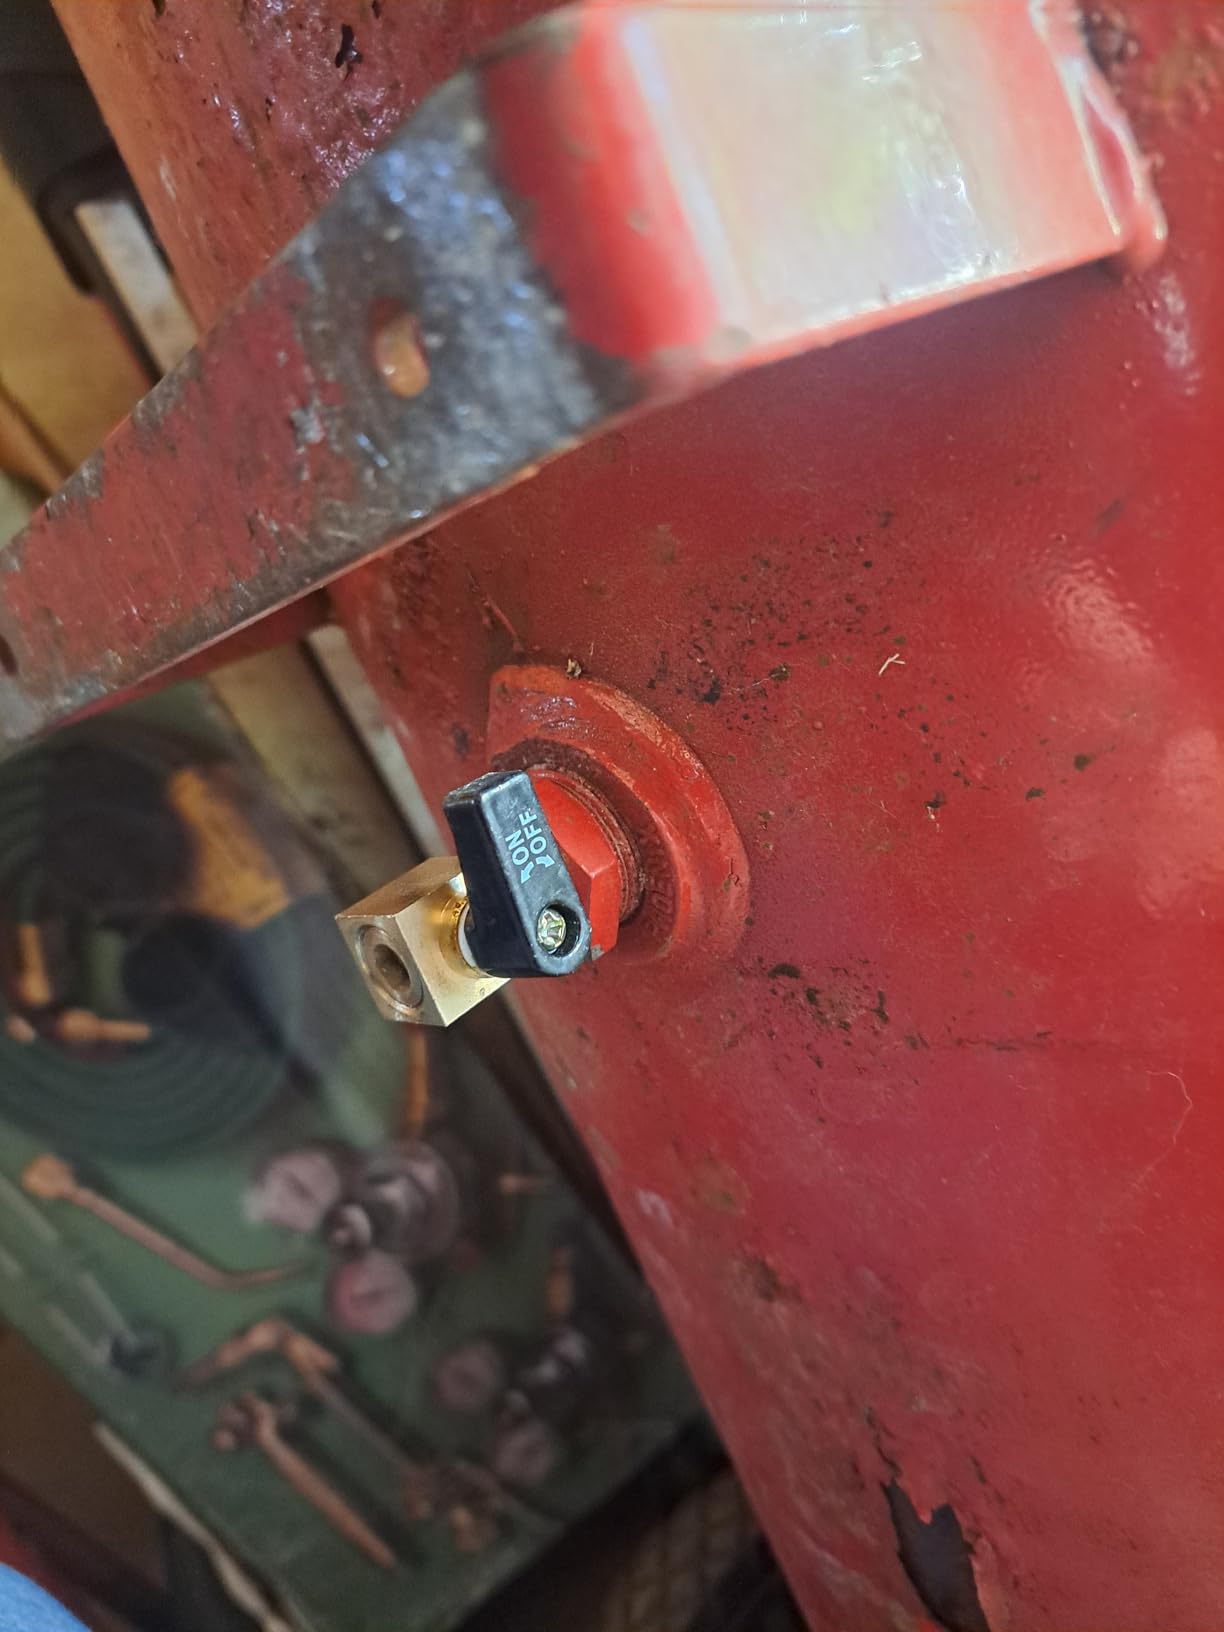
This is the traditional air brake and heavy equipment valve, and it is the one we would trust on a tank running well above 150 PSI. The body is machined from solid brass bar rather than cast, rated to 200 psi WOG, and the ground plug seats against the valve body with a rubber seal. Owners rate the sealing as dependable and report no leaks, and at a 4.8 average with 89 percent five star it is tied for the highest rating in this group.
What separates it from a petcock is the operating feel. Owners consistently describe it as opening far more easily than bent-metal wing petcocks, with a smooth turn rather than a grind. The 360 degree rotating handle means you can set the lever in whatever orientation the port allows, which matters when the drain is mounted at an angle or in an awkward spot.
The long hexagonal body is a genuinely useful detail. A hex flats for a wrench, and the length gives you a solid grip in a tight tank location where a wing handle would be impossible to work. For a shop that services equipment, a valve that turns predictably under a wrench is worth more than a cheaper one that rounds off.
The height is the constraint. Because the body is taller than a standard petcock, it can contact the floor on a low-mounted tank and that contact can stop the plug from seating fully, which is precisely the leak you were trying to fix. Measure your clearance before fitting it, and if the tank sits low, an extended hose assembly is the safer path.
When a ground plug cock is the right tool
High working pressure is the main case. The 200 psi WOG rating has real margin over the 150 to 175 PSI working pressure of a typical shop tank, and a ground plug seat is a proven design on air brake equipment where leaks are not acceptable.
Tight installation locations are the second case. The long hex body and the freely rotating handle solve problems that a small wing cock cannot, and on a tank with a recessed port this is the valve that still opens when everything else is awkward.
The one habit you need to change
The handle turns through a full 360 degrees with no hard stop, so it can be rotated past closed and reopened without any resistance. Make it a rule to shut the drain and check the tank gauge before you walk away, because a ground plug cock left a fraction past closed will weep exactly like the leak that sent you shopping.
On clearance, treat the height as a hard constraint rather than something to work around. If the valve would touch the floor, add a short length of hose to lift the discharge, or move to a smaller-bodied valve, rather than forcing a ground plug into a space it cannot fully seat in.
9. Reluen Hand-Turn Brass Petcock — Most Versatile
Air Compressor Drain Valve, 1/4 NPT Male Hand-Turn Brass Petcock Kit
Solid brass petcock
Standard 1/4 in NPT male
Rated up to 150 psi
Pros
- Solid brass body resists corrosion
- Standard 1/4 in NPT fits many standard tank ports
- No tools needed to operate
- 4.2 average across 321 ratings
Cons
- Hand-turn operation is slower than a ball valve
- Wing handles can strip if tightened with a wrench
- Lowest average rating in this group at 4.2
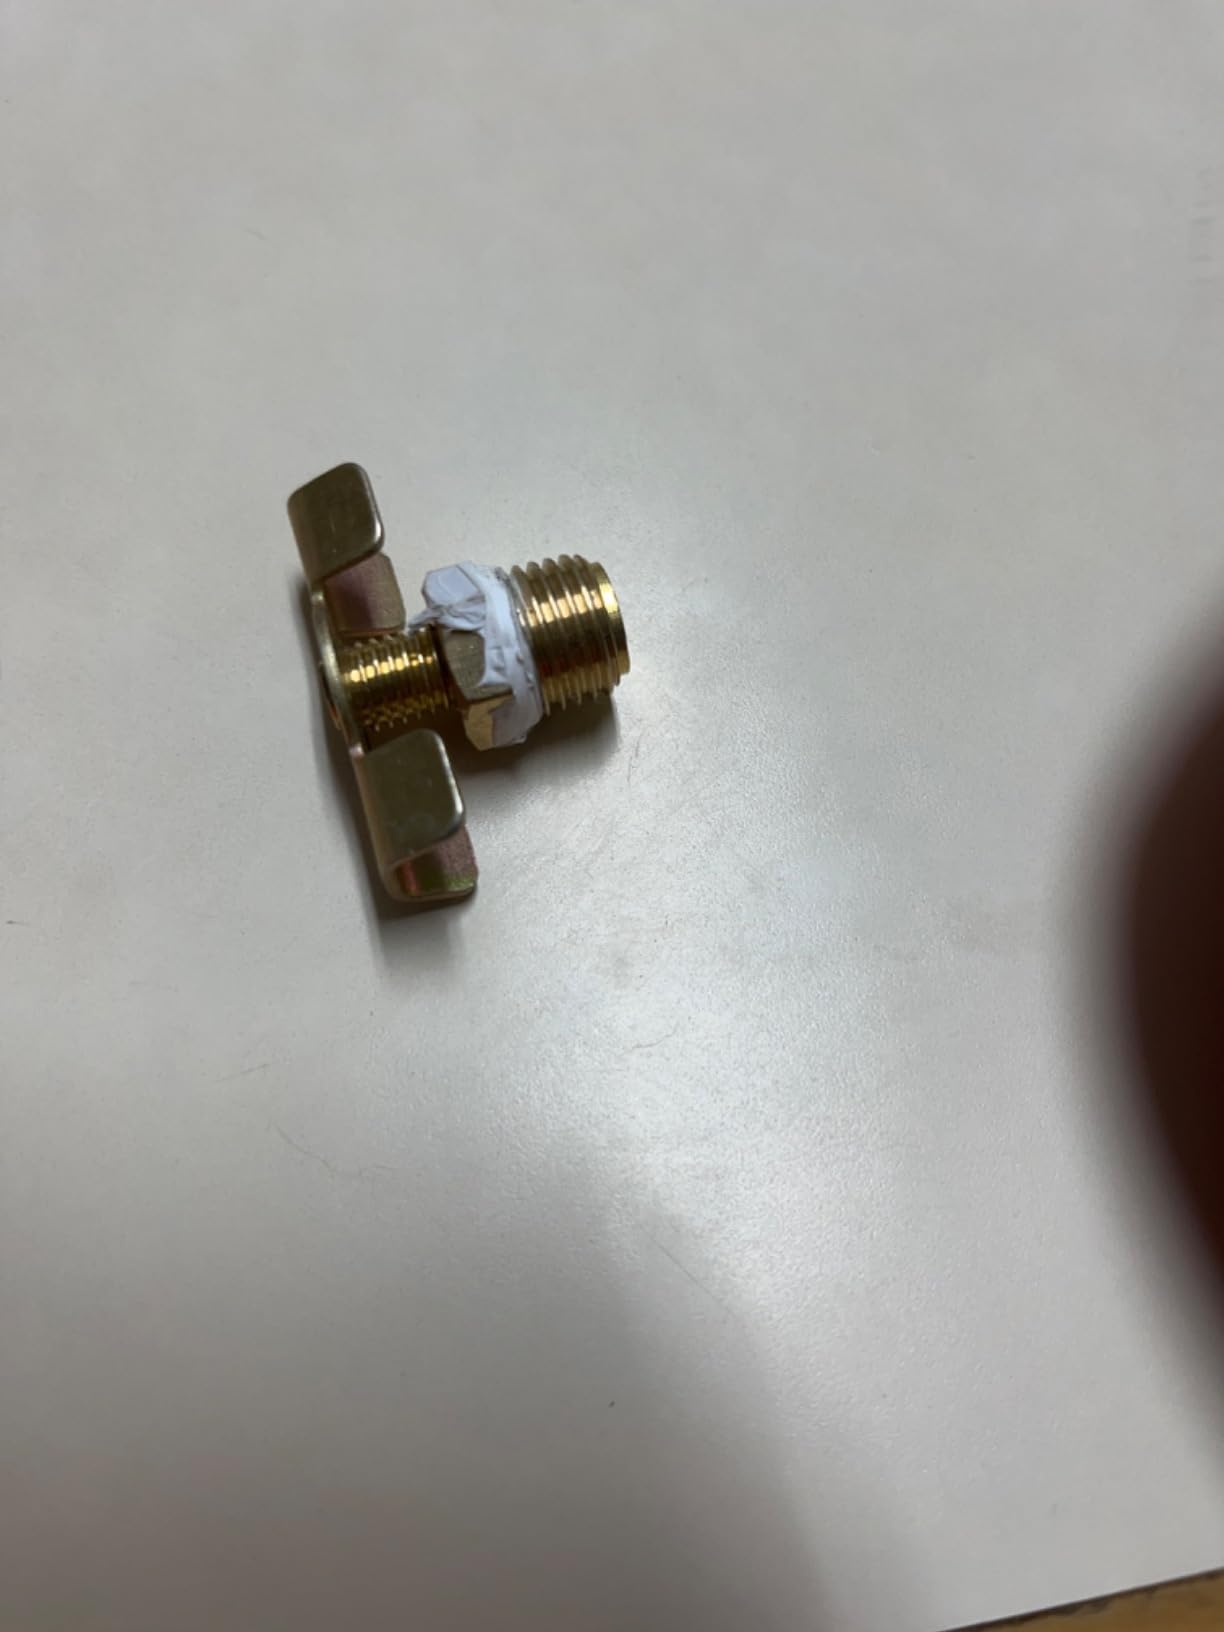
This is the honest budget option and it does the basic job. Solid brass body, standard quarter-inch NPT male thread, rated to 150 PSI, and it installs as a straight replacement drain plug with no special fittings. If your tank drains once a month and the current valve is weeping, this fixes the problem for very little and takes about five minutes to fit.
It is also more versatile than its category suggests. The same hand-turn petcock design works as a radiator drain, which means one small part covers a compressor tank, a portable air tank, and a piece of equipment you are restoring. For anyone who keeps a mixed spares box in the garage, that flexibility is worth something on its own.
The 4.2 average is the lowest in this group, with 12 percent one-star feedback, and the reasons are consistent: the hand-turn operation is slower than a quarter-turn ball, and the wing handle can crack or strip if it is tightened hard with a wrench. Neither is a defect in the design; both are reasons the same money buys something better if you drain often.
Installation note worth reading twice. Wrap thread tape, hand-tighten, then add a turn with a wrench and stop. The reason for the caution is that overtightening a wing handle is the single most common way people crack one of these valves and end up draining a small amount of the tank onto the floor.
When a basic petcock is the right answer
Occasional use is the clearest case. A compressor that runs once a month does not need a full-port ball or a routed assembly, because the volume of water is small and the drain speed barely matters. Brass and a standard thread is all the problem requires.
It is also the right call for secondary tanks. Portable air tanks and vehicle-mounted receivers see far less use than a shop compressor, and a simple petcock that can be closed with a hand and does not need routing is easier to live with.
Where you will notice the difference
On a tank that holds a real column of water, the narrow bore of a screw petcock makes draining a slow job, particularly if the valve is stiff. Once a month that is invisible. At the end of every work session, it is the reason people end up routing the drain line instead.
The 12 percent one-star feedback is worth taking seriously before buying. The common thread in negative reviews is overtightening and a handle that cracks, so treat the wrench instruction as a hard limit. Tighten until it is snug plus a fraction, and it will hold for years.
10. HK Extended Tank Drain Assembly Kit — Most Compact Extended Option
HK Extended Tank Drain Assembly Kit with 10 Inch Braided Steel Hose 1/4 Inch Drain Valve and Elbow Fitting for Air Compressor
Braided steel tube with brass fittings
175 psi working pressure
Threaded port on the shut-off valve
Pros
- Threaded port on the shut-off valve accepts another hose or elbow
- Stainless braided hose resists kinking
- Pre-coated thread sealant plus spare tape
- 175 psi working pressure
- 4.7 average across 771 ratings
Cons
- Installed length adds to the tank footprint
- Braided steel is stiffer than rubber so routing needs care
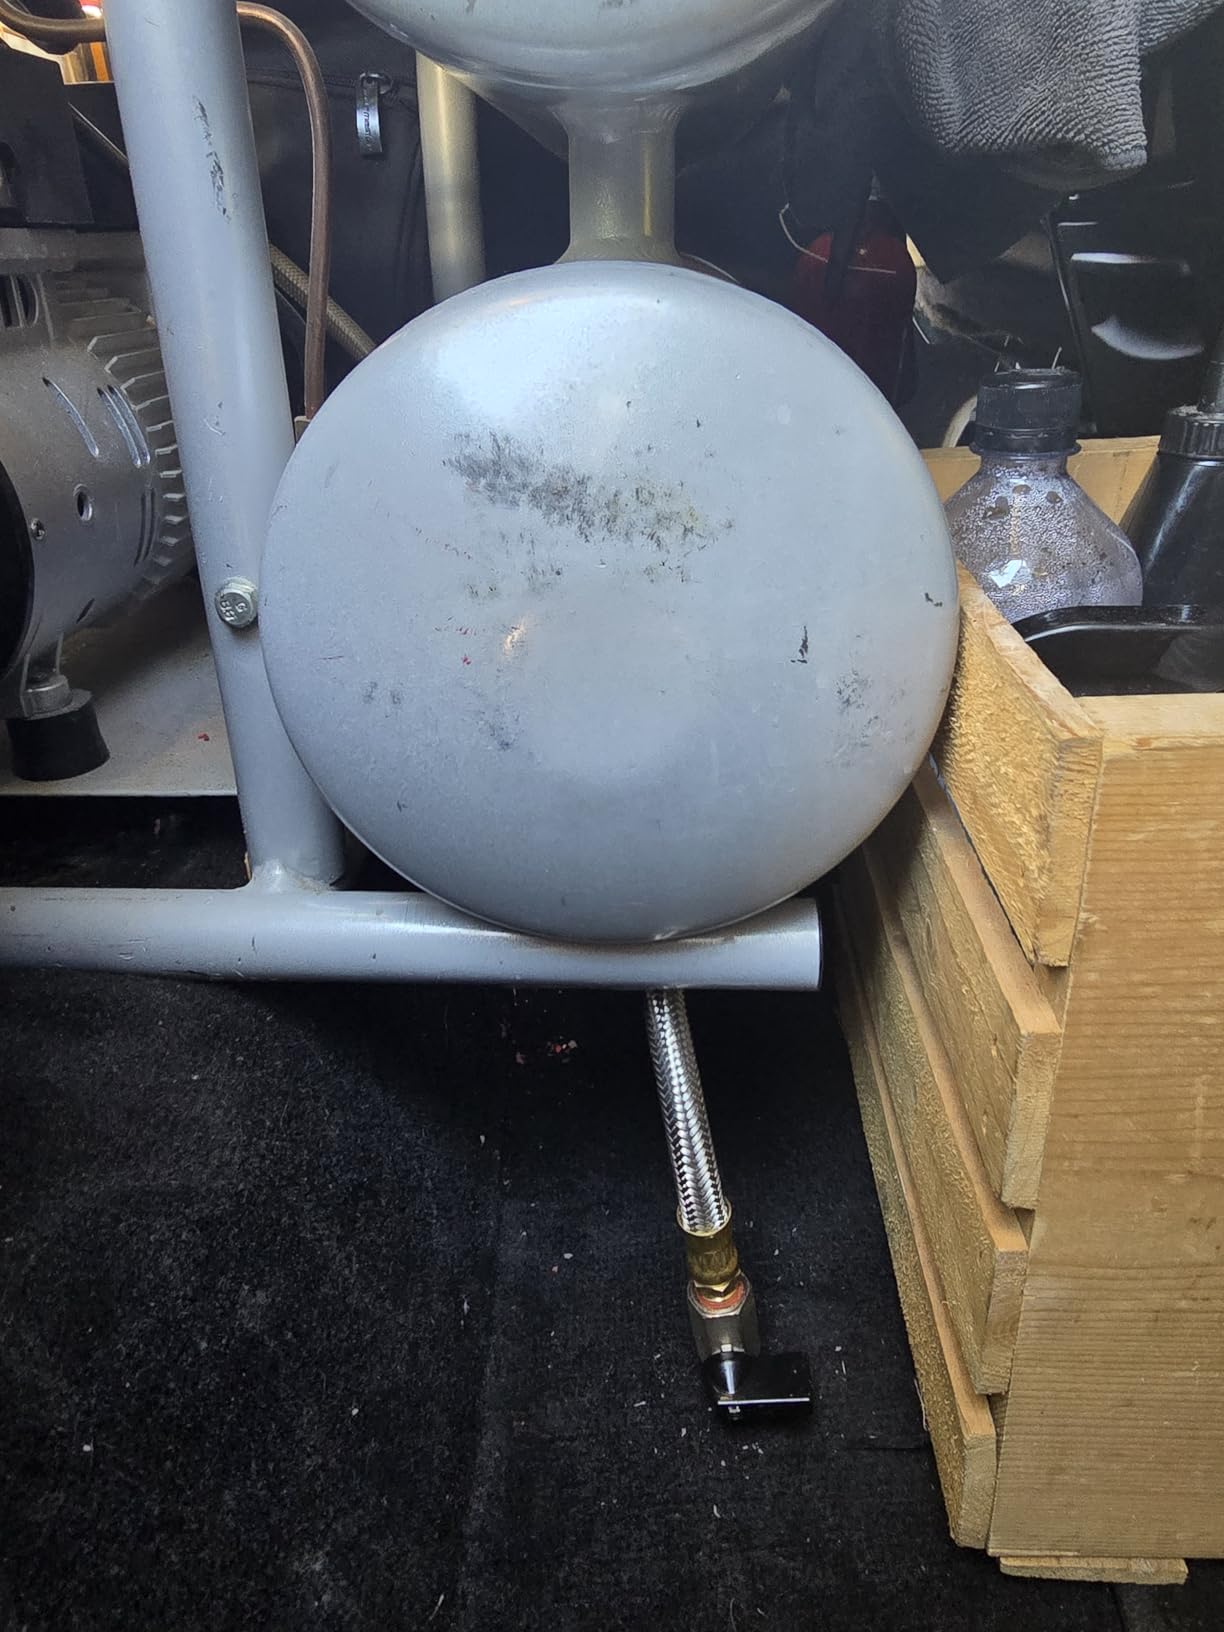
The HK kit is the extended assembly to buy if you want the threaded port on the valve itself. Most kits discharge through a fixed outlet; this one has a threaded port on the shut-off valve, so you can attach another hose, an elbow, or a routing to a floor drain without hunting for a separate adapter. For anyone who wants the drain out of the tank entirely rather than just easier to reach, that is the difference that matters.
Everything else in the design follows the pattern that has proven out in this category. A 10-inch flexible braided steel tube with quarter-inch NPT threads at both ends, brass fittings throughout, 175 psi working pressure with a 475 psi blasting figure, and a 200 degree F temperature ceiling. The threaded joints come with pre-coated thread sealant, and a spare roll of sealing tape plus a three-eighth-inch male by quarter-inch female hex bushing adapter are in the box.
At a 4.7 average across more than 770 reviews with 83 percent five star, it is one of the best-reviewed extended options we examined, and the owner feedback matches the spec sheet: people are satisfied with the accessibility improvement and the sealed fittings, and the one thing they are reminded of is total installed length.
Braided steel is stiffer than rubber, which cuts both ways. It will not kink and it will not crack under a sharp bend, but routing it through a tight curve to reach a wall penetration takes a little more care than a rubber hose would. Plan the path, bend it once, and secure it with a clip so the fittings are not carrying the weight.
What makes this the most flexible extended kit
The threaded valve port. Once the ball valve is closed, the port stays available for a hose, an elbow, or an adapter, which means you can extend the drain another foot, drop it into a floor drain, or send it through a wall without a dedicated fitting for the job. On an installed drain, that saves a fitting and a leak point.
The pre-coated sealant on the threaded joints is the other quality detail. It is the difference between an assembly that weeps at the elbow three months later and one that does not, and it is why we would specify this kit for a routed install over a bare hose-and-valve combination.
Plan the route before you tighten anything
Measure the fitting-to-fitting run, not the hose. A 10-inch tube with a valve head and an elbow fitted to it occupies considerably more than 10 inches of space, and on a low tank the extra length can put the valve handle back where you could not reach it comfortably.
Because the steel line is stiff, decide the destination before you assemble. If the water is going to a floor drain, cut the length to suit the run and clip the line to a tank leg. If it is going outside, use tubing and fittings rated for the exposure rather than relying on the supplied braid for the outdoor section.
How to Drain an Air Compressor Tank
To drain water from an air compressor tank, unplug the compressor, confirm the gauge reads zero, and open the drain valve slowly until the airflow stops and only water comes out. Close the valve, plug the compressor back in, and confirm the gauge refills. The whole job takes under a minute on a properly routed drain.
Switch the compressor off and unplug it. Do not rely on the pressure switch alone, because a leaking switch can start the motor while you are under the tank.
Confirm the tank gauge reads zero. This is the step that matters, because a drain opened on stored pressure sprays condensate at high velocity.
Place a container or route a hose to a floor drain. On a floor drain, the purge water leaves the work area instead of sitting on the concrete.
Open the drain slowly. Air hisses out first, then the flow slows to water, then it sputters and stops. That sputter is the last of the condensate.
Close the valve firmly, plug the compressor in, and let the tank refill. Verify there is no seep at the drain fitting before you walk away.
Do not leave the drain valve open on your air compressor between uses. An open drain bleeds tank pressure continuously, which means the compressor cycles far more often than it should, wastes electricity, and exposes the motor to a shortened duty cycle. An extended assembly solves this neatly, because you can reach the valve quickly, open it for ten seconds, and close it again.
On the noise question, if an automatic drain’s periodic purge is a problem for you, that is a valid reason to fit a manual valve instead. Multiple owners made exactly that swap. The alternative is to tune the electronic drain’s adjustable purge frequency and open time down to the shortest useful setting.
How Often Should You Drain Your Tank
Drain frequency depends on how much air you move and how cold the garage is. The rule that covers most cases: drain at the end of every work session for a daily shop compressor, once a week for occasional weekend use, and never skip the final drain before the compressor sits through a winter.
For a two-stage or high-CFM compressor that runs hard, condensation forms quickly because more air passes through the tank per hour. Daily shop users are the group most at risk of internal rust, and they are also the group where an automatic or extended drain pays for itself fastest.
For an occasional-use compressor, a weekly drain is generous. The water forms slowly, and the main risk is not the volume but the fact that small volumes sit in contact with the tank wall for weeks, which is where pitting starts.
Cold garages change the priority entirely. Water that sits in an unheated space through a freeze is the fastest route to a split tank, so a drain before the first cold night is not optional maintenance, it is damage prevention. The same applies to any compressor that will sit idle for weeks, regardless of your normal schedule.
If you want a passive answer to the forgetting problem, the most useful trick from the shop community is to tie the electronic drain to the motor side of the pressure switch so it purges on every compressor start. Then draining happens automatically at the moment you use the machine, rather than depending on a separate routine you will eventually skip.
How to Replace a Leaking or Frozen Tank Drain
Replacing a leaking drain is a short job once the tank is empty and unpowered. The whole operation is: confirm zero pressure, back the old valve out, clean the threads, fit the new valve with tape, and test for leaks under pressure.
Unplug the compressor and confirm the tank gauge reads zero. If the tank is frozen or still holding pressure, do not start. Have a qualified repair shop deal with it.
Chock the compressor if it is on casters so it cannot roll while you are underneath it.
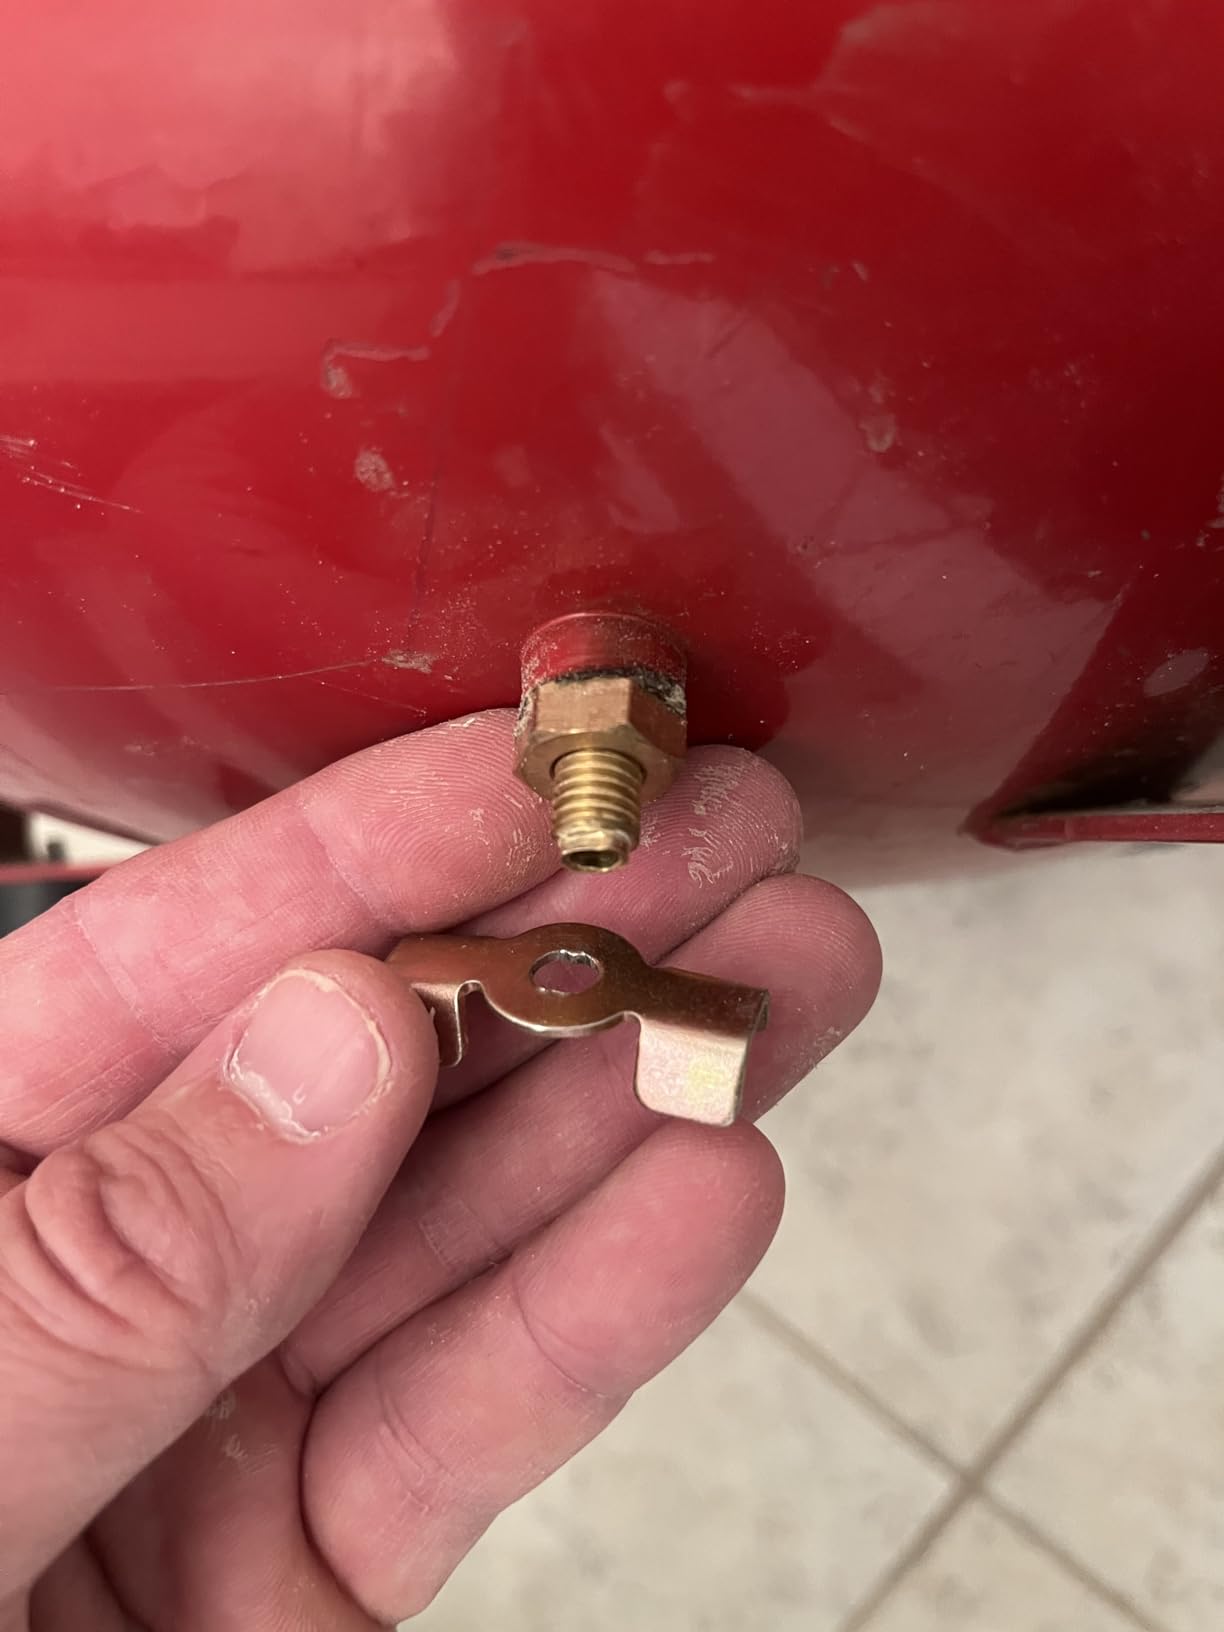
Place a pan under the port and back the old valve out with a wrench. If the fitting is seized, penetrating oil and patience beat forcing it and snapping the port.
Clean the tank port threads with a wire brush and a rag. Fresh, clean threads are what make the tape seal; a damaged or cross-threaded port will weep no matter what valve you fit.
Wrap the new valve’s threads with PTFE tape in the direction of tightening, hand-tighten it, then add only a fraction of a turn with a wrench. Overtightening cracks brass valves and strips thin tank ports.
Plug the compressor in, let the tank build, and watch the fitting with soapy water or a paper towel. A dry fitting after a full charge is a successful install.
If the port itself is damaged rather than the valve, the repair options narrow. A stripped or cracked drain port on a receiver is a tank integrity issue, not a parts issue, and at that point the honest answer is a replacement tank rather than a bigger adapter. The Chevelles thread documents a 30-gallon vertical tank whose petcock would not seal in any position, which is the moment most owners start considering a new tank rather than another valve.
One more thing worth doing while the tank is empty. Note how much water came out. A small amount every month is normal. A large volume after a short gap means your compressor is moving a lot of moisture, which is a reason to fit a downstream moisture separator as well as a better tank drain.
Buying Guide: Thread Size, Pressure Rating, and Drain Routing
What size drain valve do I need? Almost every residential and light shop receiver uses a 1/4 in NPT female port in the bottom of the tank, so a 1/4 in NPT male valve is the standard answer. Verify by measuring the thread diameter on the existing valve, or by checking the manual, because some larger tanks use 3/8 in ports and the manufacturers of extended kits include adapters to cover that difference.
Thread standard matters as much as size. NPT is tapered pipe thread, and the tape you use matters. Wrap PTFE tape in the direction of tightening, three to four wraps, with the tape flattened against the thread rather than bunched at the crest. It is the single most common cause of a fitting that weeps immediately after install.
Match the pressure rating to the tank, with margin. Consumer tanks commonly run to 150 or 175 PSI working pressure. Valves in this roundup are rated between 140 and 200 psi, with the higher figures on heavy-duty bodies. Anything rated at or above your tank’s working pressure is sufficient, and a margin is worth having on a drain that sees pressure on every cycle.
Material decides longevity. Brass is the standard and it is what we would choose. Plastic drains in a permanently wet sump crack and thread-strip, and steel drains corrode at the seat. All the picks here are brass or stainless steel bodies for that reason.
Decide reach early. Measure the distance from the tank port to where a comfortable handle position would sit. If that is more than a few inches, buy an extended assembly rather than a bare valve. A drain you can reach without lying down is the difference between draining on a schedule and never draining.
Plan the destination for the water. A bucket works for a monthly manual drain. For regular purges, run a line to a floor drain or out through the wall. If it goes outside, use fittings and tubing rated for outdoor exposure rather than standard plastic tubing, and route it where it will not discharge onto a walkway or a neighbour’s lawn.
Pair the drain with a moisture separator. The tank drain clears the receiver; it does nothing for the water that condenses downstream in the line and in your tools. A moisture separator or inline filter on the outlet side protects pneumatic tools and paint finishes, and a fine-screen Y-strainer catches debris before it reaches a tool. Yard tractor owners treat a Y-strainer as a must-have, but be aware they clog and can stick open, so they suit line drains more reliably than tank drains.
If your garage is still being organised around the compressor, the battery load tester roundup covers the other piece of shop equipment that tends to get left until it fails, and it pairs well with a compressor on the same circuit.
Cold Garage Winterizing: Stopping Freeze-Split Tanks
In an unheated garage, the drain is the part of the compressor that matters most in winter. Water in a receiver that drops below freezing expands, and the tank splits. A split receiver is not a repair; it is a replacement, and the failure tends to happen at the least convenient moment of the year.
The first step is draining, not blowing out. If the tank is empty and the drain is closed, there is nothing inside to freeze. A compressor that will sit unused for a stretch should be drained fully and left that way, with the drain valve closed to keep air in.
The second step is the valve itself. A plastic or badly seated drain is the component that fails first in cold conditions, because rubber seals stiffen and brass threads are the last thing to fail. Replacing a marginal drain with a brass valve before winter is cheap insurance.
The third step is location. A compressor stored in a detached or unheated space is a different problem from one in a heated shop, and the fix is a drain-down rather than a drain swap. If you also have other cold-storage equipment in that space, our chest freezer picks for garages cover the other appliance that has to survive the same temperature swings.
One caution: never use the tank pressure to force water out on a frozen or frozen-adjacent tank. If the compressor has been sitting cold, let it return to room temperature before you connect anything or open a drain, because a cold brass valve can crack on the first wrench turn.
Frequently Asked Questions
What are the best automatic drain valves for compressed air?
The best automatic drains are electronic timed units with adjustable purge frequency and open time, or float-type drains that open when the water level rises. The most praised features are the two adjustments, because they let you match the purge cycle to how much condensation your compressor actually produces. Shop types with adjustability and a proven solenoid rather than the cheapest available unit, and budget for the noise: a purge is a loud blast that repeats on a schedule.
What size drain valve do I need for my air compressor?
Most home and light shop compressor receivers use a 1/4 inch NPT female port, so a 1/4 inch NPT male drain valve is the standard choice. Some larger tanks use 3/8 inch ports, which is why extended drain kits often include a bushing adapter. Measure the thread on the existing valve or check the manual before ordering, because an unverified thread is the most common reason a replacement will not seal.
Should I leave the drain valve open on my air compressor?
No. Leaving a drain open bleeds tank pressure continuously, which makes the compressor cycle constantly, wastes electricity, and shortens the motor duty cycle. Leave the valve closed during use and open it only to purge. If reaching the valve is the reason you are tempted to leave it open, an extended drain assembly solves that in a few minutes of work.
How do I drain water from my air compressor tank?
Unplug the compressor, confirm the tank gauge reads zero, then open the drain slowly until the airflow stops and only water comes out. Close the valve firmly, plug the compressor back in, and let the tank refill. Never crack a drain on a pressurized tank, because stored energy sprays condensate out at high velocity.
Do air tank reservoirs need to be drained every day?
For a shop compressor that runs daily, yes, drain at the end of every session. High-flow and two-stage compressors generate condensation quickly, and standing water is what causes internal rust. For a weekend-use compressor, a weekly drain is more than sufficient, and an automatic or extended drain is worth fitting if you tend to forget.
How often should I drain water from my air compressor?
Drain at the end of every work session for a daily shop compressor, once a week for occasional use, and always before a compressor sits unused through a freeze. In an unheated garage, the pre-winter drain is the one that prevents a split tank. If forgetting is the problem, an electronic drain wired to the motor side of the pressure switch purges on every start.
What is the best automatic drain valve for air compressors?
The best automatic drain is one with adjustable purge frequency and adjustable open time, because those two settings determine how loud and how often it fires. A purge wired to the compressor shutdown, rather than a fixed timer, fires when it is most useful and stays quiet between uses. Choose solid brass or steel construction over plastic, and expect to route the discharge somewhere useful.
Why does my air compressor drain valve leak when the tank is full?
A leak that appears under pressure usually means the seat or seal is worn, the thread is not clean, or the valve was overtightened and cracked. A leaking drain that is stuck fully open is a different fault, and it means the internal mechanism or seat is damaged rather than loose. Replacing the valve with a brass quarter-turn ball type solves both cases in most garages.
The Best Air Compressor Tank Drains for Garages in 2026
Pick by scenario. If you own a Porter Cable C2002 or C2005, the OEM drain valve two-pack is the direct, correct fix and the one we would install first. If your tank port is out of reach, an extended assembly is the highest-impact change in this list, and the Hromee or HK kits cover it with the fittings you need. If you need the fastest possible purge on a high-pressure tank, the ground plug cock is the tool rated for the job.
Our overall pick stays the Porter Cable OEM valve: the highest review volume in the group at more than 1,700 ratings, a 4.7 average, and a part number that removes the fitment guesswork that sends returns back to the shelf. For a universal garage that has never been drained on a schedule, the extended assemblies are the upgrade that changes behaviour rather than just hardware.
Whatever you choose, the maintenance is the same and it costs nothing. Drain at the end of every session, never open a drain under pressure, and pair the tank drain with a downstream moisture separator so the water that forms in your lines does not reach your tools. Draining well is the least expensive compressor maintenance there is, and 2026 is a fine year to start.
If you are organising the rest of the garage around the compressor, our rod rack picks and attic ladder guides cover the two upgrades that give you back floor space once the compressor corner is sorted.