
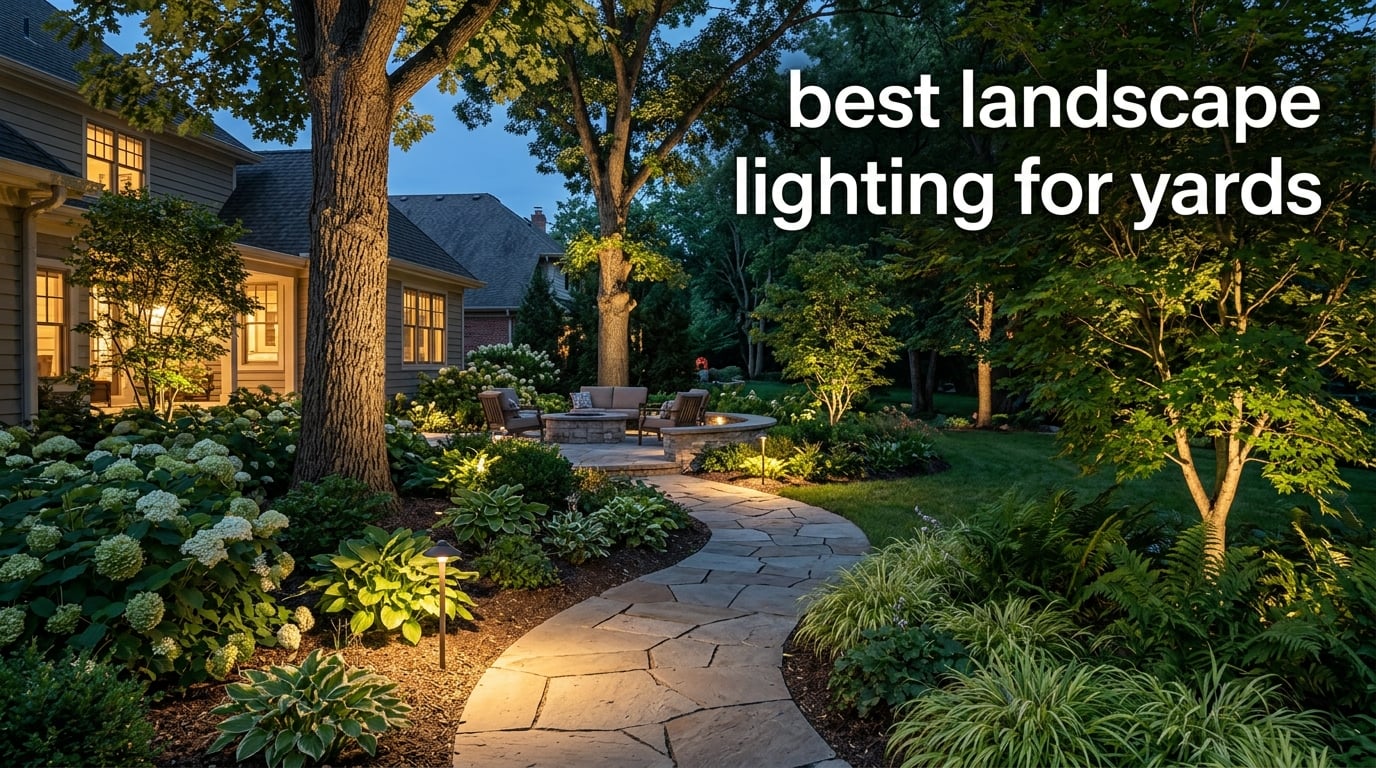
The best landscape lighting for yards does more than make a walkway visible after dark. It guides guests around steps, softens the edges of a patio, and gives trees enough contrast to become part of the view instead of disappearing into the night.
I evaluated eight outdoor lighting sets using the details that matter in a real yard: brightness claims, beam direction, light color, weather rating, mounting options, expected runtime, and whether the kit needs extra wiring. The line-up leans toward solar lights because they are simple to place, while the REEEGOLD option covers readers who prefer a wired low voltage system.
My goal is practical rather than decorative. I focused on fixtures that can mark a path, lift a tree, or outline a house with a controlled beam, then compared their trade-offs. For more seasonal yard ideas, our guide to outdoor holiday projectors covers another way to change the mood after sunset.
Table of Contents
Top 3 Picks for Best Landscape Lighting for Yards (September 2026)

InnoGear Solar Spotlights
- Adjustable light and panel
- Two lighting modes
- Ground or wall mount
These three picks cover the most useful paths: a flexible solar spotlight, a brighter three-mode solar set, and a wired fixture for people who already have a low voltage plan. The InnoGear set wins the broadest recommendation because its independently adjustable panel and light make placement less dependent on one fixed angle.
Best Landscape Lighting for Yards in 2026
| Product | Specifications | Action |
|---|---|---|
| InnoGear 6 Solar Lights |
|
Check Latest Price |
 GIGALUMI 12 Solar Path Lights GIGALUMI 12 Solar Path Lights |
|
Check Latest Price |
 NYMPHY 6 Solar Spotlights NYMPHY 6 Solar Spotlights |
|
Check Latest Price |
 INCX 12 Solar Ground Lights INCX 12 Solar Ground Lights |
|
Check Latest Price |
 AUDERWIN 4 Solar Spotlights AUDERWIN 4 Solar Spotlights |
|
Check Latest Price |
 WENATY 12 Solar Spotlights WENATY 12 Solar Spotlights |
|
Check Latest Price |
 REEGOLD 6 Wired Spotlights REEGOLD 6 Wired Spotlights |
|
Check Latest Price |
 Eyrosa 12 Solar Path Lights Eyrosa 12 Solar Path Lights |
|
Check Latest Price |
Before choosing, decide whether the first job is visibility, atmosphere, or a mix of both. A spotlight is better for a tree trunk or wall; a path light is better for repeated, low-level guidance; and a wired system is better when you want consistent output without relying on a panel’s daily charge.
1. InnoGear Solar Spotlights: Flexible Accent Lighting
InnoGear 6 Solar Lights Outdoor Spot Garden Yard Landscape Flag, Warm White
Six solar spotlights
Adjustable light and panel
Warm white LED
Pros
- Flexible placement with independent adjustment
- Two brightness modes
- Ground stake or wall mount
- Water-resistant construction
Cons
- Panels need strong sun exposure
- Limited horizontal swivel
- Heavy rain may affect longevity
I would use the InnoGear set to light a small tree, a garden bed, or a façade where the panel can face south and the lamp can be aimed separately. Its 1.5W monocrystalline panel and 90-degree adjustment make the setup more flexible than a fixed solar head, especially when the best sun position is not the best view position.
The two modes help balance atmosphere and endurance: the high setting is listed for up to six hours, while the low setting is listed for up to twelve. That flexibility matters in a yard with mixed uses, but I would still plan the placement around direct sun rather than assume a shaded corner will perform like an open lawn.
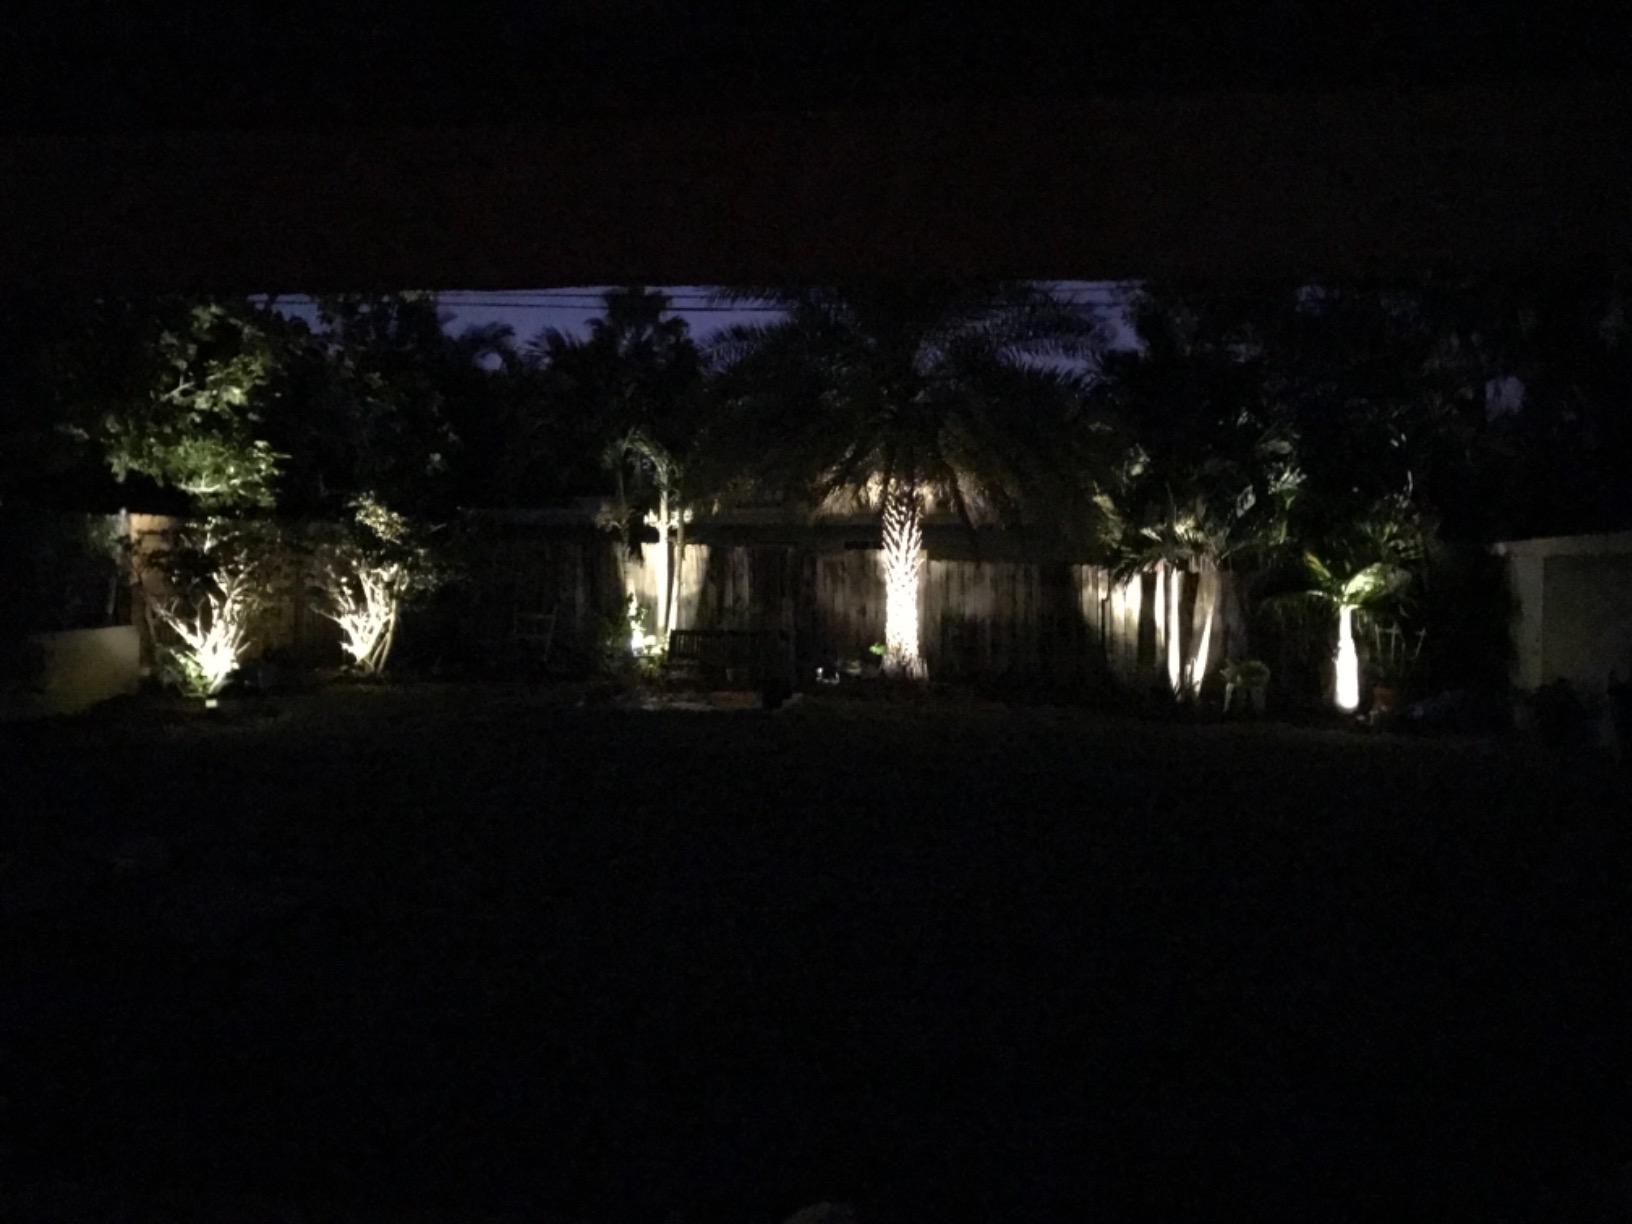
Reviewers consistently praise the easy assembly, warm white output, and quick charging. The limitations are equally clear: the light and panel move vertically rather than through a wide horizontal range, and some users report needing to reposition individual units for more even results.
For a small yard, the six-light pack is enough to create a few deliberate accents without turning the whole garden into a bright runway. It is especially useful when trenching cable is not part of the project.
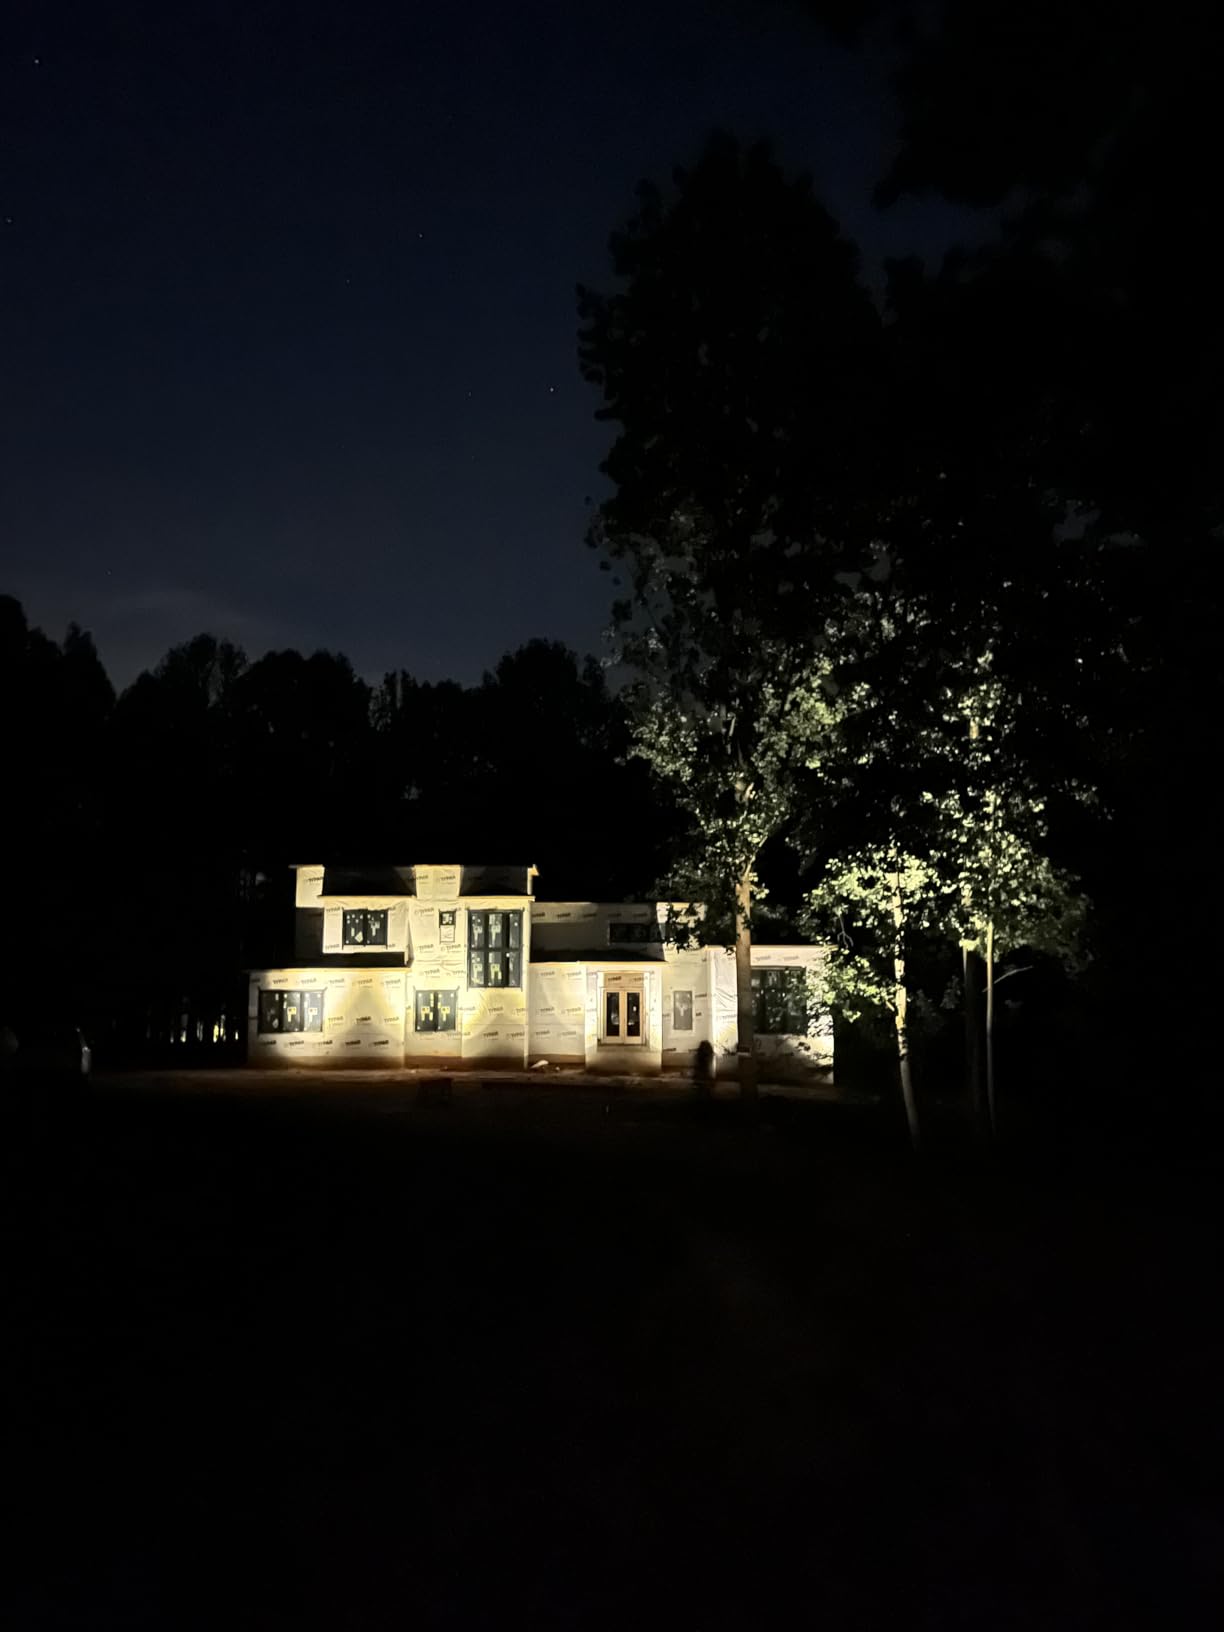
Best use and placement for InnoGear
Choose this set when you need adjustable solar spotlights for trees, beds, or wall-mounted accents. Keep the panel unobstructed and aim the beam down or across a surface rather than directly into a window or walkway.
I would not choose it as the sole light for a dark driveway. Its strength is controlled accent lighting, and the charging requirement means shaded locations need a different solution.
Who should look elsewhere
Buyers who need a fixed, evenly lit path or a fixture that works through a shaded installation may be happier with wired spotlights or path lights. The InnoGear set also asks for more attention to panel orientation than a low voltage cable.
If rain exposure is a major concern, compare its weather-resistant ABS construction with the higher IP rating offered by the NYMPHY lights. A covered location can also reduce the risk of moisture-related wear.
2. GIGALUMI Solar Path Lights: Broad Walkway Coverage
GIGALUMI Outdoor Waterproof Solar Garden Lights, 12 Pack Cold White
Twelve solar path lights
6500K cool white
IP44 weather resistance
Pros
- Large 12-light set
- Automatic dusk-to-dawn operation
- Easy in-ground installation
- Modern stainless steel look
Cons
- Only 3 lumens per light
- Fragile plastic stakes
- Cloudy days can shorten runtime
The GIGALUMI set is a straightforward way to mark a long garden path without wiring twelve separate fixtures. Its 6500K cool white output reads clearly at night, and the automatic sensor removes the need to switch each light on at dusk.
I would treat these as wayfinding lights rather than primary illumination. The product data lists a maximum output of 3 lumens, so the effect is a neat row of points that helps define the route, not a bright tunnel that reveals every stone or garden edge.
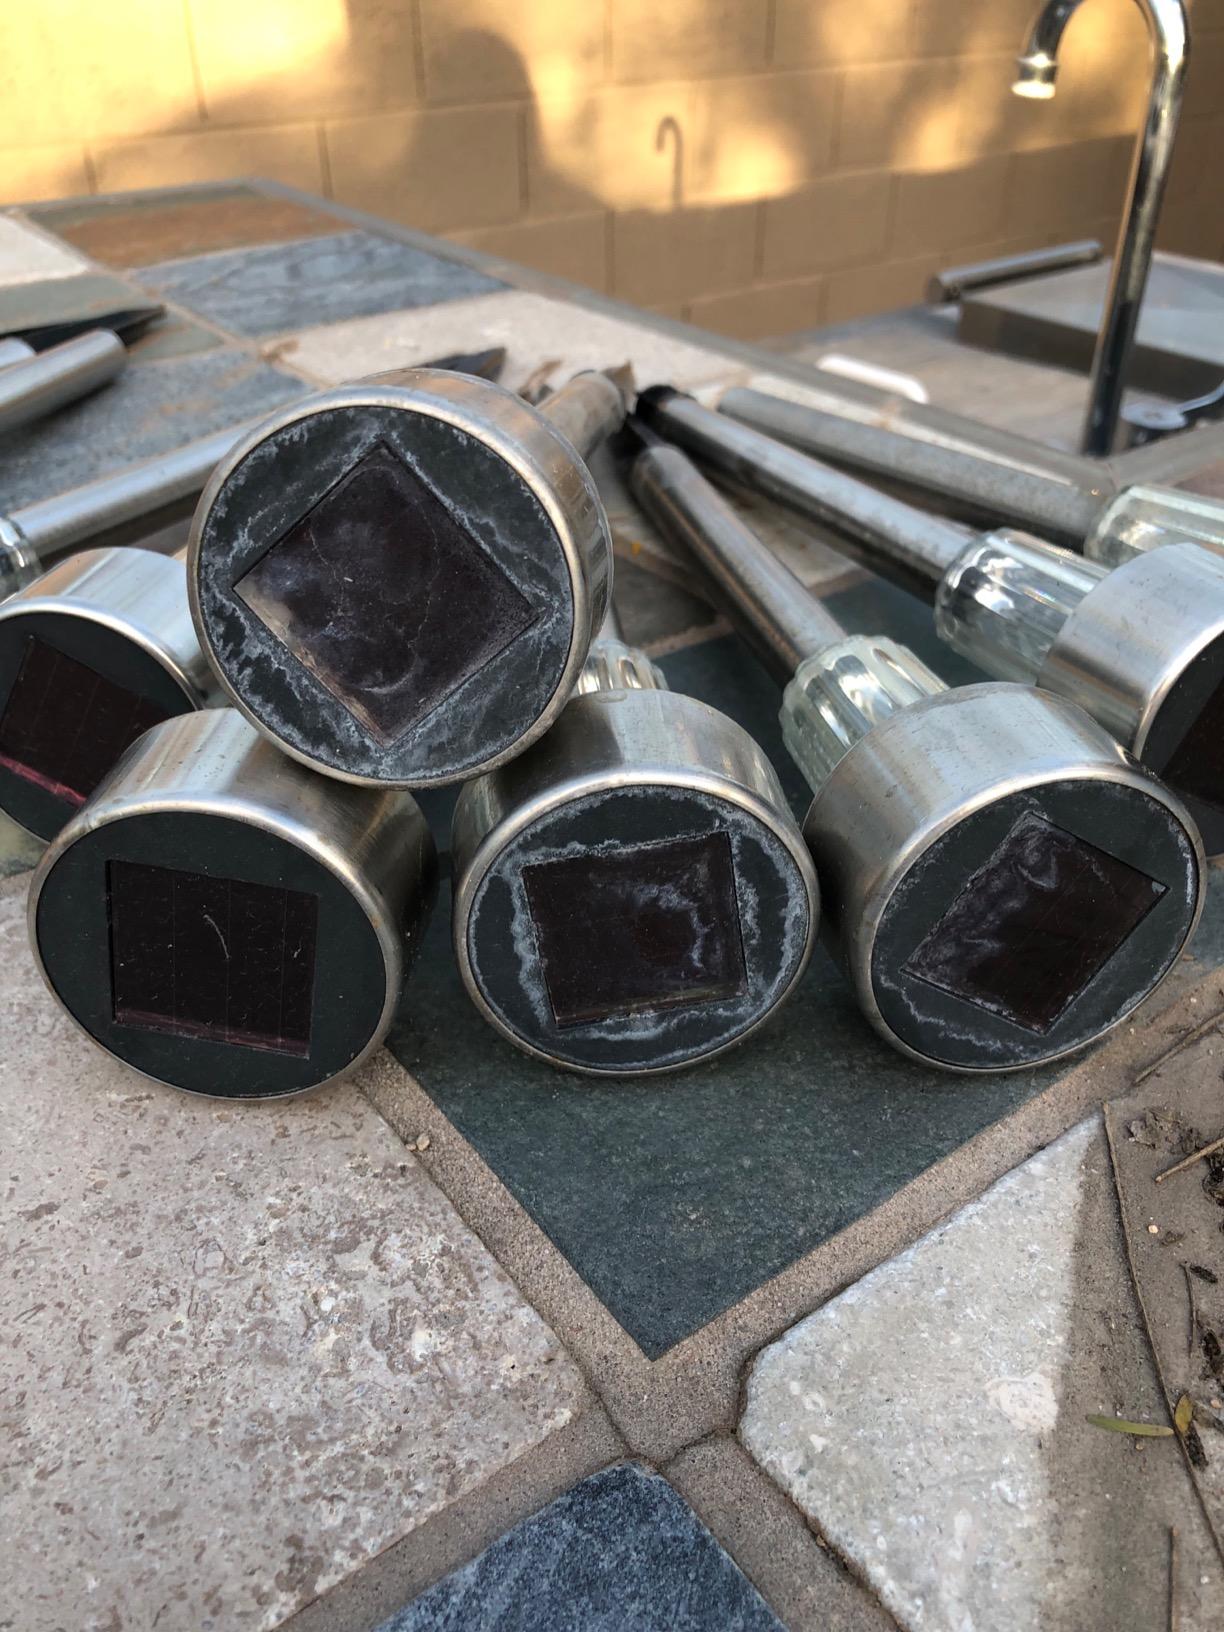
Reviewers like the transparent lamp head, simple push-in stake, and modern appearance. The most common caution is brightness: several customers describe the output as decorative or accent-level, while others mention shorter operation after cloudy weather.
That trade-off is sensible for a long border or informal path where consistency matters more than raw power. I would avoid placing the units where a broken stake could create a trip hazard or where winter foot traffic could bend the plastic mount.
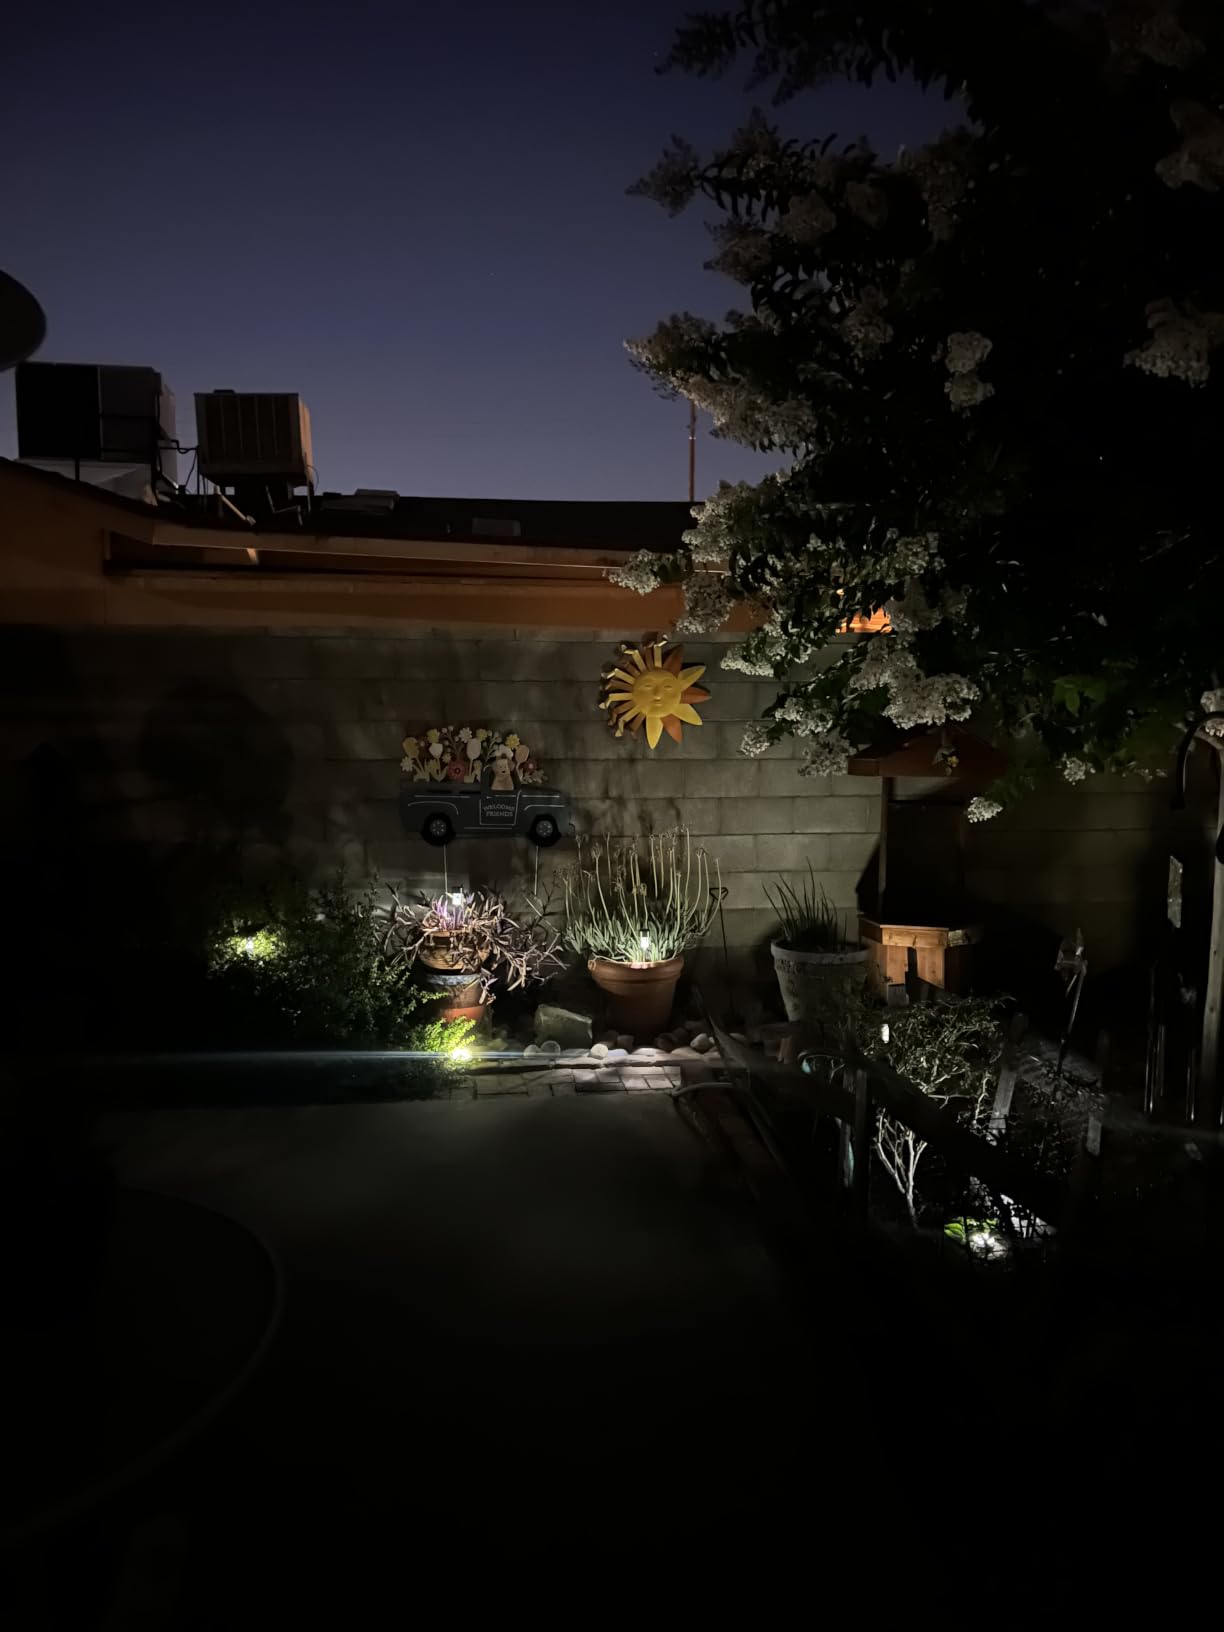
Best use and placement for GIGALUMI
This is a good fit for a garden walkway, patio edge, or driveway border that needs repeated markers. Space the fixtures evenly and keep them on the inside of the route so the light guides the eye without creating glare.
The cool white color can feel stark beside a warm stucco house or a quiet woodland planting. In that setting, I would use them selectively or compare the Eyrosa 3000K option for a softer visual effect.
Who should look elsewhere
Choose another fixture if you need to illuminate steps, furniture, or a security-sensitive area. These lights are not designed to replace a spotlight or a brighter wired path system.
Also consider soil conditions before ordering. Loose soil makes push-in installation easy, while rocky ground can stress the plastic stakes and make the finished row less consistent.
3. NYMPHY Solar Spotlights: Bright Three-Mode Illumination
NYMPHY Solar Lights Outdoor Waterproof – 6 Pack (Warm White)
Six-pack solar spotlights
400-lumen listed output
3000K warm white
Pros
- Strong 56-LED output
- Three brightness modes
- IP68 weather protection
- Ground or wall mounting
Cons
- Only two stakes are listed for six lights
- Some units vary in performance
- No stated manufacturer warranty
The NYMPHY set is the pick I would reach for when the goal is visible outdoor lighting rather than a subtle pinprick along a path. It combines 56 LEDs with three modes and a listed maximum output of 400 lumens, giving it more presence than a small accent marker.
The 3000K warm white is a useful balance for a yard: it feels welcoming while still showing foliage and architectural texture. I would start in medium mode for most evenings, then use high mode when a tree or wall needs more definition.
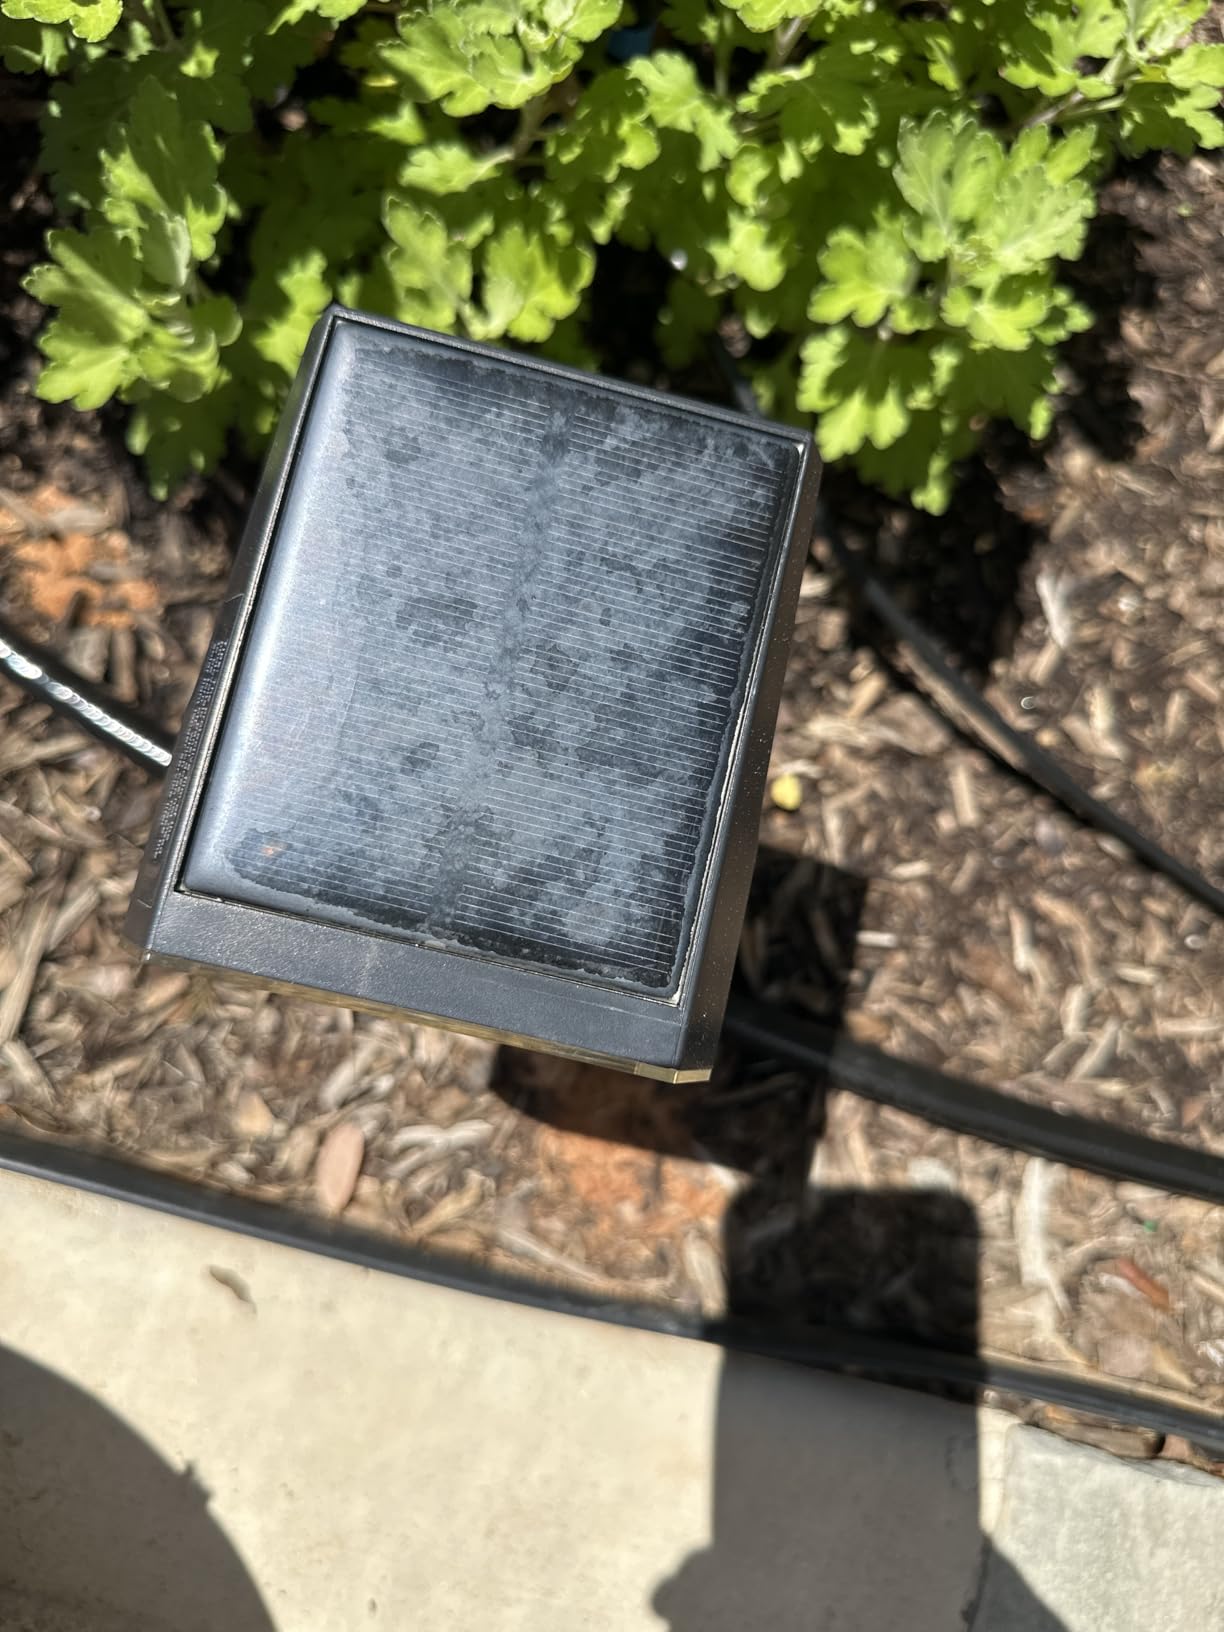
The mode claims are especially helpful. Low mode is listed for up to 20 hours, medium for up to 10 hours, and high for up to 6 hours, although actual runtime depends on charging and weather.
The product’s IP68 rating and stated operating range from -4°F to 140°F make it a strong candidate for exposed locations. Customer feedback praises brightness and flexibility, while also noting that the included-component count and performance consistency deserve attention.
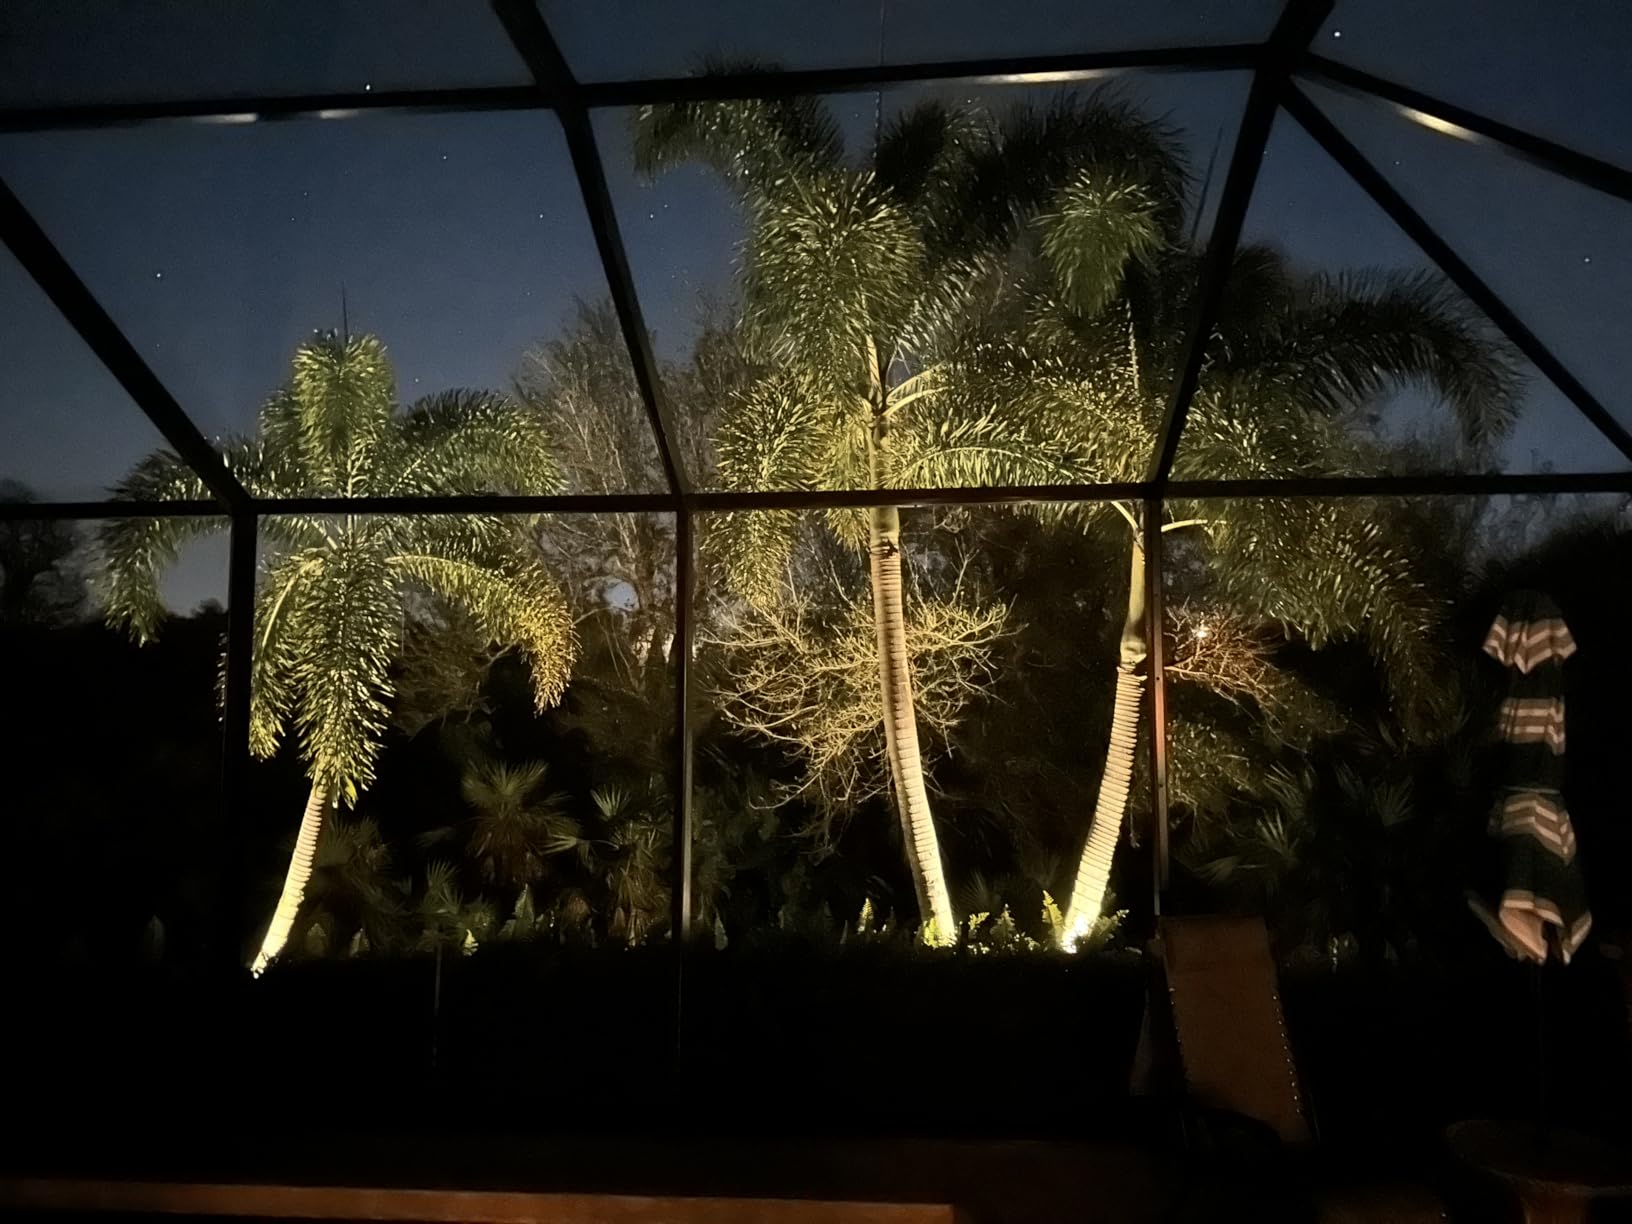
Best use and placement for NYMPHY
I would use these fixtures around a larger tree, along a fence, or near a garage wall where the beam has a surface to reveal. Place the light below or beside the feature and aim across the texture rather than straight at the viewer.
Because the product data lists only two ground stakes for a six-pack, check the package contents before planning a full row. Extra mounting hardware may be needed for a clean, evenly spaced installation.
Who should look elsewhere
People who want a low-glare garden glow may find the 400-lumen class too assertive. The mode control helps, but the high setting is still meant to make a feature noticeable.
Buyers who want a manufacturer warranty or perfectly matched output from every unit should weigh the reported batch inconsistencies. I would inspect and test each light immediately after setup.
4. INCX Solar Ground Lights: Low-Profile Path Definition
INCX Solar Lights Outdoor Waterproof, Cold White, 12 Pack Ground Lights
Twelve solar ground lights
Seven lumens each
IP65 weather resistance
Pros
- Low-profile installation
- Automatic light sensor
- Durable stainless steel housing
- Good 12-pack coverage
Cons
- Plastic stakes can be fragile
- Occasional defective units
- Sunlight changes runtime
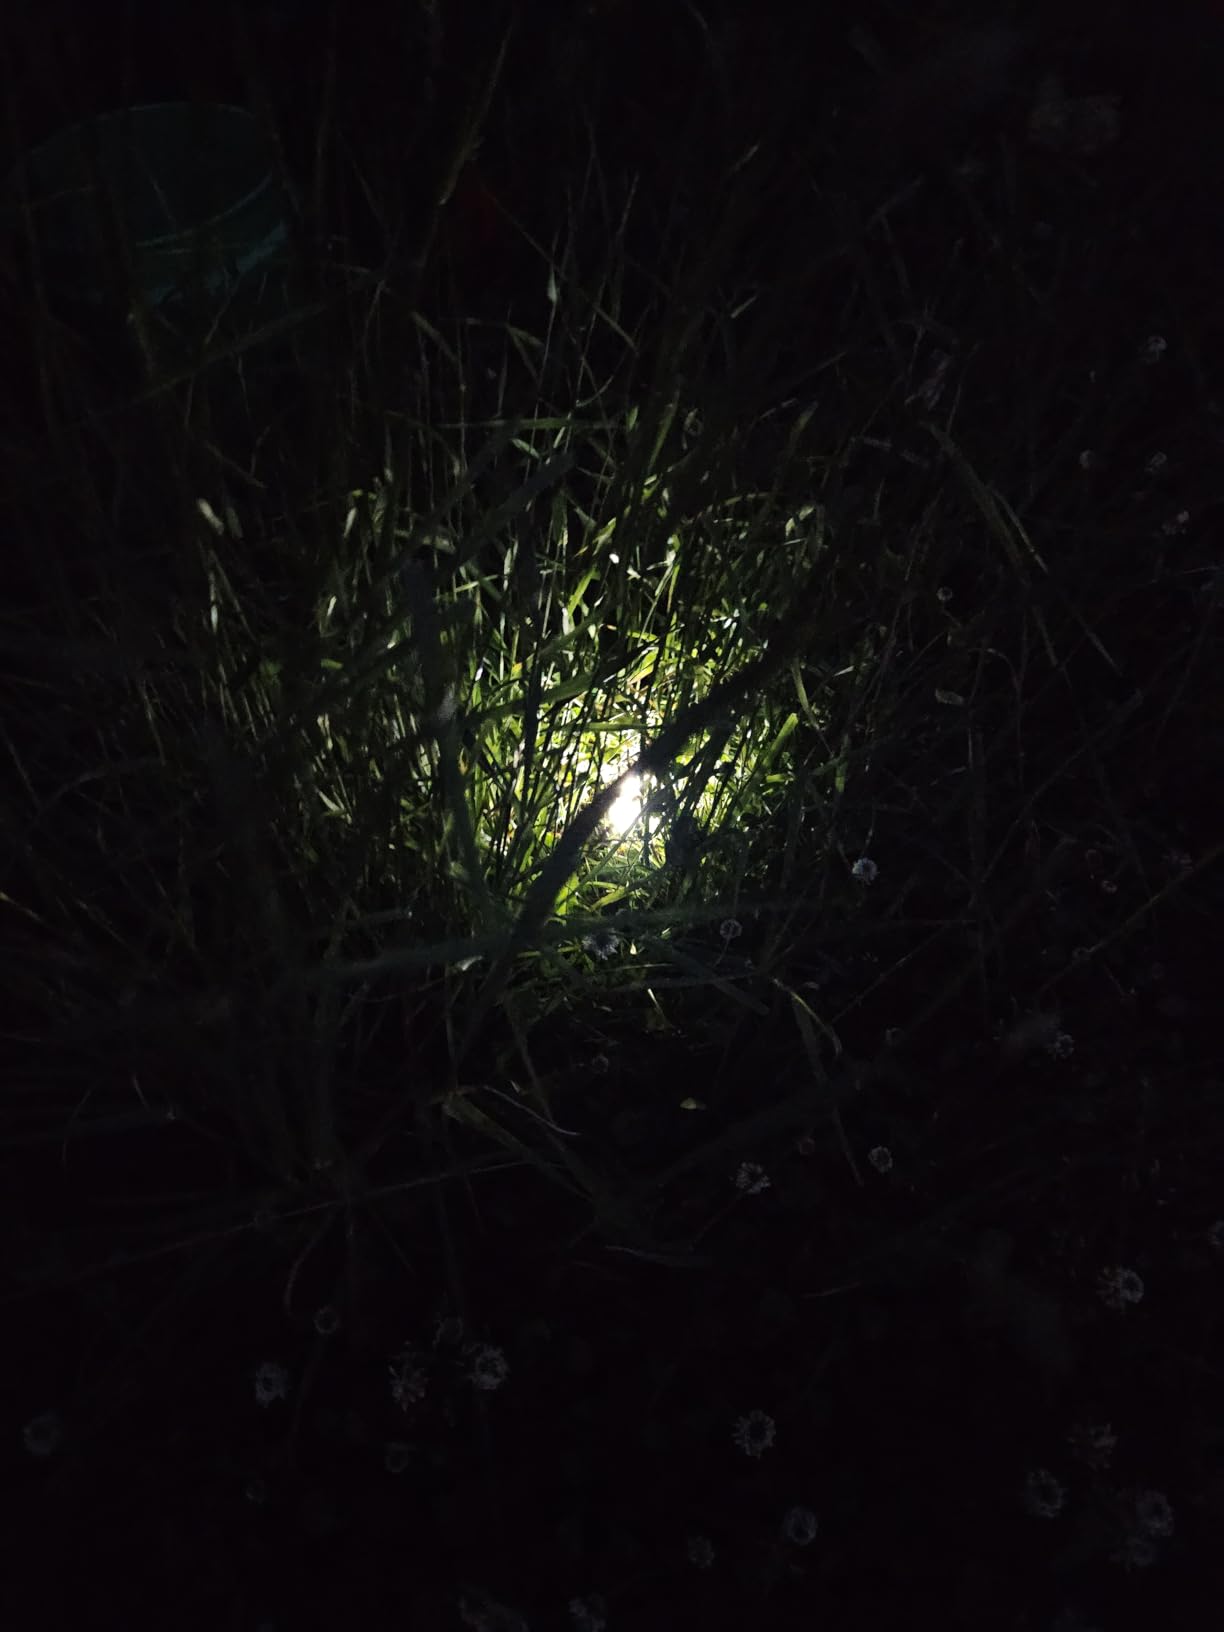
The INCX lights sit lower than a conventional path stake, which makes them a good fit when the fixture should define an edge without becoming a tall visual object. Their cool white output is bright enough to outline a walkway and garden bed, but the listed seven lumens per fixture keeps the effect measured.
Each unit uses eight LEDs and an integrated light sensor. The stated runtime is eight to ten hours after eight hours of sunshine, so I would position them where the panels receive dependable daylight and where a low marker is enough to show the route.
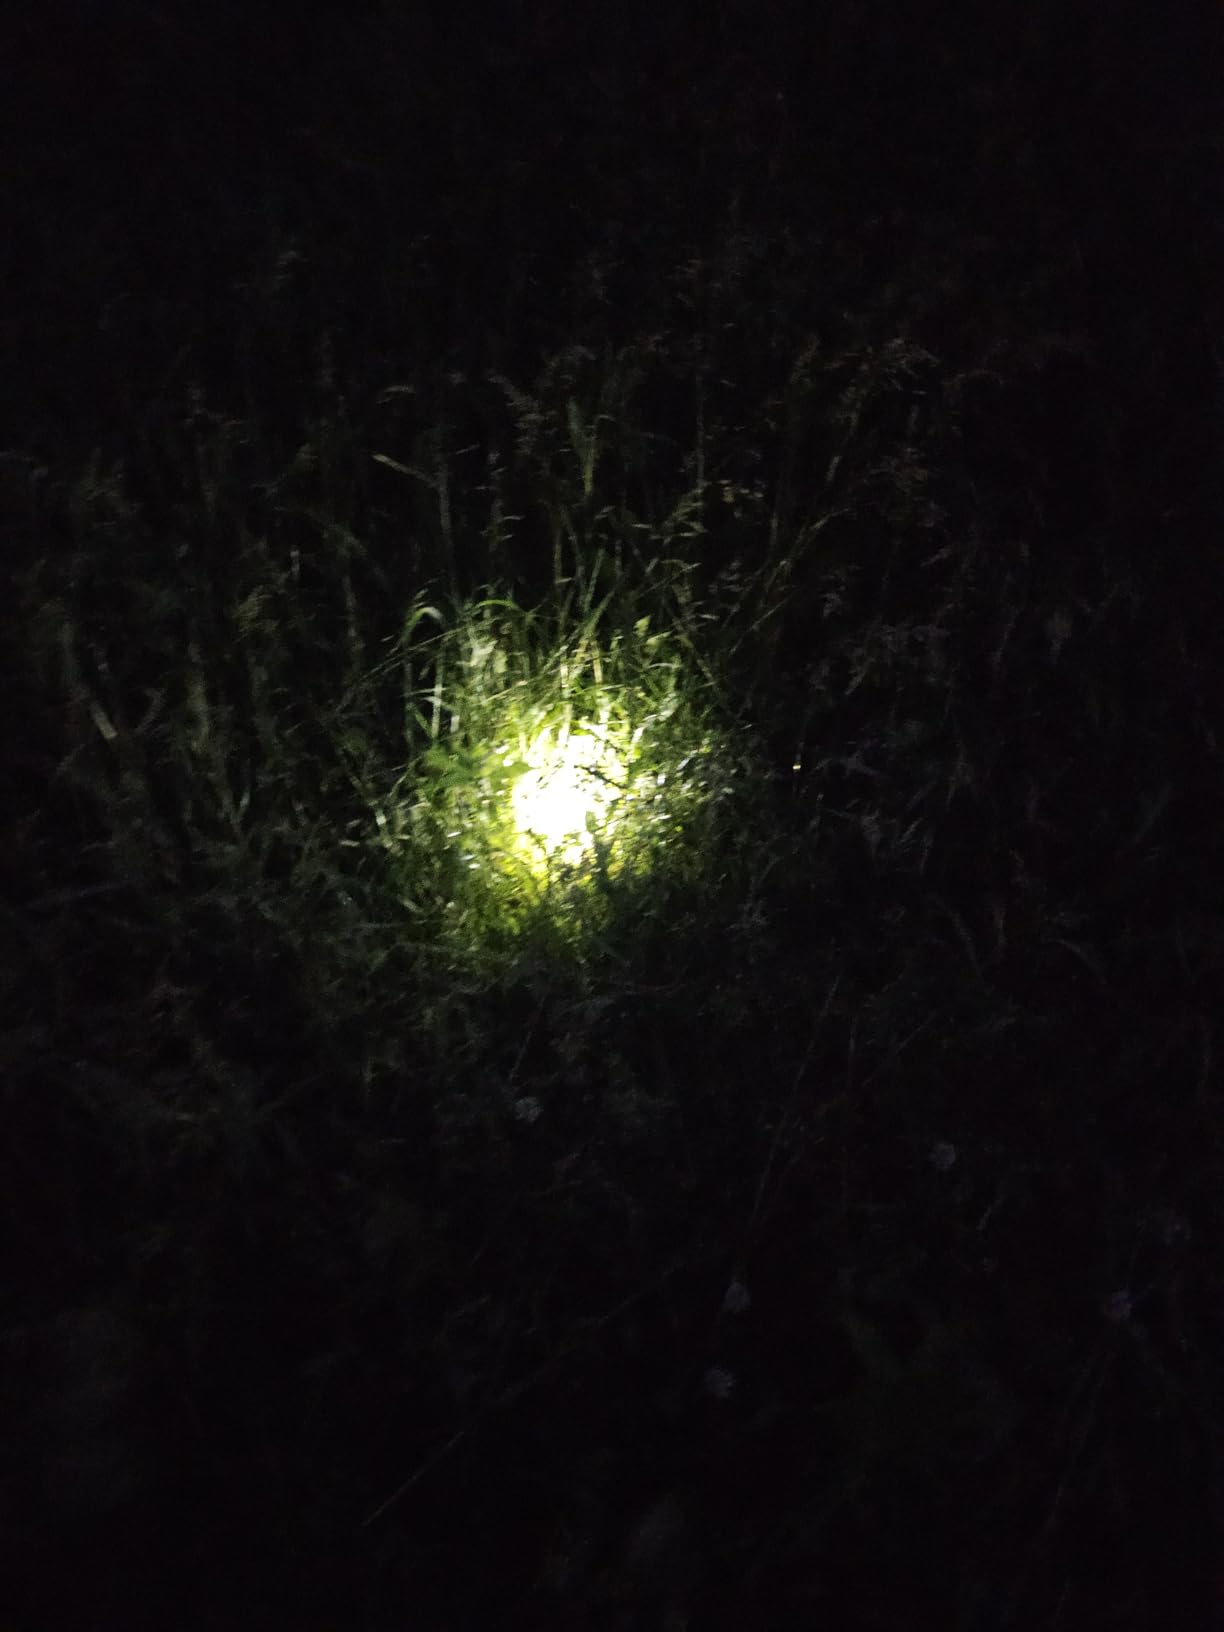
Customer feedback repeatedly highlights the simple push-in installation and automatic operation. It also flags two practical issues: the plastic stakes can be fragile, and a small number of units may arrive defective.
For a front walk, I would use the set as an edge-lighting layer. I would not expect it to light the center of a path or reveal raised obstacles at a distance, so a brighter source may still be needed near steps.
Best use and placement for INCX
This set works well along a narrow path, the border of a patio, or the edge of a raised bed. Keep the beam low and stagger the units if the route bends, so the next marker is always visible from the previous one.
The low visual profile is useful around contemporary landscaping. It also makes glare less likely because the light source stays close to the ground.
Who should look elsewhere
Choose a taller path light if you want the lamp head above planting height. The INCX design is best when the route is already clear and needs visual guidance rather than broad illumination.
If the ground is hard or rocky, use a pre-drilled hole or choose a more robust stake. That small installation step can prevent a brittle mount from taking the full force of installation.
5. AUDERWIN Solar Spotlights: Long-Runtime Accent Beams
AUDERWIN Solar Spot Lights Outdoor Waterproof, 4 Packs, Cool White
Four solar spotlights
63 LEDs each
6500K cool white
Pros
- Long mode claims up to 24 hours
- Three brightness modes
- Ground or wall mount
- IP65 protection
Cons
- Needs direct daily sunlight
- Manual brightness adjustment is limited
- One defective unit reported by some reviewers
AUDERWIN is the option I would consider when evening length matters more than warm color. Its three modes are listed at up to 24 hours in low, 18 hours in medium, and 12 hours in high, which gives the set a useful range of operating profiles.
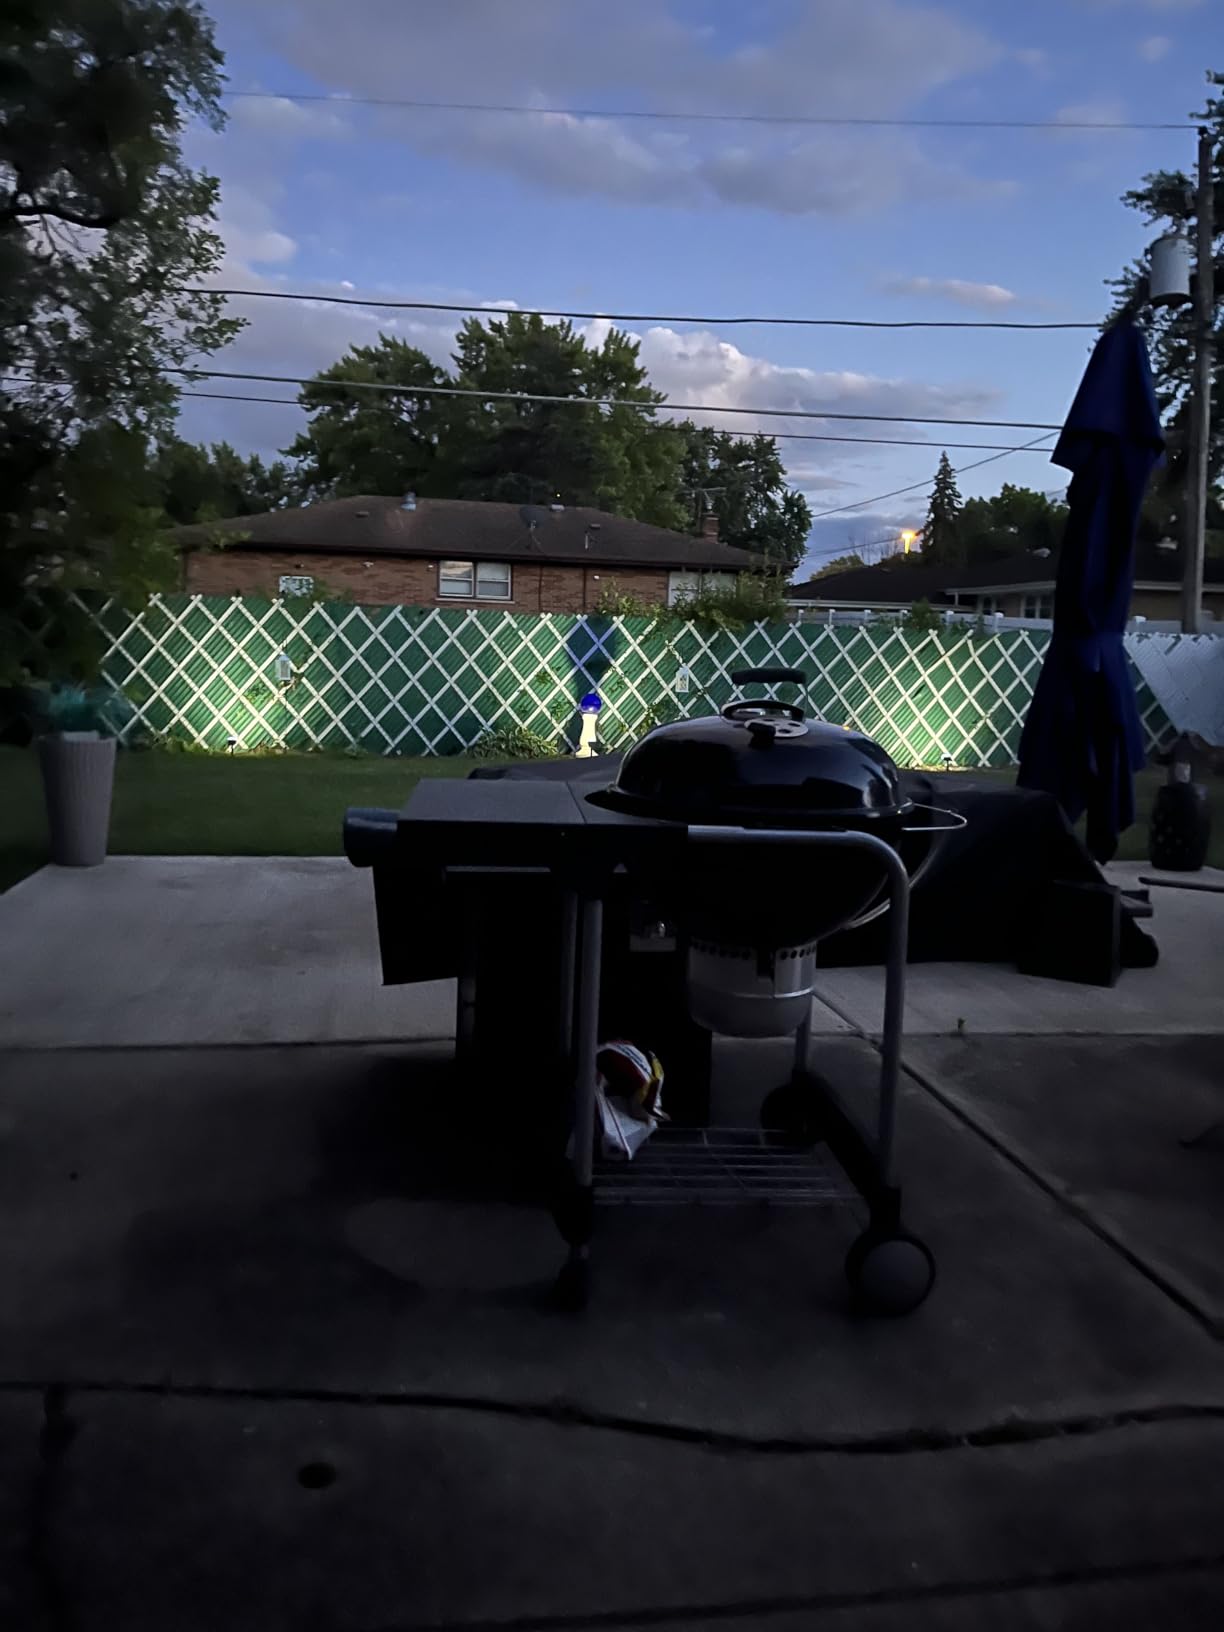
The 6500K daylight color can make a white fence, pale wall, or blue-toned pool area look crisp. It can feel less natural around brick and dark foliage, so I would compare it with the 3000K NYMPHY or REEEGOLD lights when a warm atmosphere is the priority.
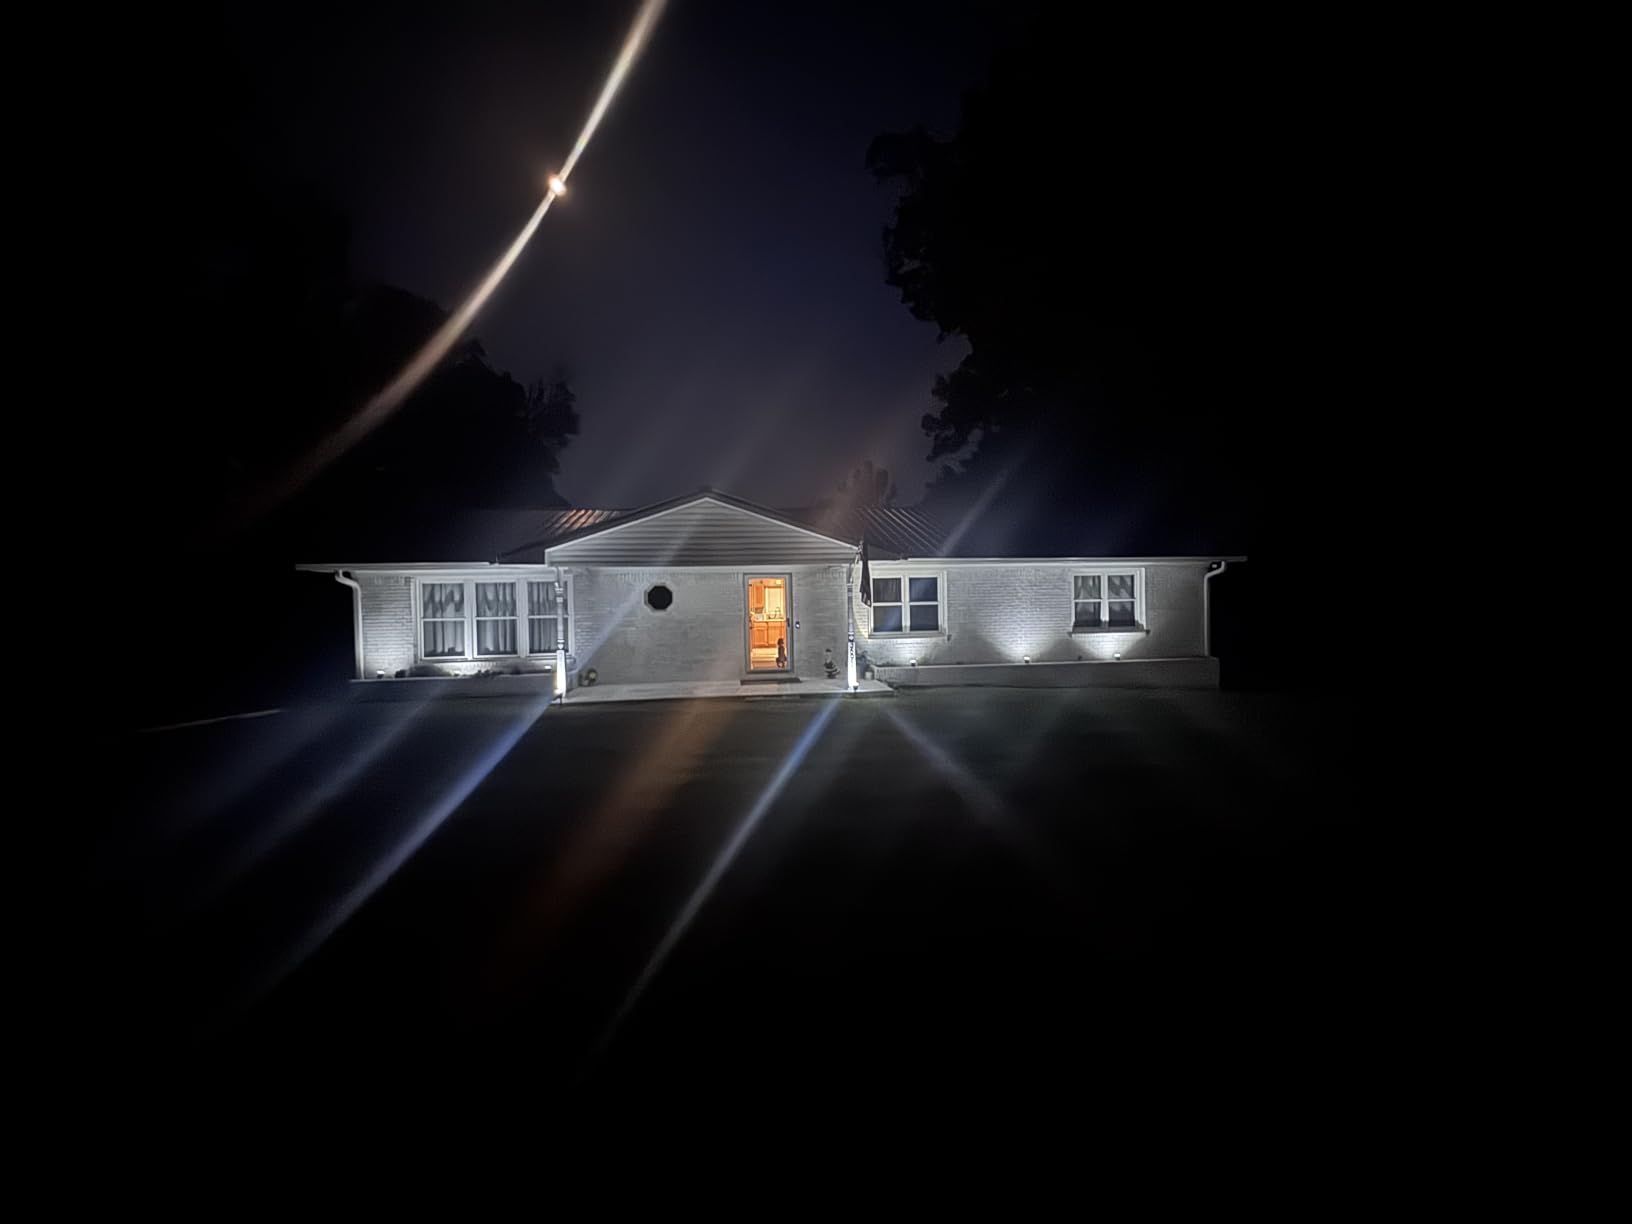
Reviewers describe strong brightness and easy installation, and the IP65 rating supports outdoor placement. The catch is charging discipline: the product needs direct sunlight, and a heavily shaded yard may not provide the runtime suggested by the mode names.
I would use the four-pack on a small number of important features instead of trying to wash an entire façade. A focused beam on a tree trunk, sign, or entry column makes better use of the available output and reduces glare.
Best use and placement for AUDERWIN
Choose this set for a bright modern yard, a pale wall, or a feature that needs a stronger visual signal. Test the beam from the place you will sit or stand, then move the fixture if the light lands in an eye line.
The broad mode range also supports a two-level plan: low mode for a quiet evening and high mode for a gathering. I would not treat the stated maximum as a guaranteed result because sun exposure changes every installation.
Who should look elsewhere
If your yard has deep shade, a wired system will usually be more predictable. Solar lights cannot create energy from a cloudy or obstructed location, and moving a panel can alter the whole composition.
People who want manual brightness control may also be disappointed. The three modes are useful, but the feedback notes that adjustment is not as flexible as a dedicated wired dimmer.
6. WENATY Solar Spotlights: Large-Pack Yard Coverage
WENATY Solar Spot Lights Outdoor Waterproof Spotlights 12 Pack Warm White
Twelve solar spotlights
Up to 800 lumens
Warm white 3500K
Pros
- Large 12-light pack
- Three brightness modes
- Stake or wall mounting
- IP65 protection
Cons
- Performance varies between units
- Lightweight stakes may shift
- Cloudy days reduce brightness consistency
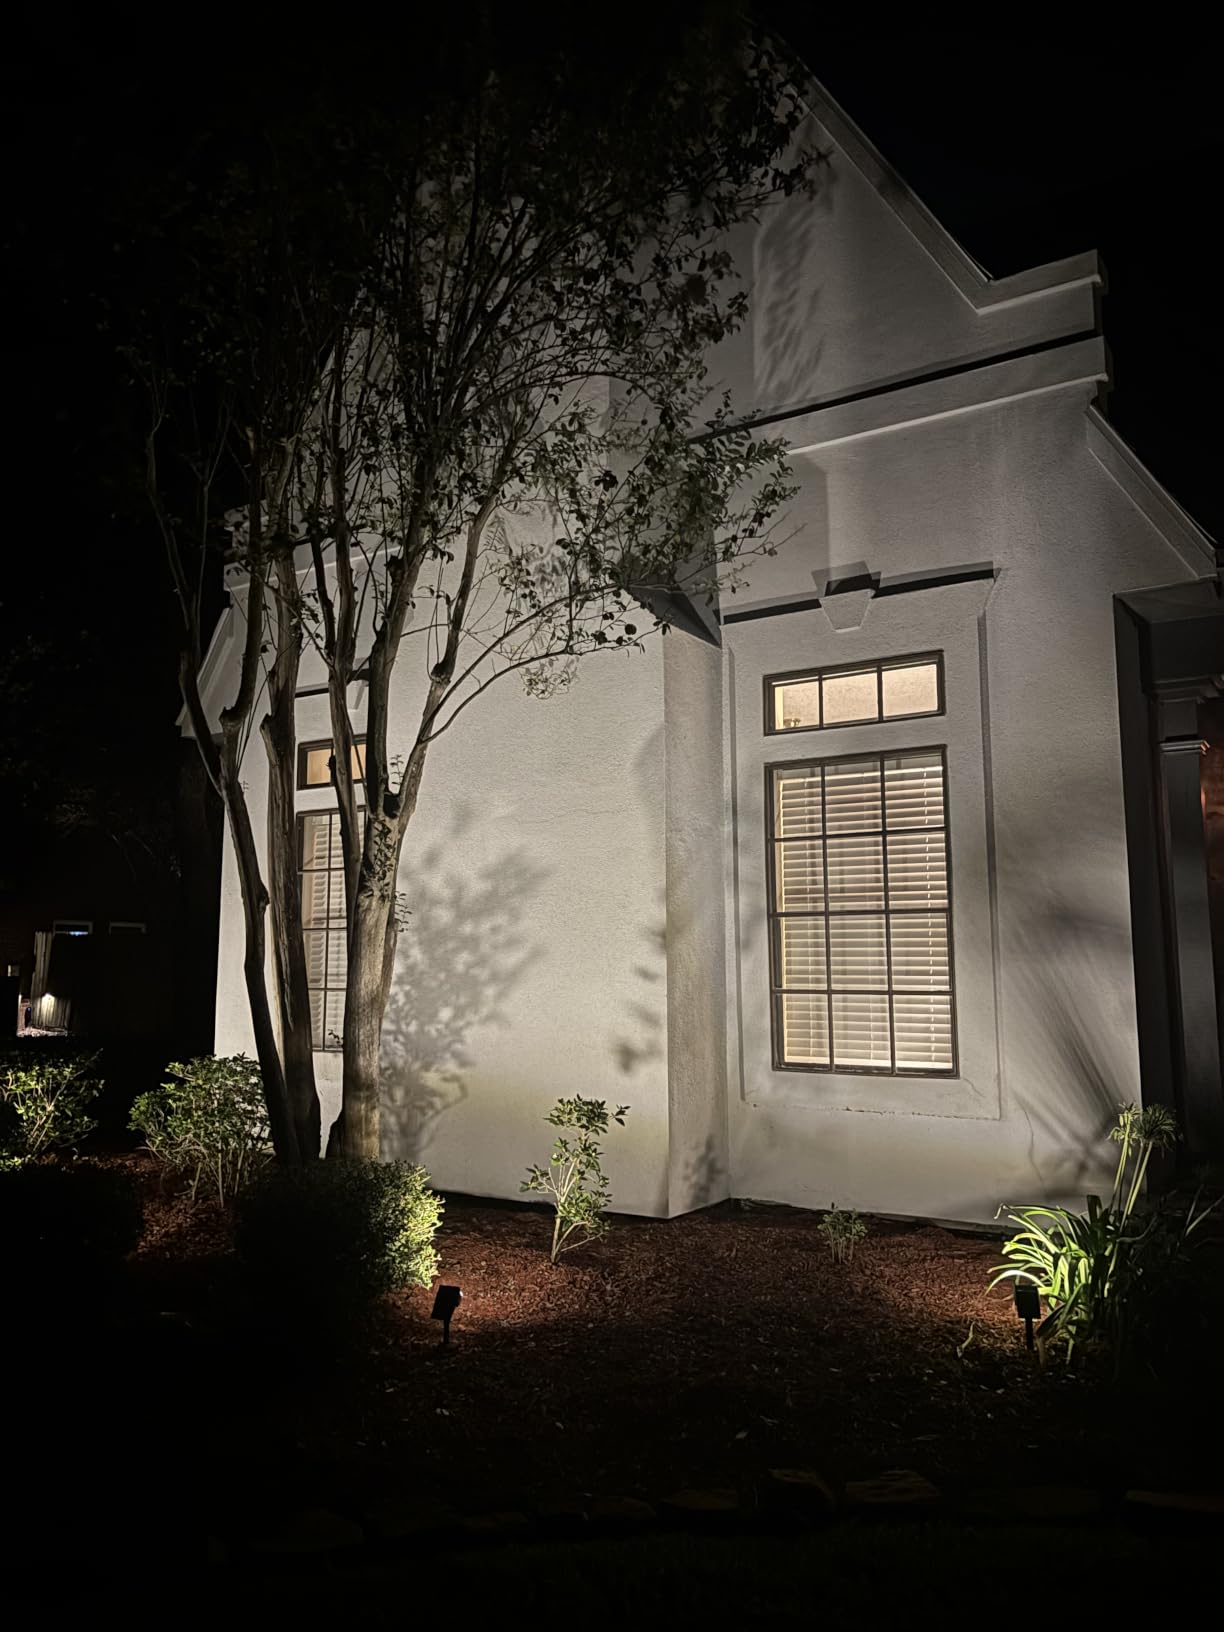
The WENATY pack is designed for yards that need more than a handful of accents. Twelve fixtures, each with 46 LED beads and a listed maximum of 800 lumens, can cover a long fence line, a broad bed, or several trees at once.
The 3500K warm white sits between the cool white solar sets and the more amber 2700K wired option. I would use that color for a balanced outdoor living area where the lights need to be visible without making the garden look blue.
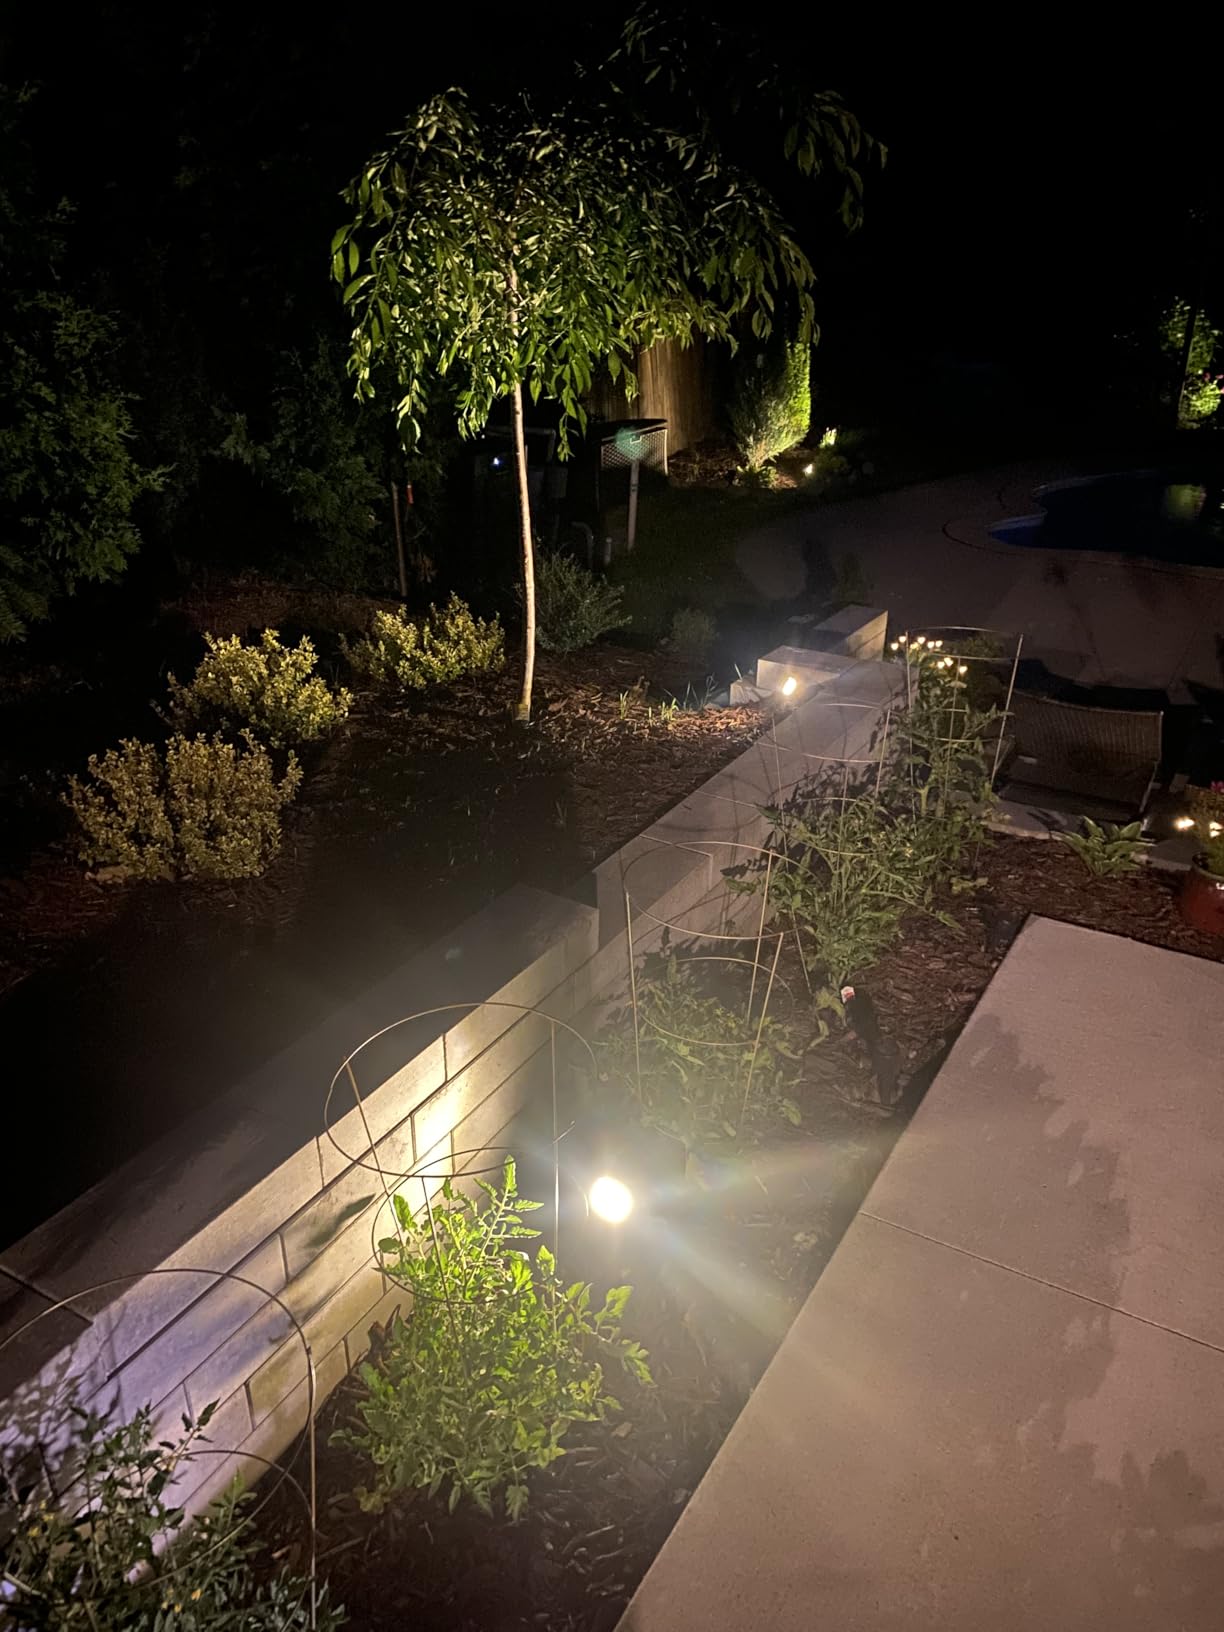
Customer feedback favors the brightness, broad coverage, and flexible stake or wall installation. It also reports that some units are dimmer than others after cloudy days and that lightweight stakes can move in hard or wet soil.
That makes layout more important than simply placing every light at the same distance. I would divide the yard into zones, test each zone from the patio, and avoid pointing every beam at the house.
Best use and placement for WENATY
This set is best for a medium or large yard that needs a repeated pattern. Use it to rhythmically mark a walkway, illuminate low shrubs, or create a line of light around a long deck.
Because the stakes are lightweight, firm the soil around each one and keep the fixtures out of high-traffic corners. Wall mounting is useful where the ground is paved or where a beam needs elevation.
Who should look elsewhere
Choose a smaller pack if you only need one tree and one entry. Twelve lights can overpower a compact courtyard, and a less controlled pattern may create visual clutter.
Buyers seeking identical output across a long run should test the lights together. If matching fixtures is the goal, a wired system can make the electrical plan more consistent.
7. REEEGOLD Low Voltage Spotlights: Wired Warm White Control
REEGOLD Low Voltage Landscape Lights Outdoor: 7W 700LM LED Landscape Lighting with Connectors for Tree Garden Yard Pathway | 12V 24V Warm White 2700K Spotlights | IP65 Waterproof | 6 Pack
Six low voltage spotlights
700 lumens each
2700K warm white
Pros
- Consistent wired power
- High 700-lumen output
- 12V and 24V compatibility
- IP65 protection
Cons
- Transformer not included
- Low voltage cable not included
- App control may be unnecessary
The REEEGOLD lights are the best fit for someone who already wants to plan outdoor landscape lighting as a permanent system. They are listed at 700 lumens each, use 2700K warm white LEDs, and accept 12V or 24V low voltage power.
That combination gives the fixtures a warm, architectural look without the charging uncertainty of a solar panel. I would use them to reveal tree bark, columns, stone, and entry details where consistent output matters every evening.
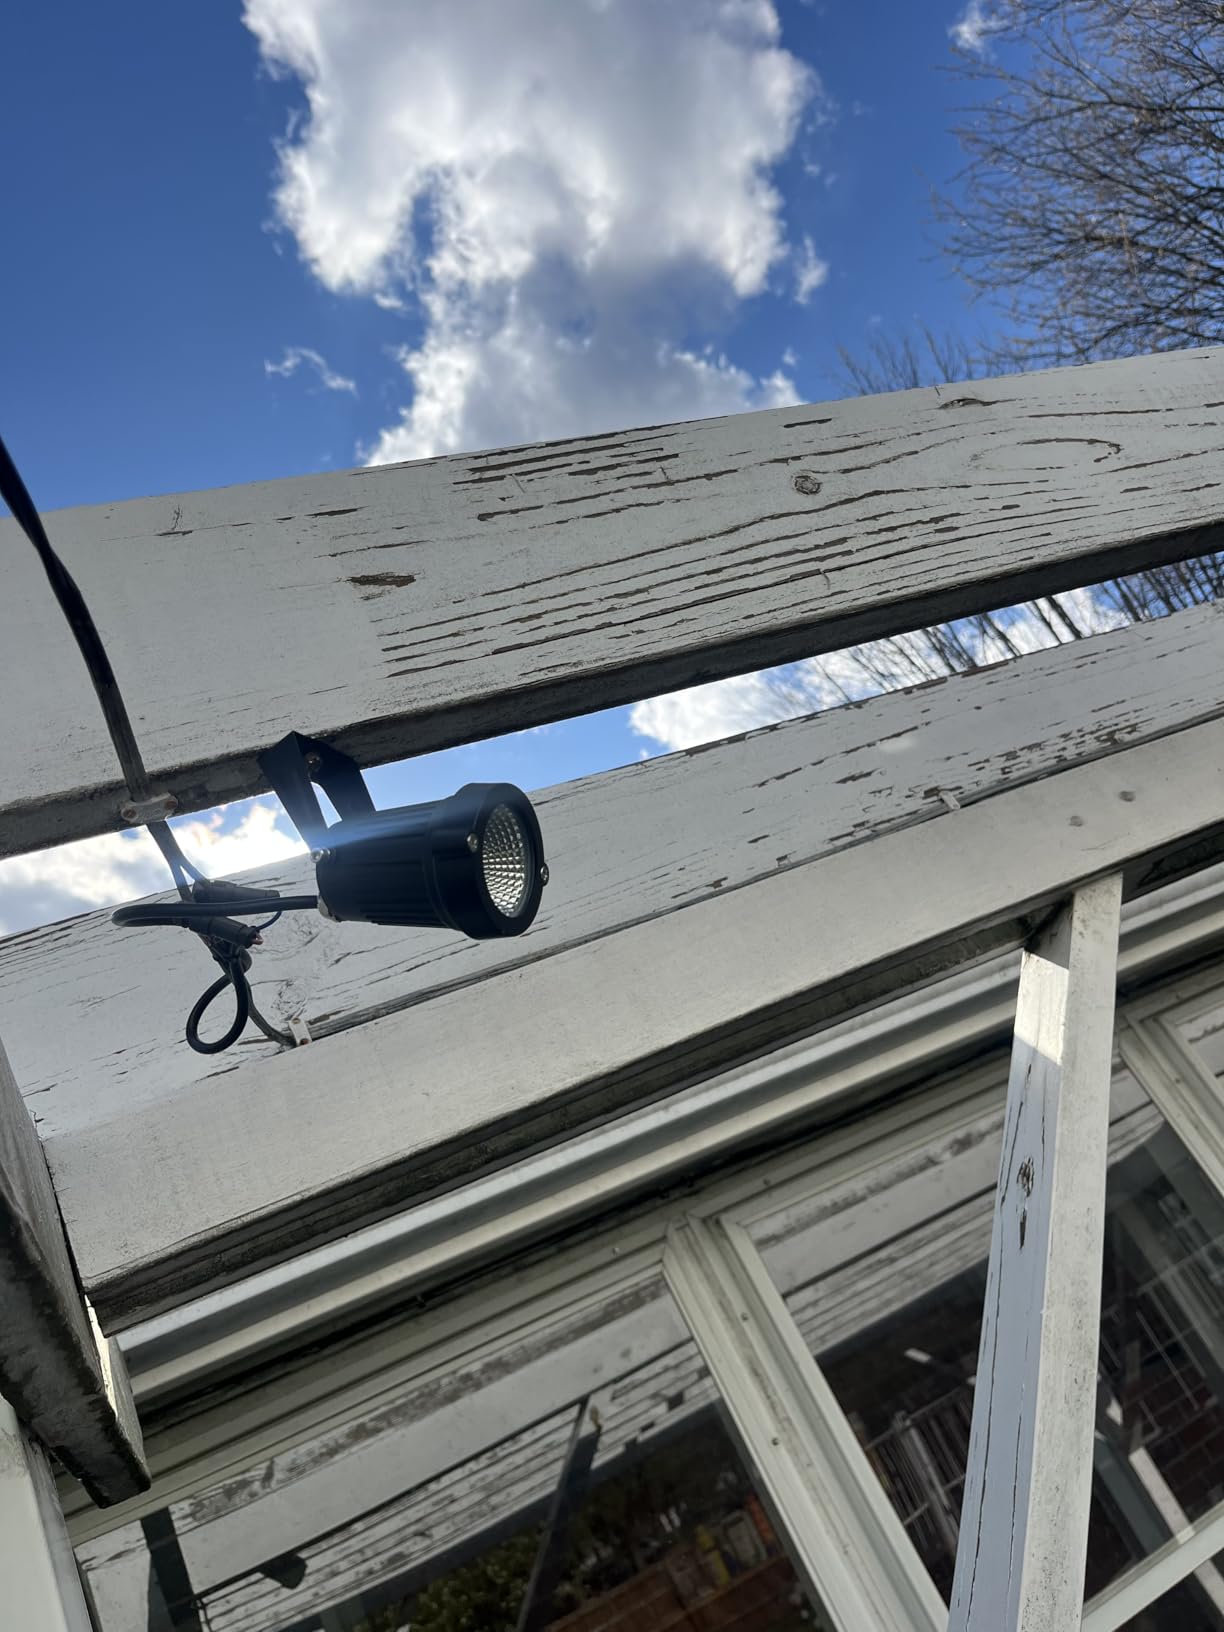
The aluminum shell, 18 SMD chips, and stated service life of up to 50,000 hours are useful for a long-term installation. The tradeoff is clear in the product details: a transformer and low voltage cable are not included.
For a small six-light system, I would calculate the total wattage before choosing a transformer and use connectors rated for outdoor burial. I would also test every fixture before covering the cable, because voltage drop and a loose connection are much easier to fix while the layout is still visible.
Best use and placement for REEEGOLD
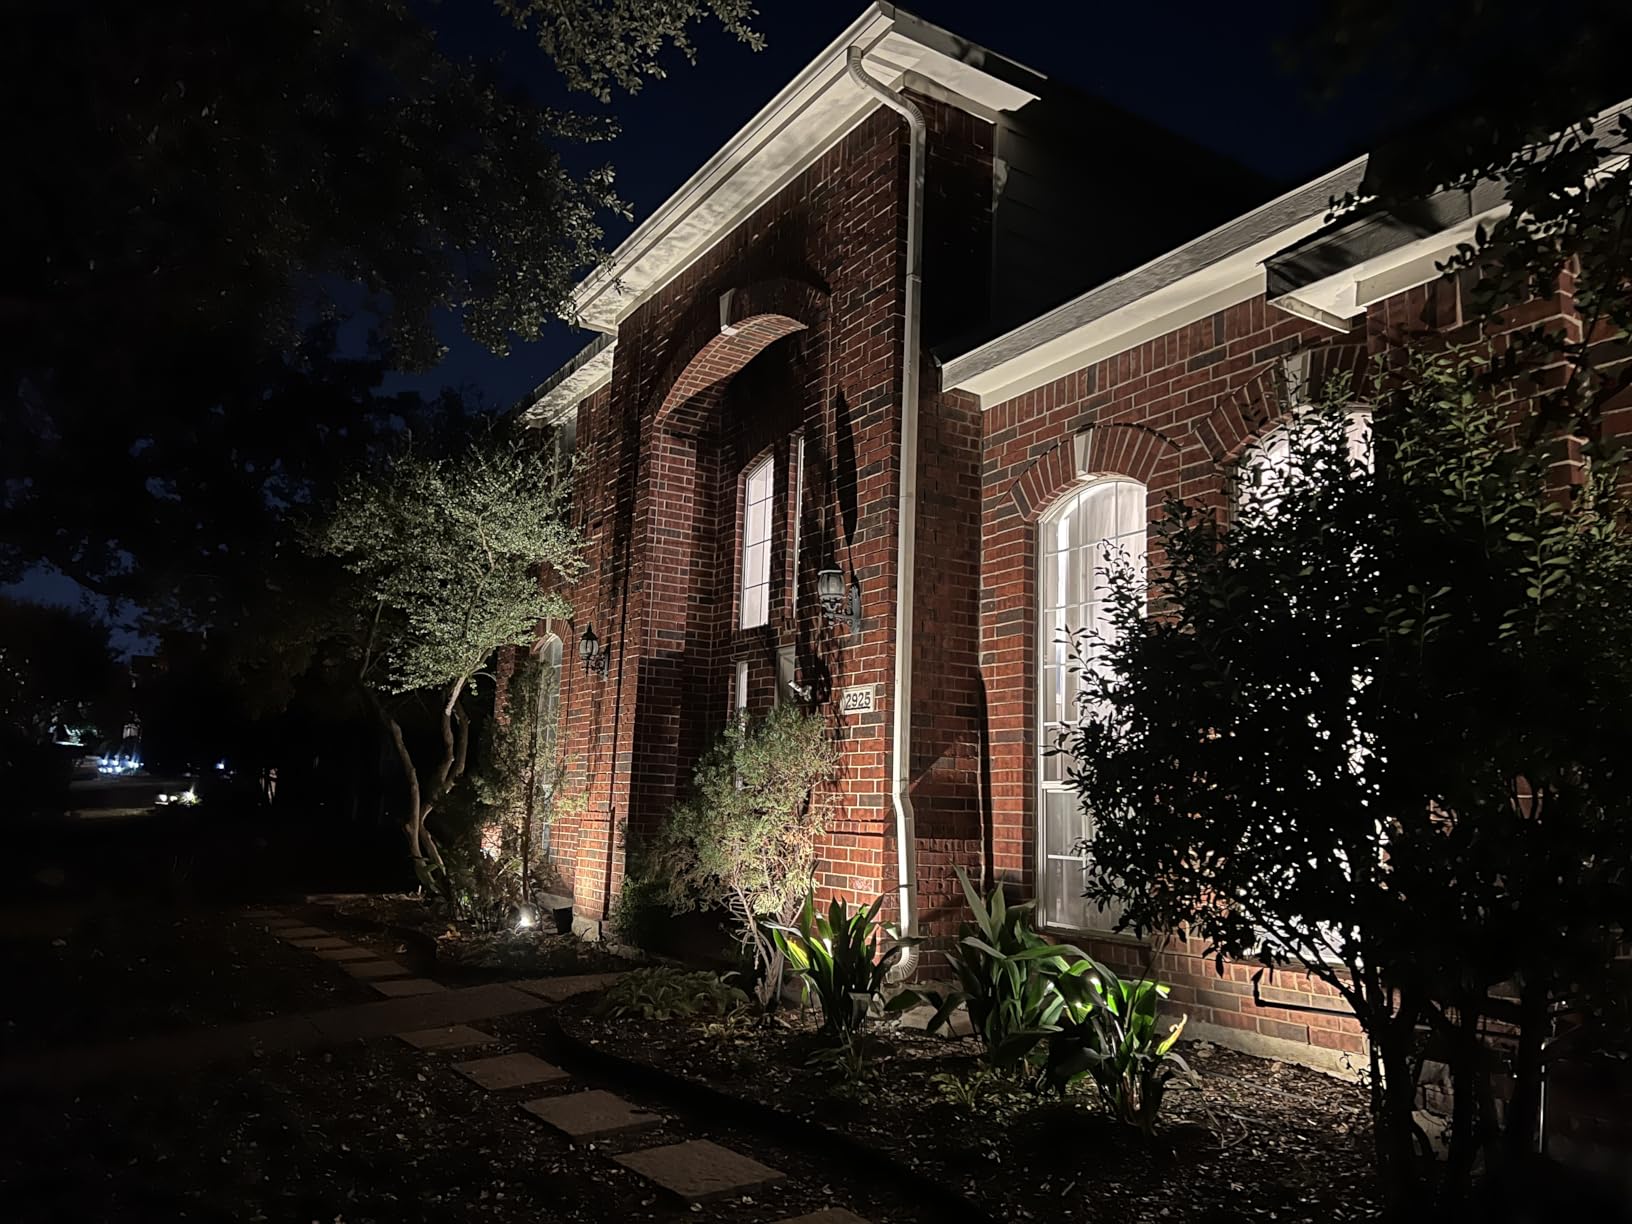
This set suits a front entry, a mature tree, or a wall that deserves a deliberate beam rather than a row of repeated markers. Warm 2700K light works especially well with brick, wood, and natural stone.
I would keep the beam below eye level and place the fixture far enough from the feature to create a soft cone. A narrow beam on a wall can become too bright, while a wider grazing angle brings out texture.
Who should look elsewhere
Do not choose this set if you want a tool-free afternoon project. The lights themselves are easy to place, but the power plan, transformer, cable, and connectors add planning and installation work.
Solar shoppers who do not want trenching should look at the InnoGear, NYMPHY, or WENATY options. Their lower installation commitment is the main reason to accept panel and runtime variability.
8. Eyrosa Solar Path Lights: Classic Warm Glow
Eyrosa Solar Pathway Lights Outdoor Waterproof, 12 Pack, Warm White
Twelve solar path lights
3000K warm white
8-10 hour listed runtime
Pros
- Warm Edison-style appearance
- Automatic dusk-to-dawn operation
- Sturdy ABS pole and stake
- Good 12-pack coverage
Cons
- Assembly is required
- Some packages may lack parts
- Light is decorative rather than task-level
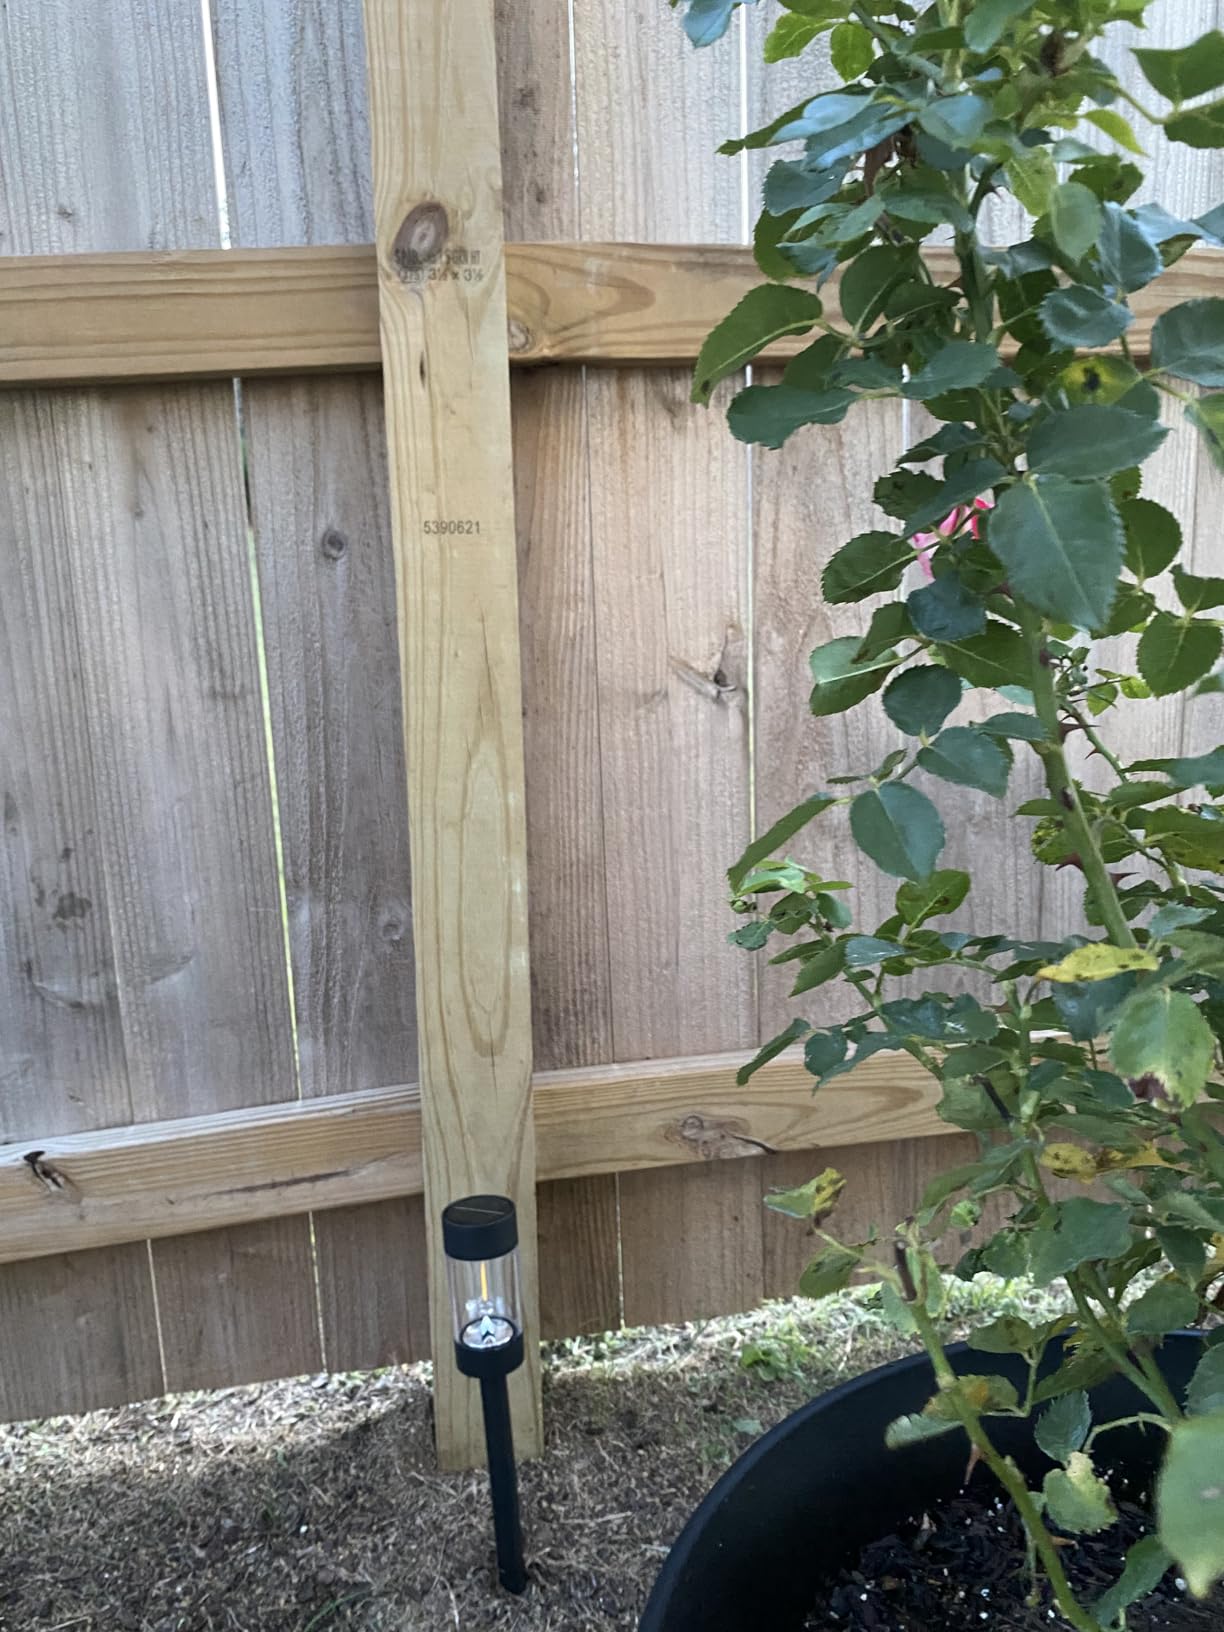
Eyrosa brings a different mood to path lighting. Its 3000K warm white and Edison bulb-style lamp head look more like a traditional garden feature than a modern utility marker, which is a benefit around a patio, cottage-style planting, or relaxed front walk.
The product lists six to eight hours of charging for eight to ten hours of runtime. I would treat that as a planning range rather than a promise, then place the units where the panels can see the sky and the light can fall on the path edge.
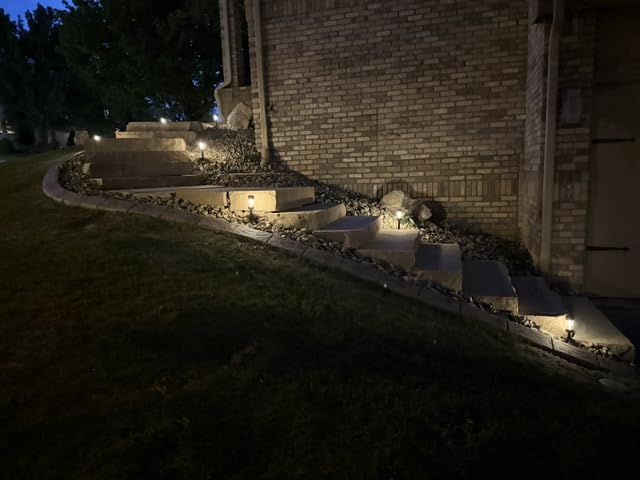
Reviewers praise the warm glow, sturdy ABS construction, and straightforward installation. Assembly is the main manual step, and a few customers report missing components or a softer output than expected.
The 360-degree transparent shade spreads light around the lamp head, but that does not make the fixture a replacement for a spotlight. I would use it to create an inviting rhythm along a route, not to flood a wall or illuminate a dark corner by itself.
Best use and placement for Eyrosa
Choose Eyrosa for a warm, decorative path or garden border. Keep the units consistent in height and angle, and use a few low plants or dark mulch behind them so the glow reads cleanly.
The classic lamp head can become the visual focus, so I would avoid mixing it with several unrelated fixture styles in the same small zone. A restrained composition usually looks better after dark.
Who should look elsewhere
If you need bright task lighting near steps or a work area, choose a stronger path light or spotlight. Eyrosa is better for atmosphere and gentle wayfinding.
Buyers who want instant, one-piece installation should compare the GIGALUMI or INCX sets. The three-piece lamp, pole, and stake assembly is simple, but it is not as immediate as a preassembled head.
How to Choose the Best Landscape Lighting for Yards?
Start with the job each fixture needs to do
Pathway lights guide movement, spotlights reveal a tree or architectural surface, and deck or patio lights make a seating area usable. A fixture that is perfect for a garden bed can be too dim beside steps, so define the job before counting lights.
Use layered lighting instead of asking one fixture to do everything. I would combine low path markers, a few warm spotlights, and a controlled light near the entry; the layers can be dimmed or changed independently in a wired system.
Match brightness and beam angle to the feature
Lumens measure light output, not how attractive the result will be. Small path markers can sit around a few lumens when they only need to identify an edge, while a tree or wall may need a more directional beam in the hundreds of lumens.
Path markers: choose low output and repeat them at regular intervals.
Step or entry areas: favor controlled beams and stronger contrast.
Tree trunks and walls: use spotlights with enough reach to reveal texture.
Patio seating: layer a low marker with a warmer, shielded source.
Beam angle matters as much as the lumen number. A narrow beam can punch too far, while a wider beam spreads light across a façade or bed; test the angle from the place where you will actually view the yard.
Choose a color temperature that suits the house
Color temperature is measured in Kelvin. Around 2700K creates a warm, amber look, 3000K to 3500K gives a softer neutral glow, and 6500K reads as cooler and more like daylight.
I would usually start around 2700K to 3000K for a home with wood, brick, or relaxed planting. Cool white can work on pale modern surfaces, but too much of it can make a garden look sterile and reveal glare more easily.
Plan spacing before installation
Space pathway lights evenly rather than placing them at a fixed distance that ignores corners and grade changes. Six to eight feet is a useful starting range for many paths, but a bend, a step, or a change in surface may call for a closer marker.
Mark the route with stakes or painter’s tape before placing fixtures.
Keep a clear view of the next light from the previous one.
Move a fixture closer at turns, steps, and elevation changes.
Check the beam from the patio, doorway, and walking direction.
For spotlights, spacing depends on the feature. A tree may need one or two well-aimed lights, while a long wall may need several smaller beams with overlap kept under control.
Decide between solar, wired, and hybrid planning
Solar lights win when installation speed matters most. They need no trench, but panel position, shade, weather, and seasonal sun can change runtime and brightness.
Low voltage landscape lighting is more predictable after installation and gives a designer more control over scheduling, dimming, and consistent output. The REEEGOLD set accepts 12V or 24V, but its transformer and cable are separate purchases, so total system planning is part of the job.
A hybrid approach is often the most useful. Use solar path markers where trenching would be disruptive, then add a few wired spotlights where consistency and a stronger beam are more important.
Understand transformers, watts, and voltage drop
A transformer reduces household power for a low voltage lighting system. Size it from the total wattage of the fixtures, then leave room if the plan may grow; an undersized transformer can overheat or make the whole circuit behave poorly.
Voltage drop is the gradual loss of voltage along a long cable run. It can make distant fixtures dimmer or cause them to behave inconsistently, so keep cable runs efficient, use suitable connectors, and split a large circuit into smaller zones when the layout calls for it.
For a DIY installation, I would test the transformer, cable, and every fixture before burying connections. If the yard has several zones, independent circuits make it easier to isolate a problem without turning the whole system off.
Layer the design and control glare
Good outdoor lighting creates depth. Place a low light near the foreground, a beam across a midground tree, and a softer highlight on the house; the eye reads the layers instead of seeing one flat strip of brightness.
Moonlighting places a fixture high in a tree and aims it downward to mimic soft moonlight. Grazing sends a narrow beam across a wall to bring out stone or brick, while washing uses a wider beam to spread a more even layer over a surface.
Silhouetting places a light behind a plant or sculpture so the object reads against a lit wall or open sky. Whatever the technique, shield the source from direct view and check every angle from windows, seating, and the sidewalk.
Know when DIY makes sense and when a pro helps
Solar fixtures are a strong DIY project because placement is mostly about sun exposure and visual aim. Wired lighting can also be manageable for a small yard, but it becomes more involved when the design crosses patios, retaining walls, multiple zones, or complex drainage.
A professional is useful when the transformer must be located near a GFCI-protected outlet, cable must cross a driveway, or the design needs precise beam control. It is also worth getting help if a single failure could require lifting pavers or disturbing a finished landscape.
For other yard equipment that changes a maintenance routine, our review of electric lawn mowers for small yards is a useful planning companion.
Use a simple maintenance routine
Wipe solar panels occasionally, keep the lamp openings clear of soil and leaves, and check that stakes have not shifted after storms. Test each light at night rather than assuming a green indicator during the day means the beam is correctly aimed.
For wired systems, inspect connectors and cable after digging or heavy rain. Replace a fixture that flickers or shows moisture inside the housing, and keep spare bulbs or fixtures if the layout uses a replaceable part.
Frequently Asked Questions
What is the best brand of landscape lights?
The best brand depends on whether you need solar convenience, wired consistency, warm accent lighting, or a specific control system. Compare fixture construction, weather rating, lumen output, beam angle, replacement parts, and warranty instead of choosing only by the most recognizable name.
What is the rule of thumb for outdoor lighting?
Use layered lighting: repeat low path markers for guidance, add shielded spotlights for trees and walls, and use a warmer, controlled source near seating or the entry. For paths, six to eight feet is a useful starting spacing, but corners and steps usually need closer placement.
What is the best way to illuminate a walkway?
Use low, evenly spaced path lights on the inside edge of the route, then add a shielded spotlight or step light where the path changes level. Aim the light downward, avoid glare at eye level, and keep every fixture visible from the previous one.
How many lumens is best for landscape lighting?
A few lumens can be enough for a decorative path marker, while task and security areas often need substantially more focused light. Trees, walls, and entries usually benefit from directional beams in the hundreds of lumens per fixture; the right choice depends on beam angle, mounting distance, and ambient light.
The Best Pick for Your Yard in 2026
For most yards, the InnoGear six-light set is the best starting point because it offers flexible solar placement, warm white light, and two useful modes without requiring a transformer. The NYMPHY set is the stronger choice for brighter accents, while the REEEGOLD set is best when you want wired consistency and warm 2700K light.
Choose by the job you need done: GIGALUMI and INCX for path coverage, AUDERWIN for long mode claims, WENATY for a broad solar pack, and Eyrosa for a warm decorative row. Use a test night before finalizing the layout, and check the beam from the places where your family gathers.
With the right mix of path markers, spotlights, and controlled color temperature, the best landscape lighting for yards can make the space safer and more inviting without turning it into a floodlit stage. Compare the options above, then use the product links to check the latest details for your chosen system.