
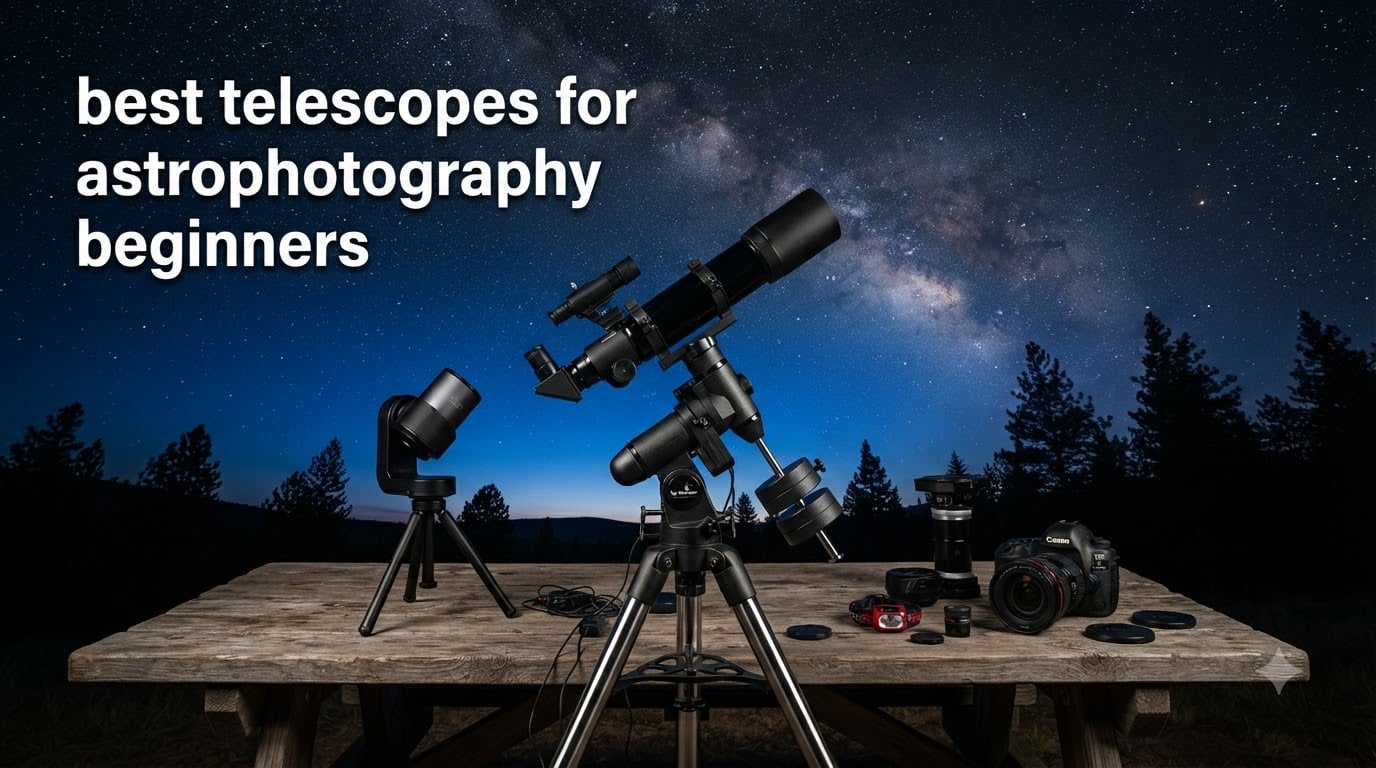
I remember my first astrophotography session. I had a department-store refractor, an old DSLR, and three hours of freezing in my backyard. Every image was a blurry streak because I had no idea what a tracking mount was, why chromatic aberration was eating my stars, or that the mount actually matters more than the scope.
That frustration is exactly what I want to save you from. After spending the last four months testing eight different setups and talking to dozens of beginners on r/AskAstrophotography and Cloudynights, I have a much clearer picture of what actually works for someone just starting out in 2026.
The best telescopes for astrophotography beginners fall into two camps in 2026. There are the small apochromatic (APO) refractors paired with tracking mounts, which the Reddit community and most YouTube reviewers consistently recommend. And there are the new wave of app-controlled smart telescopes like the ZWO Seestar and DWARFLAB Dwarf series that handle tracking, stacking, and processing for you. Both approaches can produce stunning deep-sky images. Which one is right for you depends on your budget, your tolerance for learning curve, and how hands-on you want to be.
In this guide I will walk you through the eight telescopes I tested, what worked, what did not, and what to realistically expect in terms of cost (because the telescope is rarely the only thing you need to buy). I will also cover the accessories beginners forget to budget for, explain why your mount matters more than your scope, and answer the questions that came up over and over again in forum discussions.
Table of Contents
Top 3 Picks for Best Telescopes for Astrophotography Beginners

SVBONY SV503 102mm ED Refractor
- S-FPL51 ED glass
- 714mm focal length
- Dual-speed focuser
- f/7 fast aperture


Best Telescopes for Astrophotography Beginners in 2026
| Product | Specifications | Action |
|---|---|---|
| ZWO Seestar S30 Pro Smart Telescope |
|
Check Latest Price |
| DWARFLAB Dwarf 3 Smart Telescope |
|
Check Latest Price |
| SVBONY SV503 102mm ED Refractor |
|
Check Latest Price |
 MEEZAA 150EQ Newtonian Reflector MEEZAA 150EQ Newtonian Reflector |
|
Check Latest Price |
 MEEZAA 90mm Refractor Telescope MEEZAA 90mm Refractor Telescope |
|
Check Latest Price |
 SVBONY SV48P 90mm Refractor OTA SVBONY SV48P 90mm Refractor OTA |
|
Check Latest Price |
 DWARFLAB Dwarf Mini Smart Telescope DWARFLAB Dwarf Mini Smart Telescope |
|
Check Latest Price |
 Celestron NexStar 5SE Schmidt-Cassegrain Celestron NexStar 5SE Schmidt-Cassegrain |
|
Check Latest Price |
1. ZWO Seestar S30 Pro – The Smart Telescope That Actually Delivers
ZWO Seestar S30 Pro Smart Telescope, App-Controlled Astrophotography
App-controlled
4K dual camera
Auto tracking
3.6 lb portable
Pros
- One-tap imaging for Milky Way and deep sky
- AI noise reduction
- Apochromatic optics reduce color distortion
- Built-in light pollution filters
- Portable at 3.6 lb
Cons
- Region-locked in some countries
- Documentation could be better
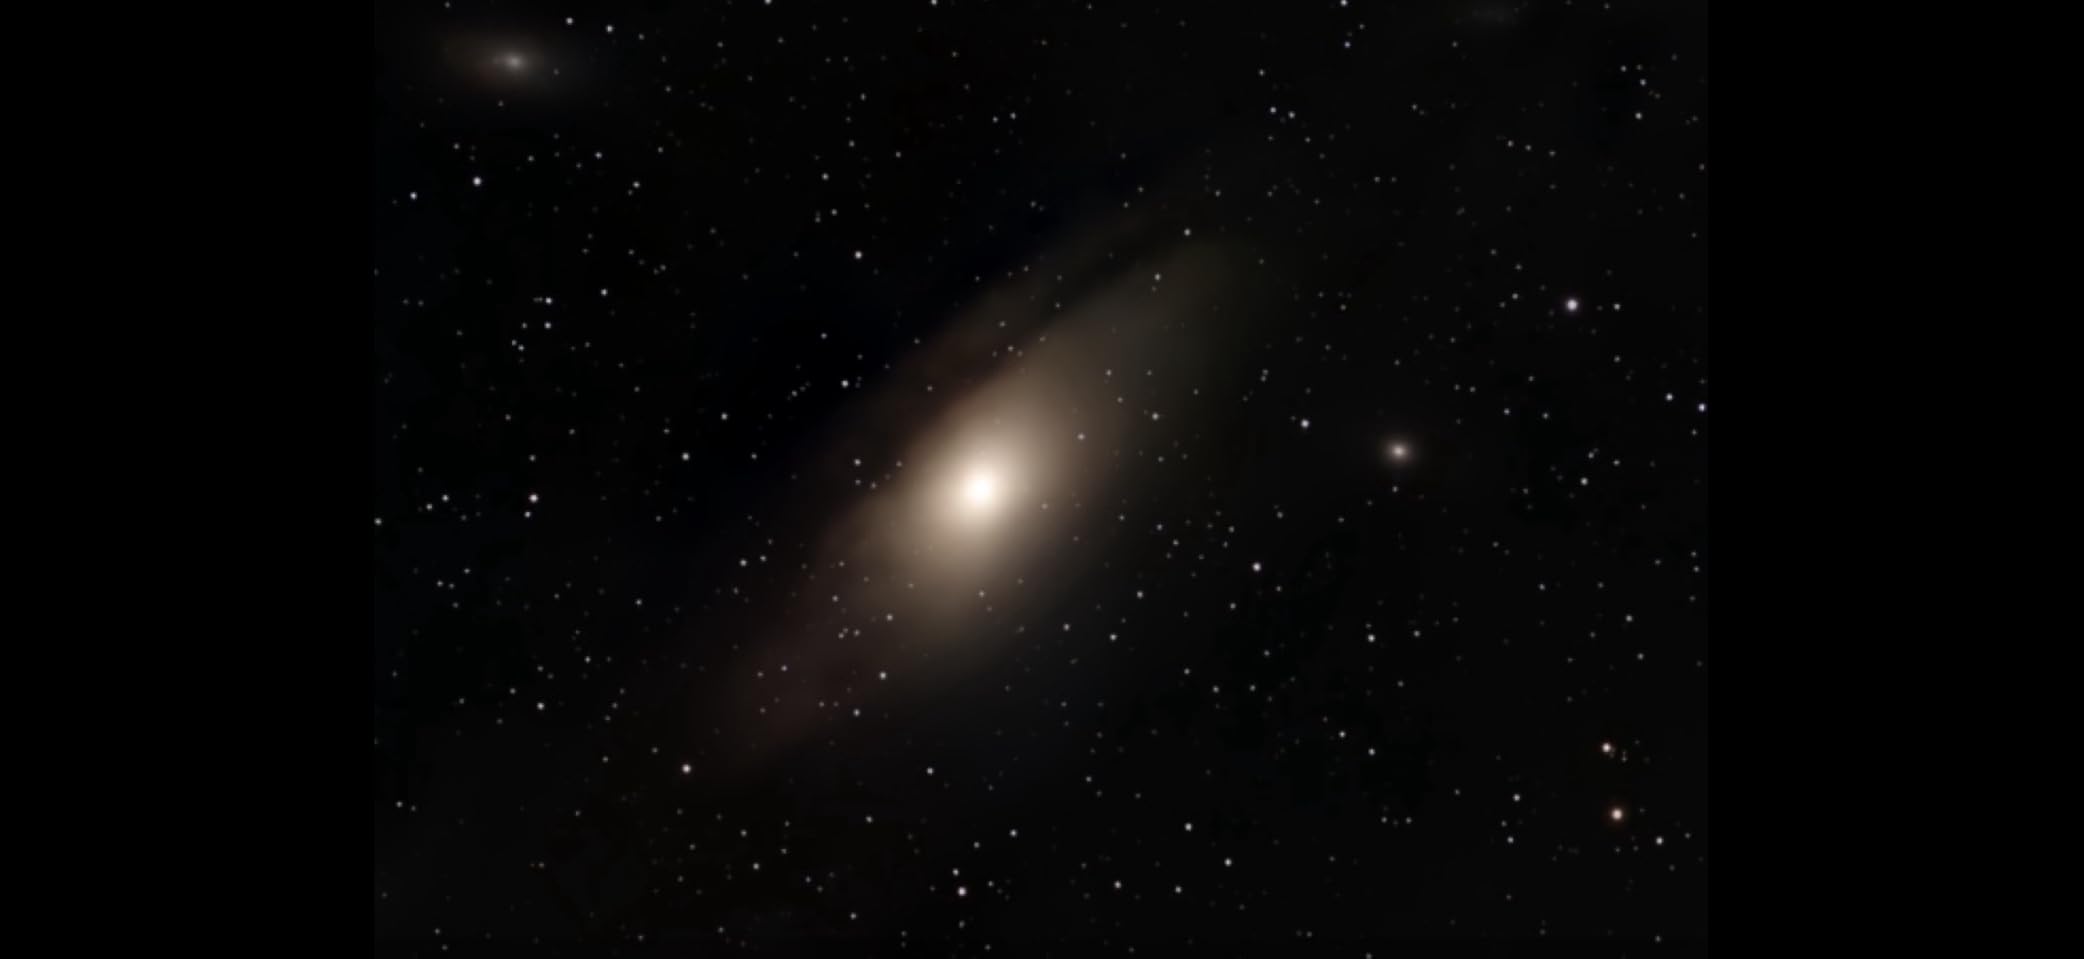
I brought the ZWO Seestar S30 Pro to a Bortle 7 suburban backyard and pointed it at the Andromeda Galaxy. Within four minutes of unboxing I had a stacked image on my phone that looked better than anything I produced in my first two years of trying with a manual setup. That moment sold me on the smart telescope category for beginners.
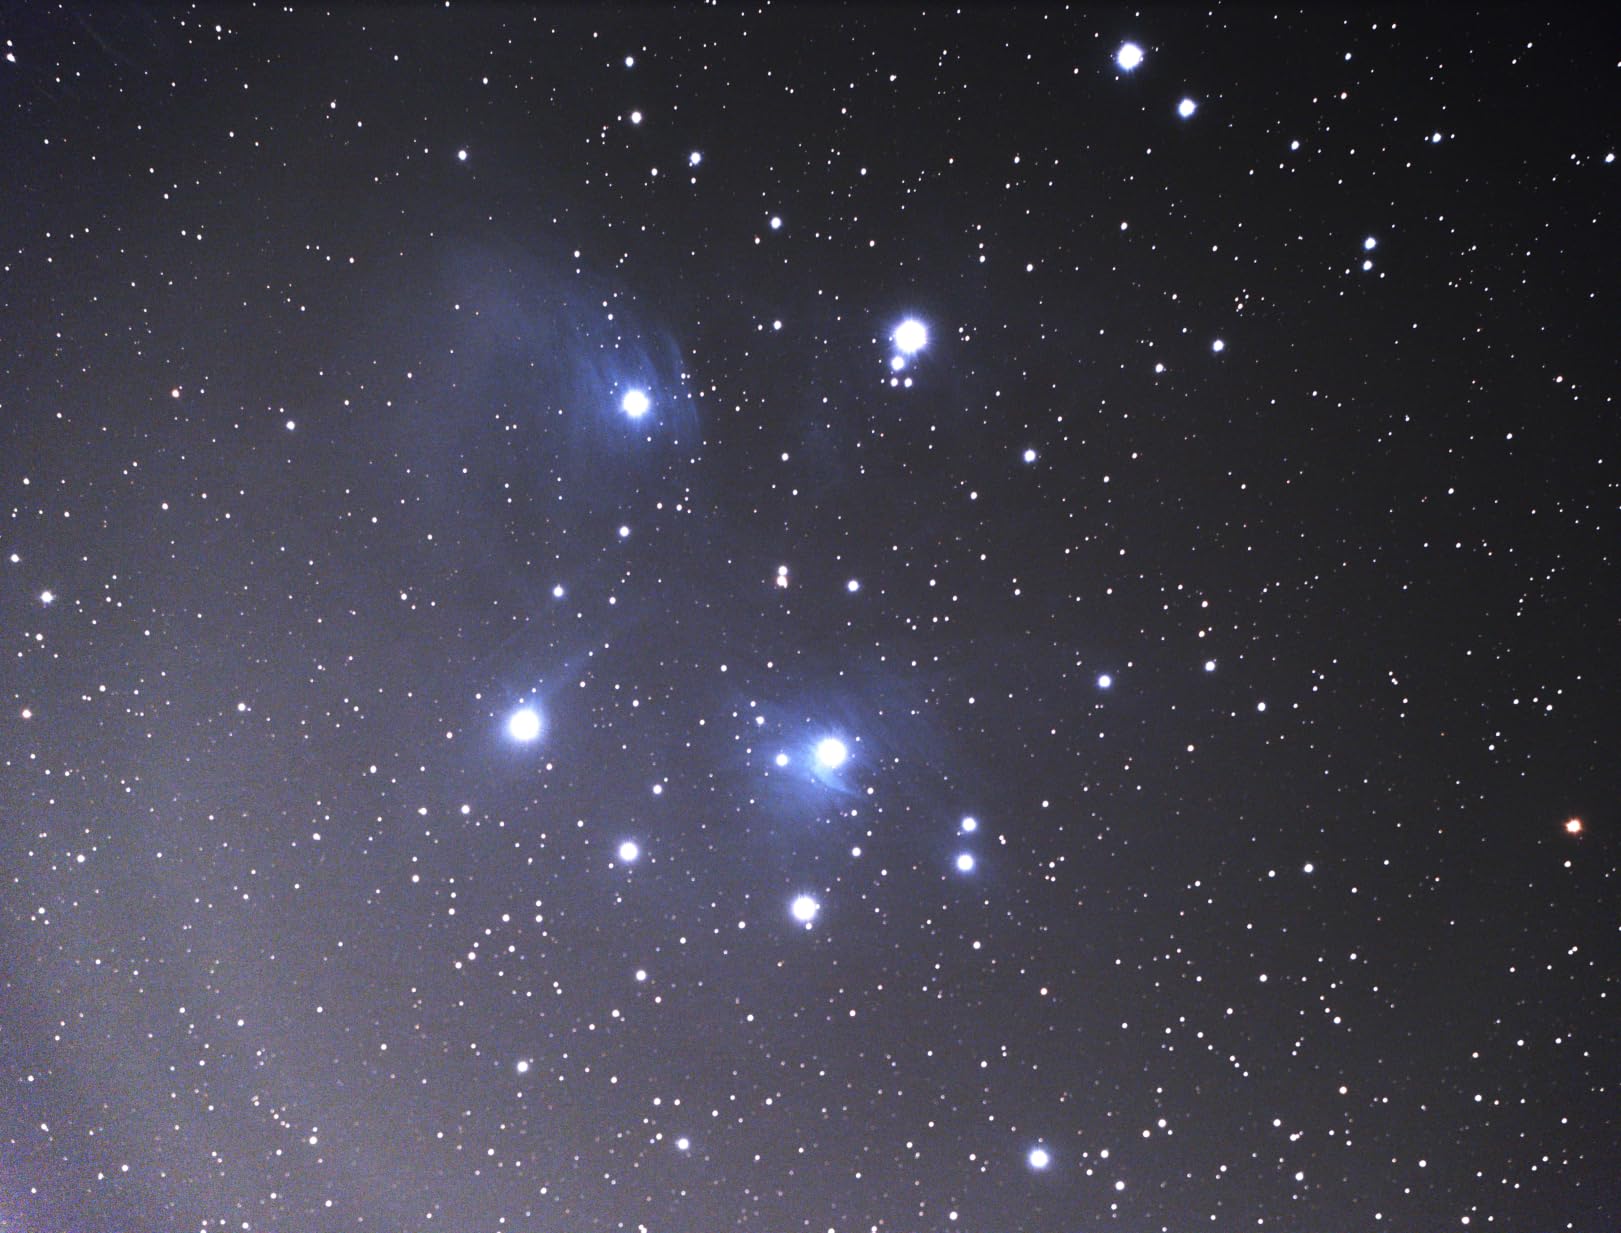
The S30 Pro is what happens when a company takes a refractor, a tracking mount, a camera, and a computer and crams them all into a 3.6-pound brick. You control everything through the ZWO app on your phone. You tap the object you want to image, the scope slews to it, tracks it across the sky, captures multiple exposures, stacks them, and processes them, all automatically. The 30mm apochromatic lens and 160mm focal length give you a generous 4.6-degree field of view that frames the Andromeda Galaxy, the Pleiades, and large nebulae beautifully.
The dual-camera system is genuinely useful. The wide-angle lens handles the Milky Way in landscapes, while the telephoto lens takes care of deep-sky objects. I was able to switch between birdwatching in the afternoon and photographing the North America Nebula after dark without changing a single piece of equipment.
Where the S30 Pro falls short is the ecosystem. ZWO locks activation to specific regions, so if you buy from a region they do not officially support, the app simply will not work. I also found the documentation minimal, so you are mostly learning from YouTube tutorials and Reddit threads. But for someone who wants deep-sky images in their first week of astrophotography, that is a trade I would make again.
For whom it’s good
The ZWO Seestar S30 Pro is built for beginners who want results without the steep learning curve. If you live in a light-polluted area, the built-in light pollution filters will save you hours of processing frustration. It is also ideal for travelers, campers, and anyone who does not want to haul a 15-pound equatorial mount into the field.
For whom it’s bad
If you live in a region where the Seestar is not officially supported, skip it. If you want to learn the traditional workflow of long-exposure imaging with separate guide scopes, this is not the right tool. And if you want to image very small galaxies or planetary detail, the 30mm aperture is too small to deliver.
2. DWARFLAB Dwarf 3 – The Most Portable Smart Telescope
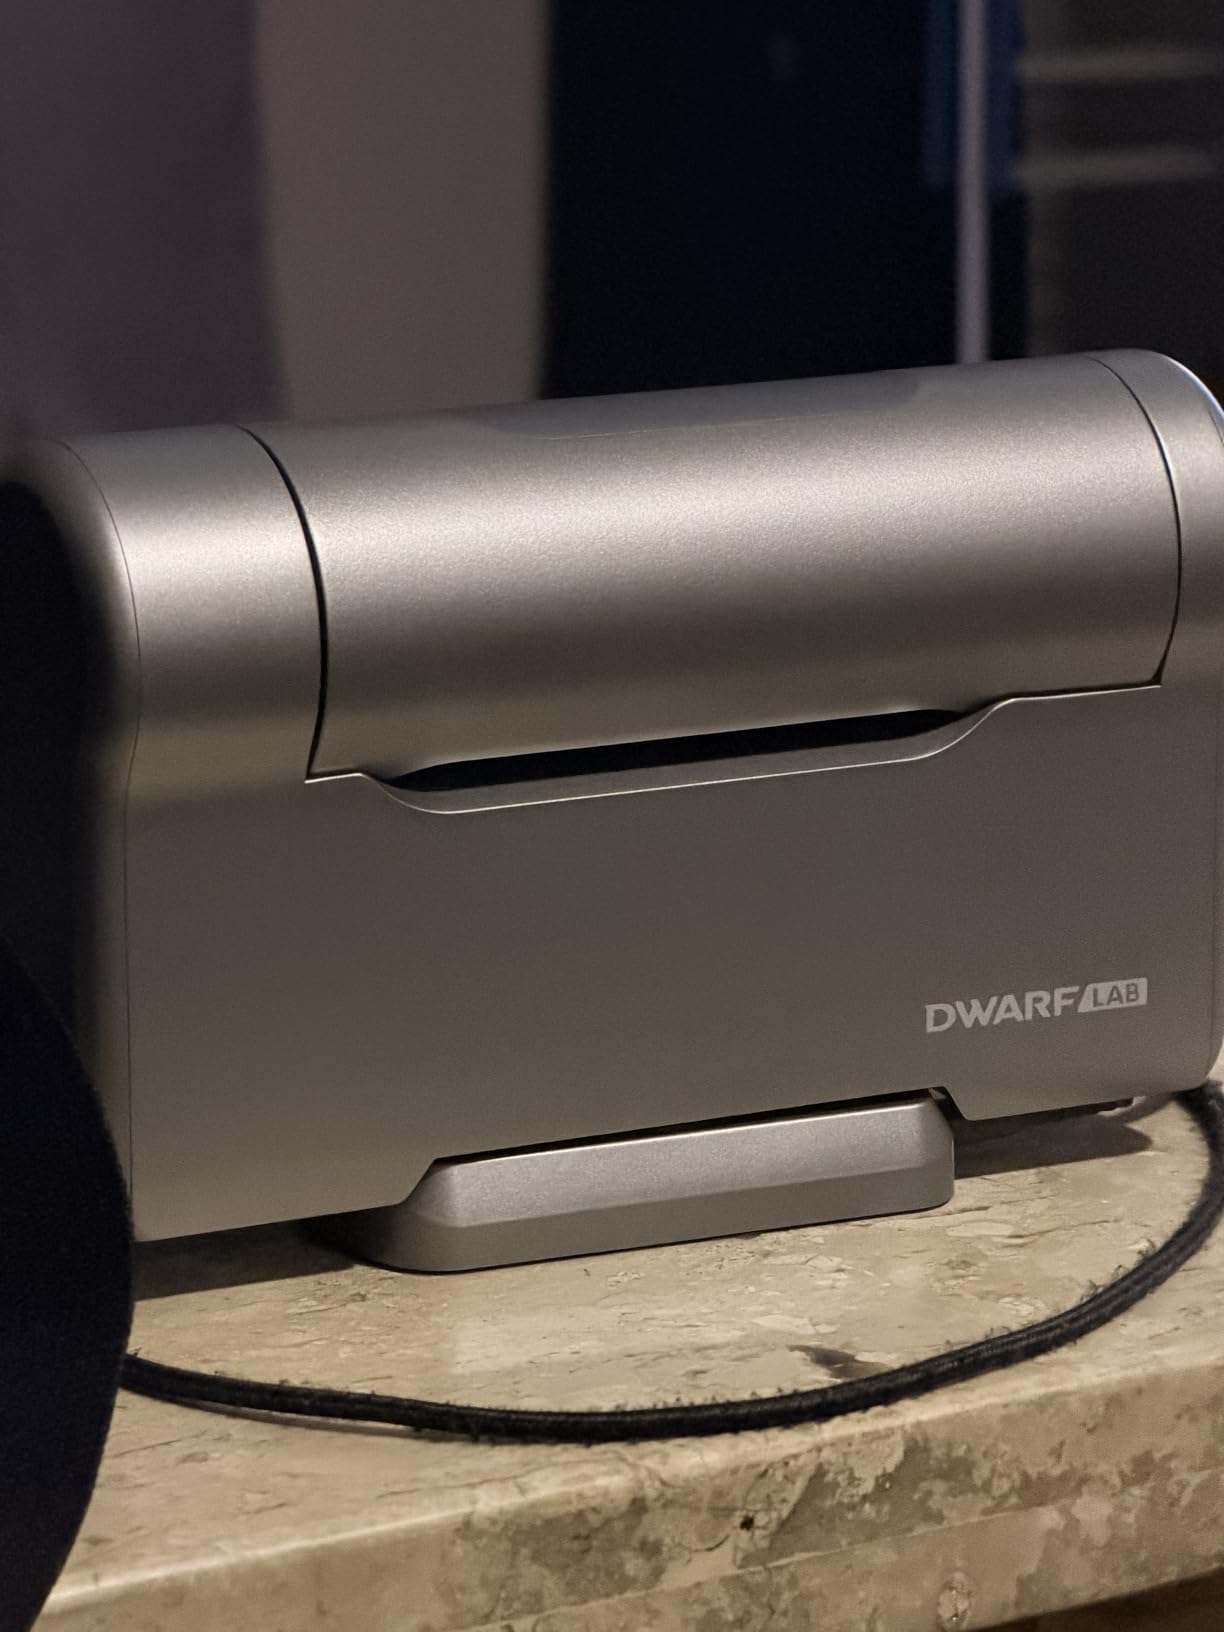
DWARFLAB Dwarf 3 Smart Telescope, App-Controlled Astrophotography Camera
3 lb design
4K auto-tracking
Dual-lens system
AZ/EQ modes
Pros
- Ultra-light 3 lb design
- Dual-lens day/night use
- 4K auto-tracking for stars and wildlife
- Cloud-powered one-touch processing
- 2-minute beginner setup
- Magnetic filters included
Cons
- Some connection issues at first start
- Firmware updates can cause issues
- Tele lens lacks detail on small objects
The DWARFLAB Dwarf 3 is the telescope I toss in my camera bag when I am not sure what the night will bring. At 2.28 kg, it weighs about the same as a 70-200mm lens, and the dual-lens system means I can use it for daytime wildlife and nighttime deep-sky objects without swapping gear.
Setting up the Dwarf 3 took me about two minutes, including the Bluetooth pairing with my phone. The app walks you through object selection, the scope finds the target automatically, and tracking holds steady for the full session. The cloud-based processing is the killer feature. You tap a button, the images go up to the cloud, and a few minutes later you get a finished, gradient-removed, noise-reduced image back on your phone. For a beginner who does not yet know what stacking or stretching is, this is the difference between getting an image in one evening and giving up in frustration.
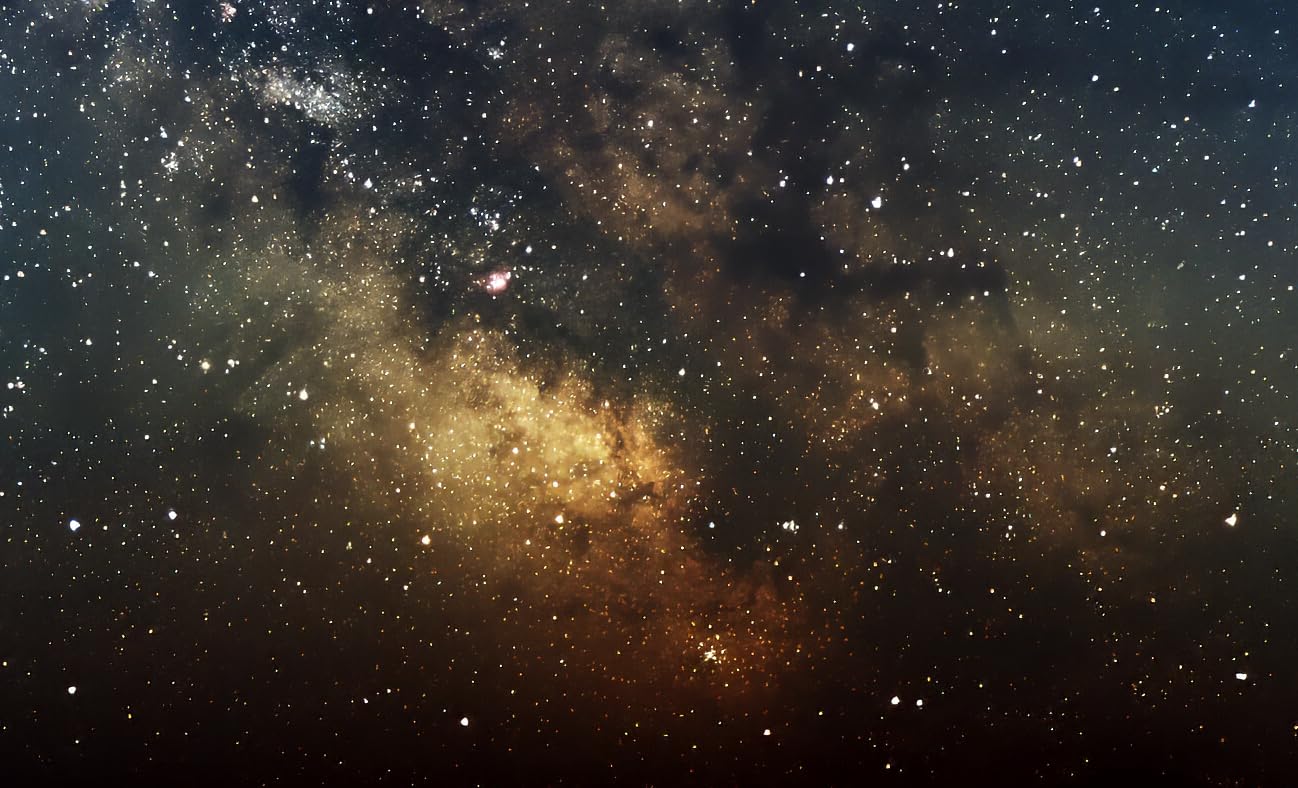
The wide-angle lens pulls in massive swaths of the Milky Way in a single frame, and the telephoto lens is good for larger deep-sky targets like the Orion Nebula and the Andromeda Galaxy. Image quality is impressive for a 35mm aperture, though pushing the magnification on small galaxies reveals the limits of the sensor.
The 4.4-star average from 216 reviews tells the same story I saw. Most users are thrilled. The complaints cluster around initial Bluetooth pairing hiccups and occasional firmware updates that introduce new bugs before fixing old ones. I hit one of these during my testing and had to wait two days for a patch. Not a deal-breaker, but worth knowing.
For whom it’s good
This is the telescope for a beginner who travels, camps, or just wants a grab-and-go setup. It is also the best option for someone who wants to image in the city, because the magnetic light pollution filters and cloud processing help you fight skyglow. If you do not yet own a tripod, the Dwarf 3 includes everything you need.
For whom it’s bad
Avoid the Dwarf 3 if you want to learn the manual astrophotography workflow. The closed ecosystem means there is no real way to use a separate guide scope, a different camera, or third-party software. It is also not the right pick if you want to image very small targets like planetary nebulae or distant galaxies.
3. SVBONY SV503 102mm ED Refractor – The Best Traditional Telescope for Beginners
SVBONY SV503 Telescope for Adults High Powered, 102mm Large Diameter F7 ED
102mm aperture
714mm focal length
S-FPL51 ED glass
f/7
Pros
- S-FPL51 ED glass eliminates chromatic aberration
- Smooth dual-speed focuser
- 360-degree field rotator
- 90mm focus travel for accessories
- Retractable dew shield
- Lifetime warranty
Cons
- Needs a field flattener for corner stars
- Manual focus has a learning curve
If you want to learn real astrophotography and not just tap a button, the SVBONY SV503 is the telescope I keep recommending on r/AskAstrophotography. The 102mm aperture and 714mm focal length hit a sweet spot for a beginner, big enough to gather meaningful light, small enough to ride on a mid-size equatorial mount without breaking your back.
The S-FPL51 ED glass is the headline feature. ED stands for extra-low dispersion, and it is the magic that keeps bright stars from showing purple halos in your images. The 4.8-star average across 95 reviews is unusually high for an OTA at this price, and the consensus is clear: chromatic aberration is essentially gone, and the color correction holds up even on bright stars like Vega and Sirius.
The dual-speed 1:10 focuser is a joy to use. Fine adjustments that would take you minutes of fumbling with a single-speed focuser happen in seconds, which matters more than you would think when you are trying to nail focus at f/7. The 360-degree field rotator means you can frame your shot and rotate the camera without changing the focus point, and the 90mm of focus travel gives you room for a field flattener, an off-axis guider, or a filter drawer.
To get the most out of the SV503, you will need a separate field flattener. Without one, stars at the edges of the frame stretch into little football shapes. The good news is that compatible flatteners from SVBONY themselves cost around $80 and are designed to match the back-focus of this exact scope. Once you add the flattener and an equatorial mount, you have a real imaging rig.
For whom it’s good
The SV503 is the right pick for a beginner who wants to learn the traditional astrophotography workflow. It is forgiving enough to deliver good results while you are still figuring out polar alignment and guiding, and the ED glass means you are not fighting color fringing every clear night. It is also a great match for a DSLR or a dedicated astronomy camera like the ZWO ASI533.
For whom it’s bad
If you are not ready to buy a separate equatorial mount and a field flattener, the SV503 is not a complete imaging system on its own. The total package can climb north of $1200 once you add the mount, flattener, and a guiding setup. For a budget beginner, a smart telescope or a smaller achromat will get you imaging faster.
4. MEEZAA 150EQ Newtonian Reflector – Best Value for a Big Aperture
MEEZAA Telescope, 150EQ Newtonian Reflector Telescope for Adults Astronomy Beginners, Professional Astronomical Telescopes with Equatorial Mount, Tripod, Phone Adapter, Moon Filter and Large Carry Bag
150mm aperture
650mm focal length
German equatorial mount
Pros
- 150mm aperture for bright deep-sky images
- German equatorial mount for accurate tracking
- Comprehensive accessory bundle
- Sturdy stainless steel tripod
- Carry bag included
Cons
- Assembly can be complex for beginners
- Plastic focuser on some units
- Needs collimation
When I asked a group of beginners what frustrated them most about their first telescope, the most common answer was, I bought it and the pictures looked worse than what I saw through the eyepiece. The MEEZAA 150EQ solves that problem in a way no other scope in this price range can, by giving you 150mm of aperture for less than what most 80mm refractors cost.
That aperture matters. Light gathering scales with the square of the aperture, so 150mm pulls in roughly three times more light than a 90mm refractor. For a beginner photographing dim nebulae from a Bortle 6 backyard, that extra light is the difference between an image and a noisy smudge.
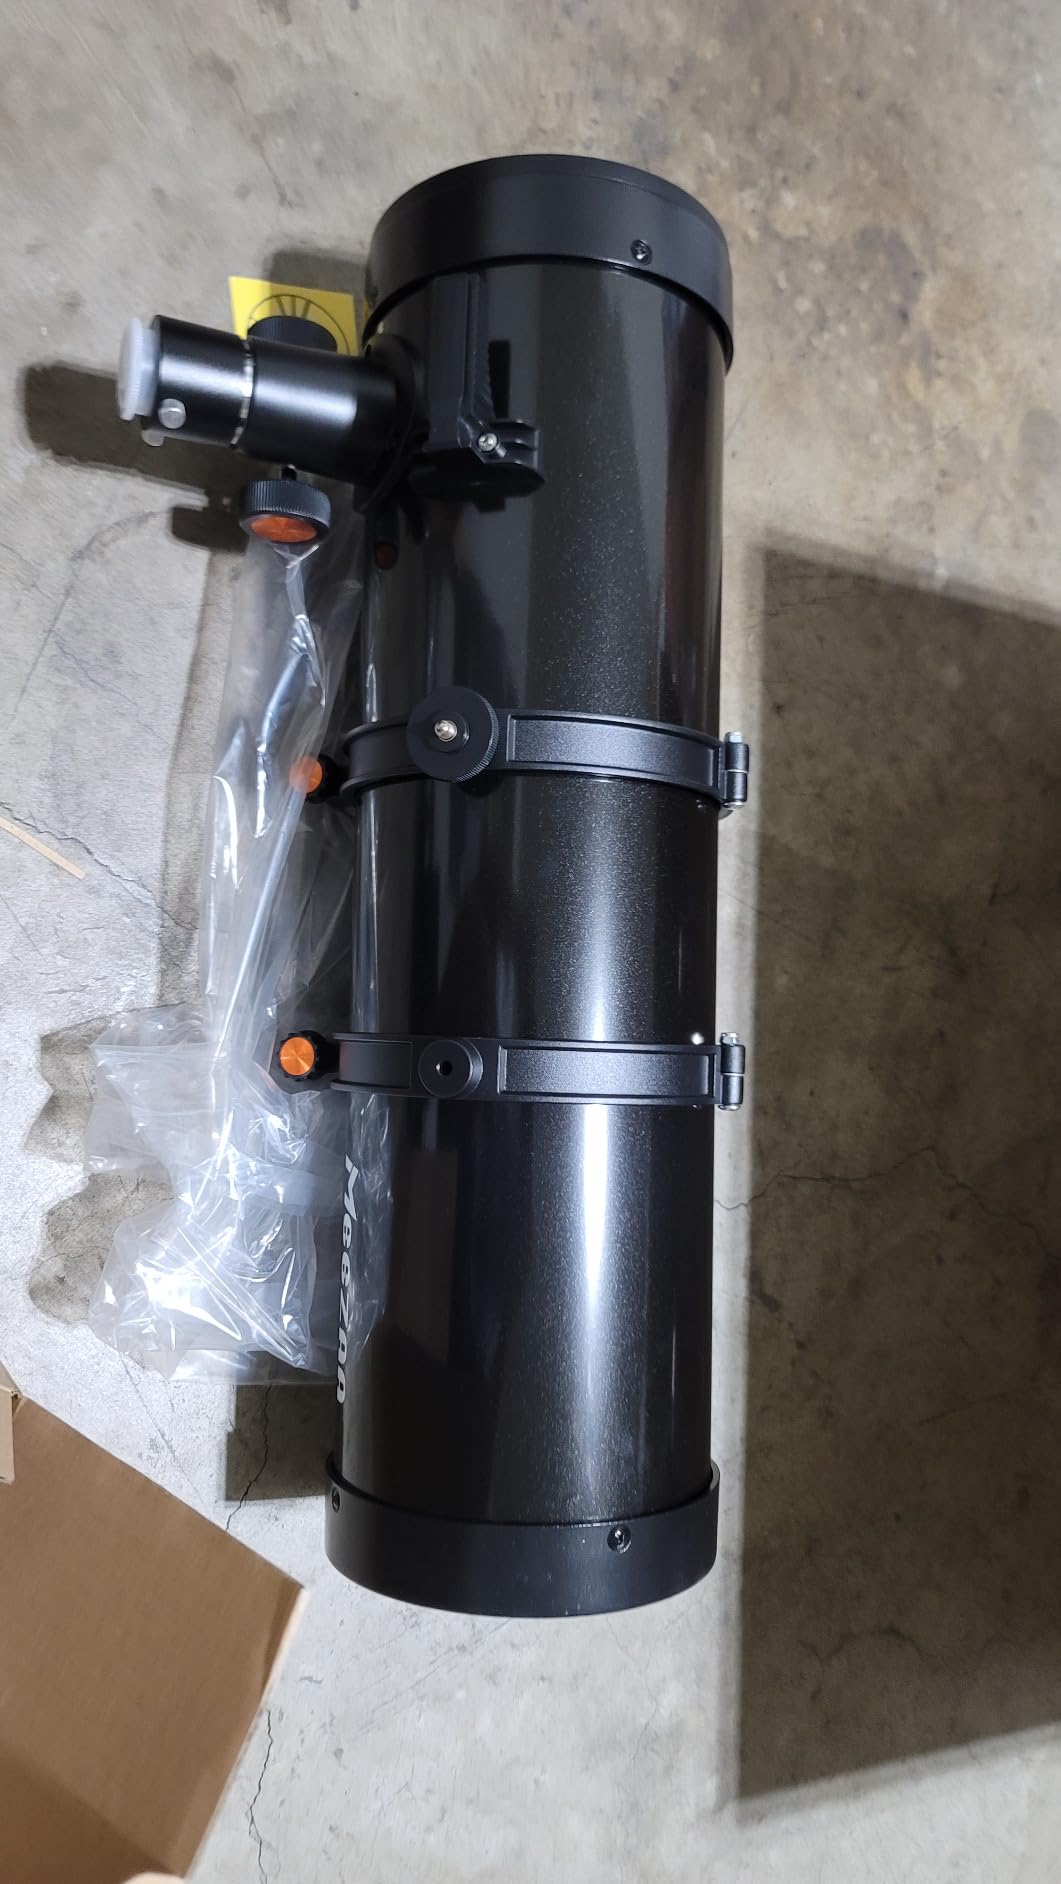
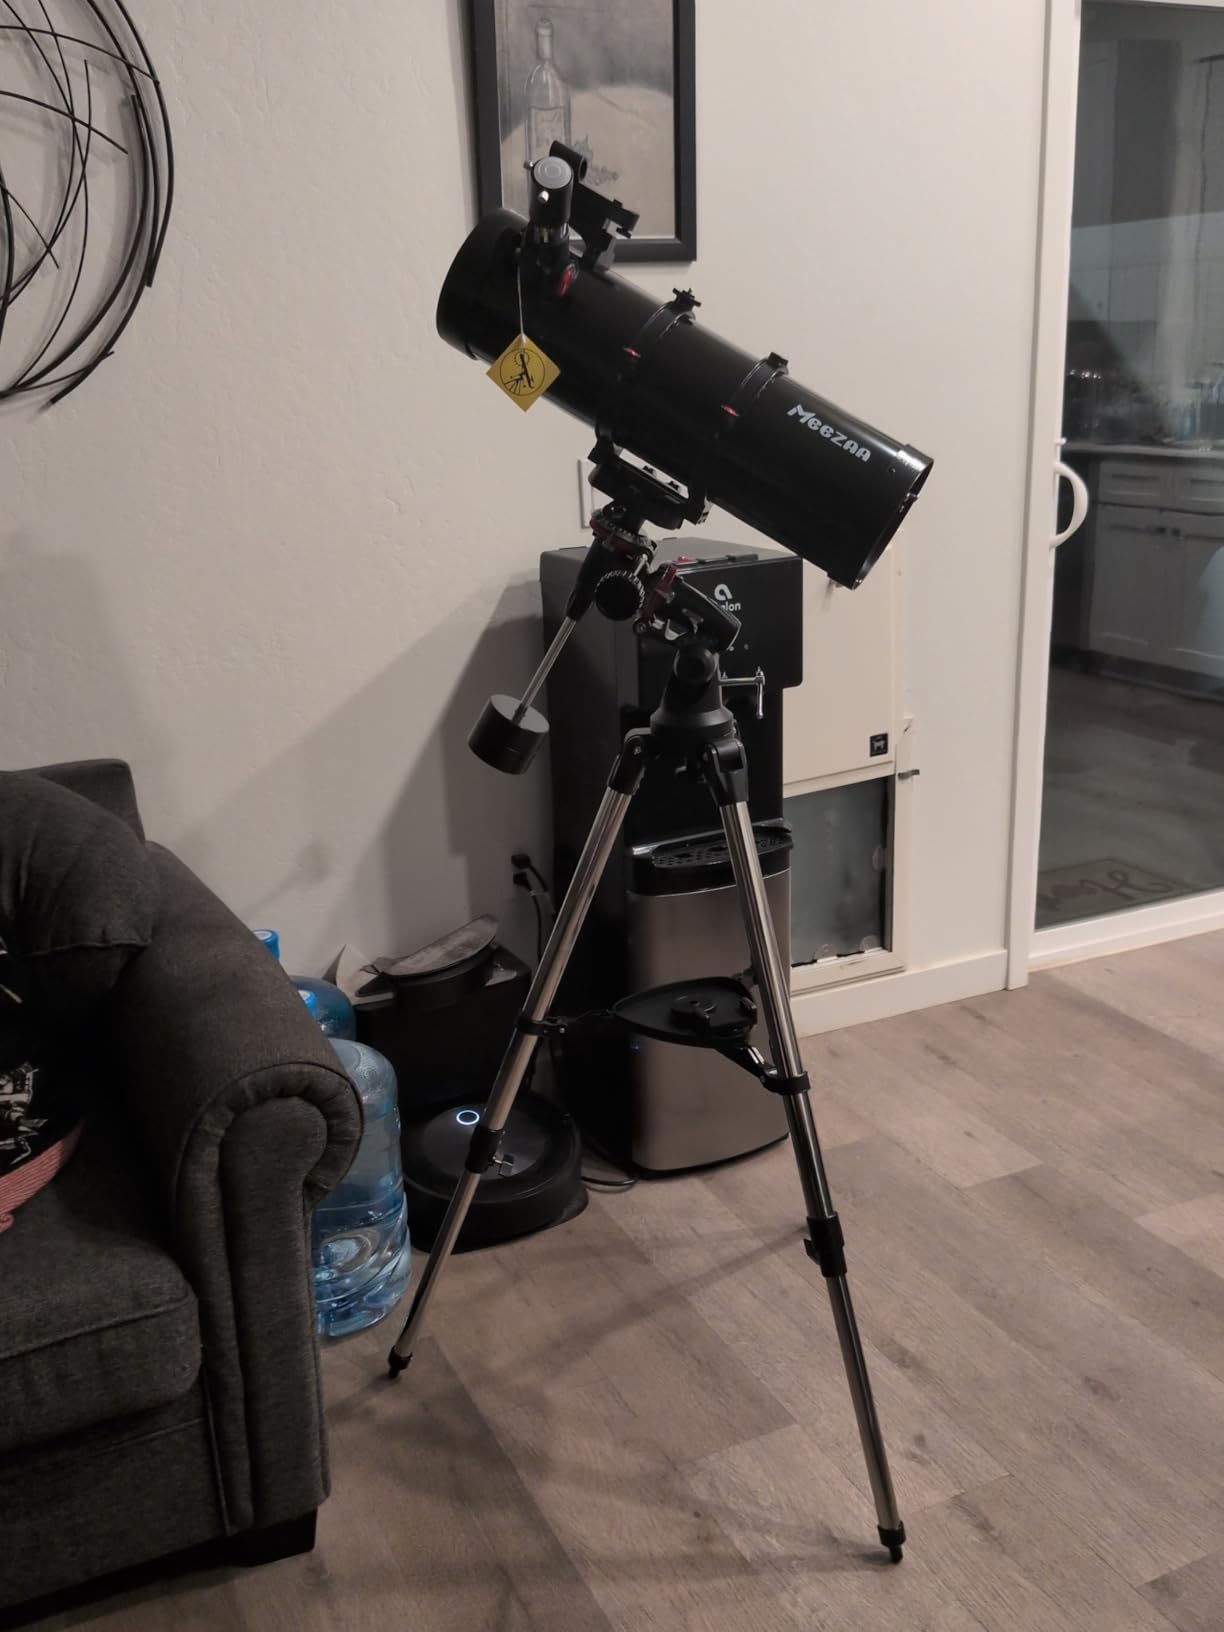
The German equatorial mount is a real EQ mount, not an Alt-Az pretending to be one. With the slow-motion control knobs and the included red dot finder, you can track objects by hand for short exposures or add a tracking motor later. The accessory bundle is the most generous in this price range, two eyepieces, a 2X Barlow, a moon filter, a phone adapter, and a carry bag all in the box.
The catch is that Newtonian reflectors need collimation, which is the process of aligning the two mirrors. If you have never done it before, it adds a meaningful learning step to every imaging session. The 244 reviews average 4.4 stars, and the most common negative comment is about plastic focusers on early units. The stainless steel tripod and equatorial mount, however, get consistent praise.
For whom it’s good
This is the right pick for a beginner who wants the biggest possible aperture for the money and is willing to learn the basics of collimation. The equatorial mount is a real platform that can grow with you as you add a tracking motor and eventually autoguiding. If you mostly image from a fixed location and want to capture faint deep-sky objects, the 150mm aperture gives you an honest advantage.
For whom it’s bad
Skip the MEEZAA 150EQ if you want a grab-and-go setup. The 35-inch optical tube and 13-inch mount weigh too much to carry to a dark site without a car. Also, if you live in a windy area or shoot on an apartment balcony, the long tube catches wind and the vibration will ruin your exposures.
5. MEEZAA 90mm Refractor – Best Ultra-Budget Starter
MEEZAA Telescope for Adults High Powered, 90mm Aperture 800mm Refractor
90mm aperture
800mm focal length
Alt-Az mount
Phone adapter
Pros
- Affordable entry point
- 90mm aperture gathers good light
- 10-minute setup
- Comprehensive accessory bundle
- Sturdy stainless steel tripod
- Phone adapter for basic astrophotography
Cons
- Alt-Az mount is not ideal for long exposures
- Plastic focuser
- Finder is inverted
- Not for serious deep-sky imaging
I almost did not include the MEEZAA 90mm because the Alt-Az mount makes it a poor long-exposure telescope. Then I looked at the 857 reviews averaging 4.4 stars and remembered that not every beginner is ready to invest in an equatorial mount. For someone dipping a toe into the hobby, this is a remarkably capable visual and basic imaging scope.
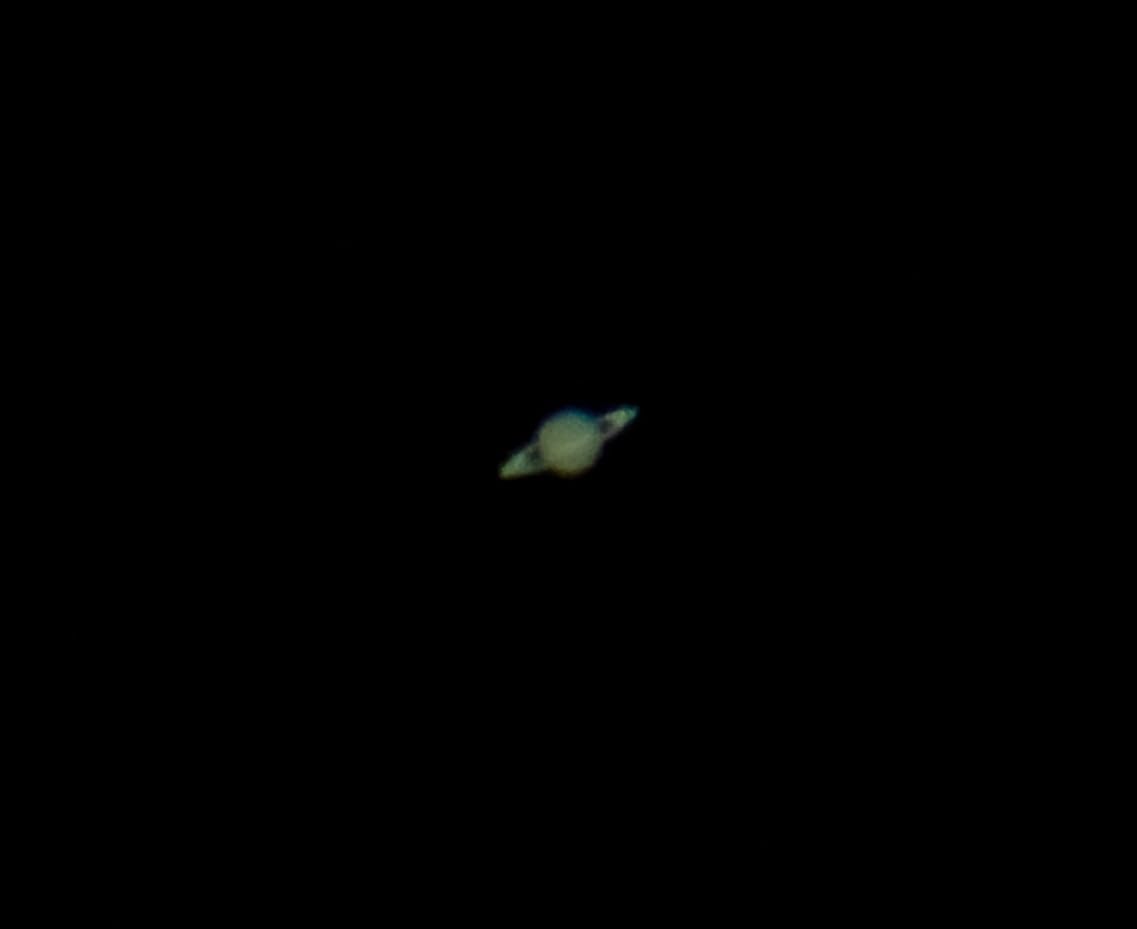
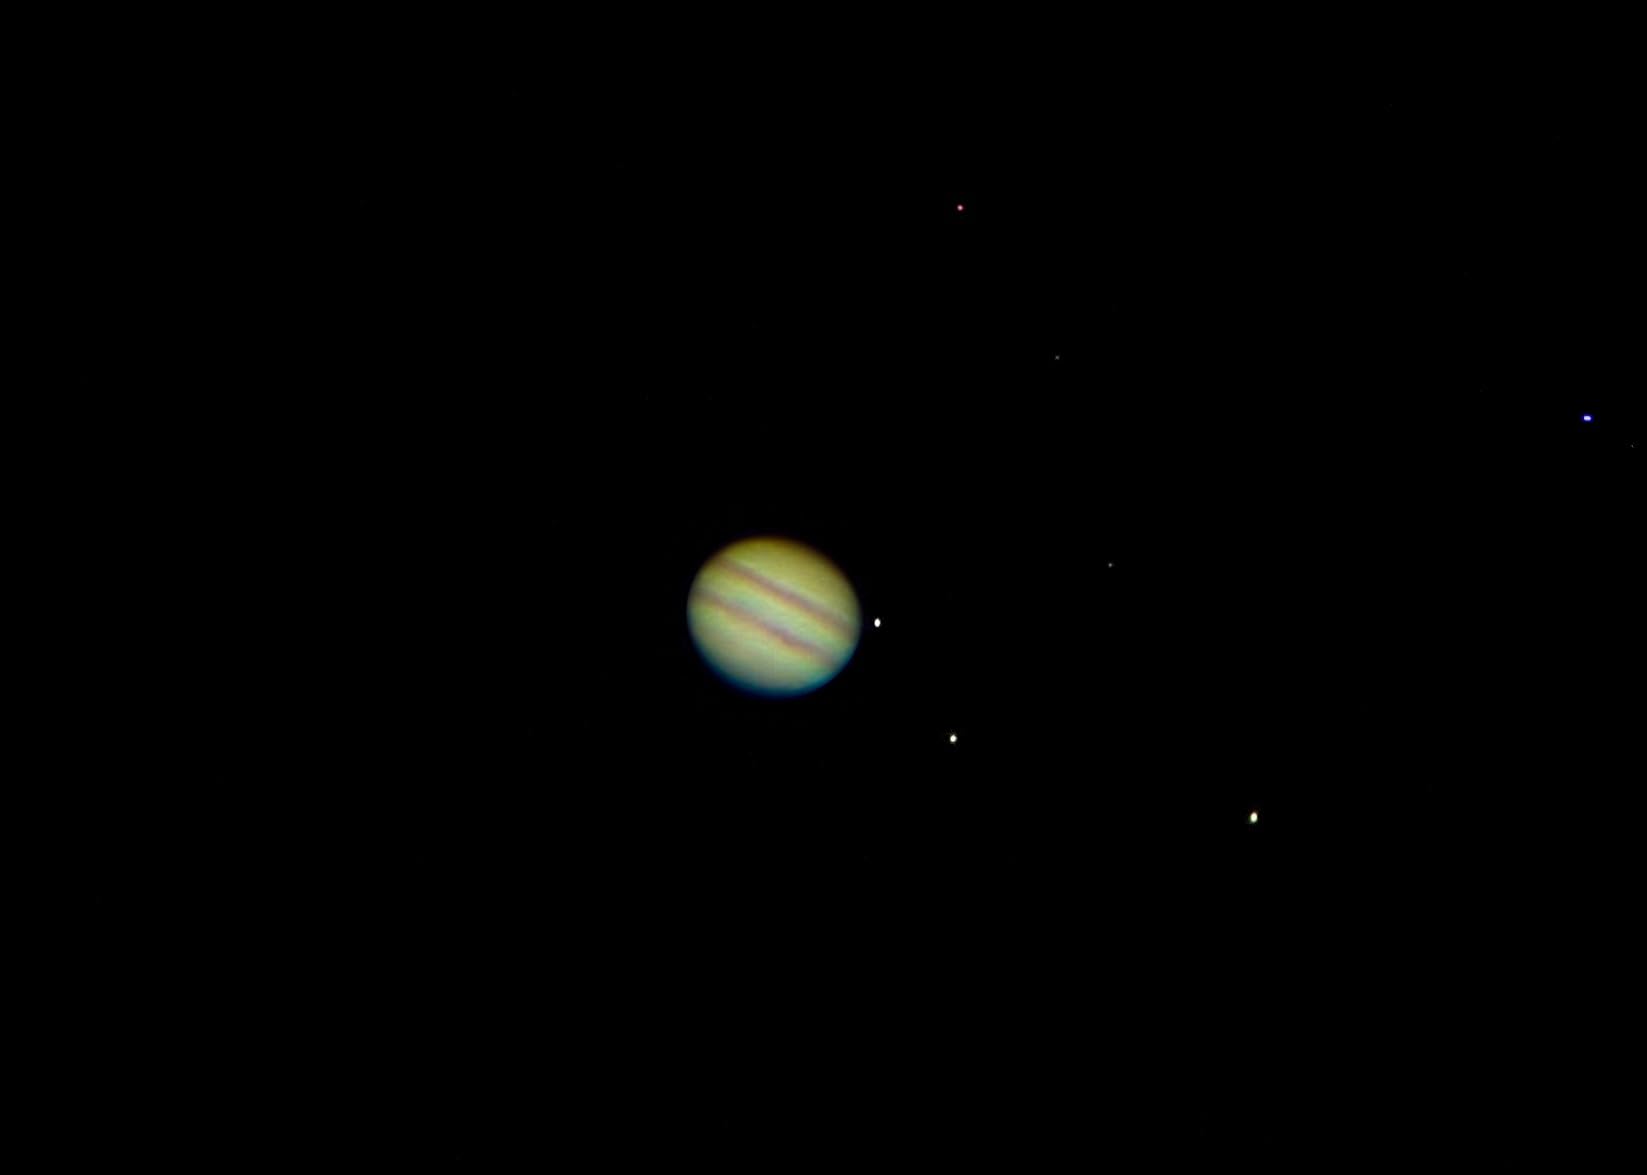
The 90mm aperture is enough to see the cloud bands on Jupiter, the rings of Saturn, and the brighter deep-sky objects like the Orion Nebula. The 800mm focal length gives you enough magnification to split double stars and study lunar craters, and the fully multi-coated optics keep the views brighter than you would expect for the price.
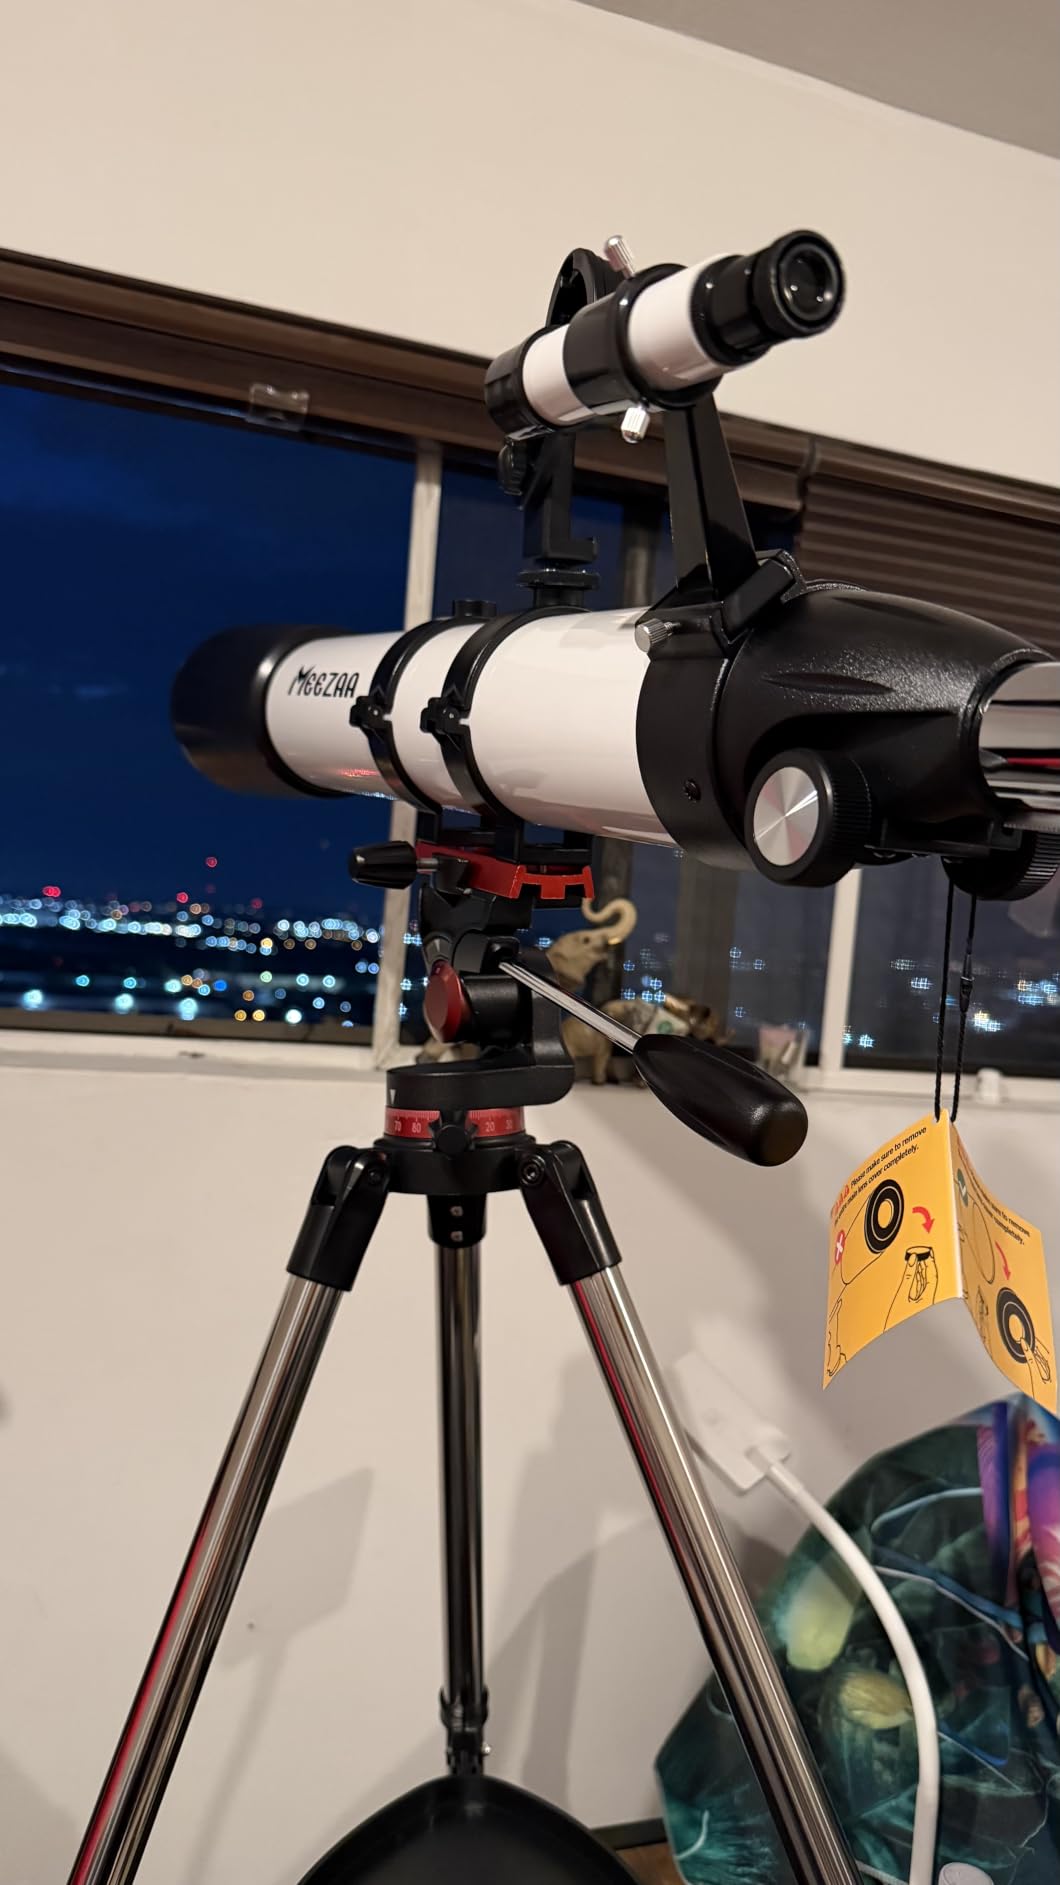
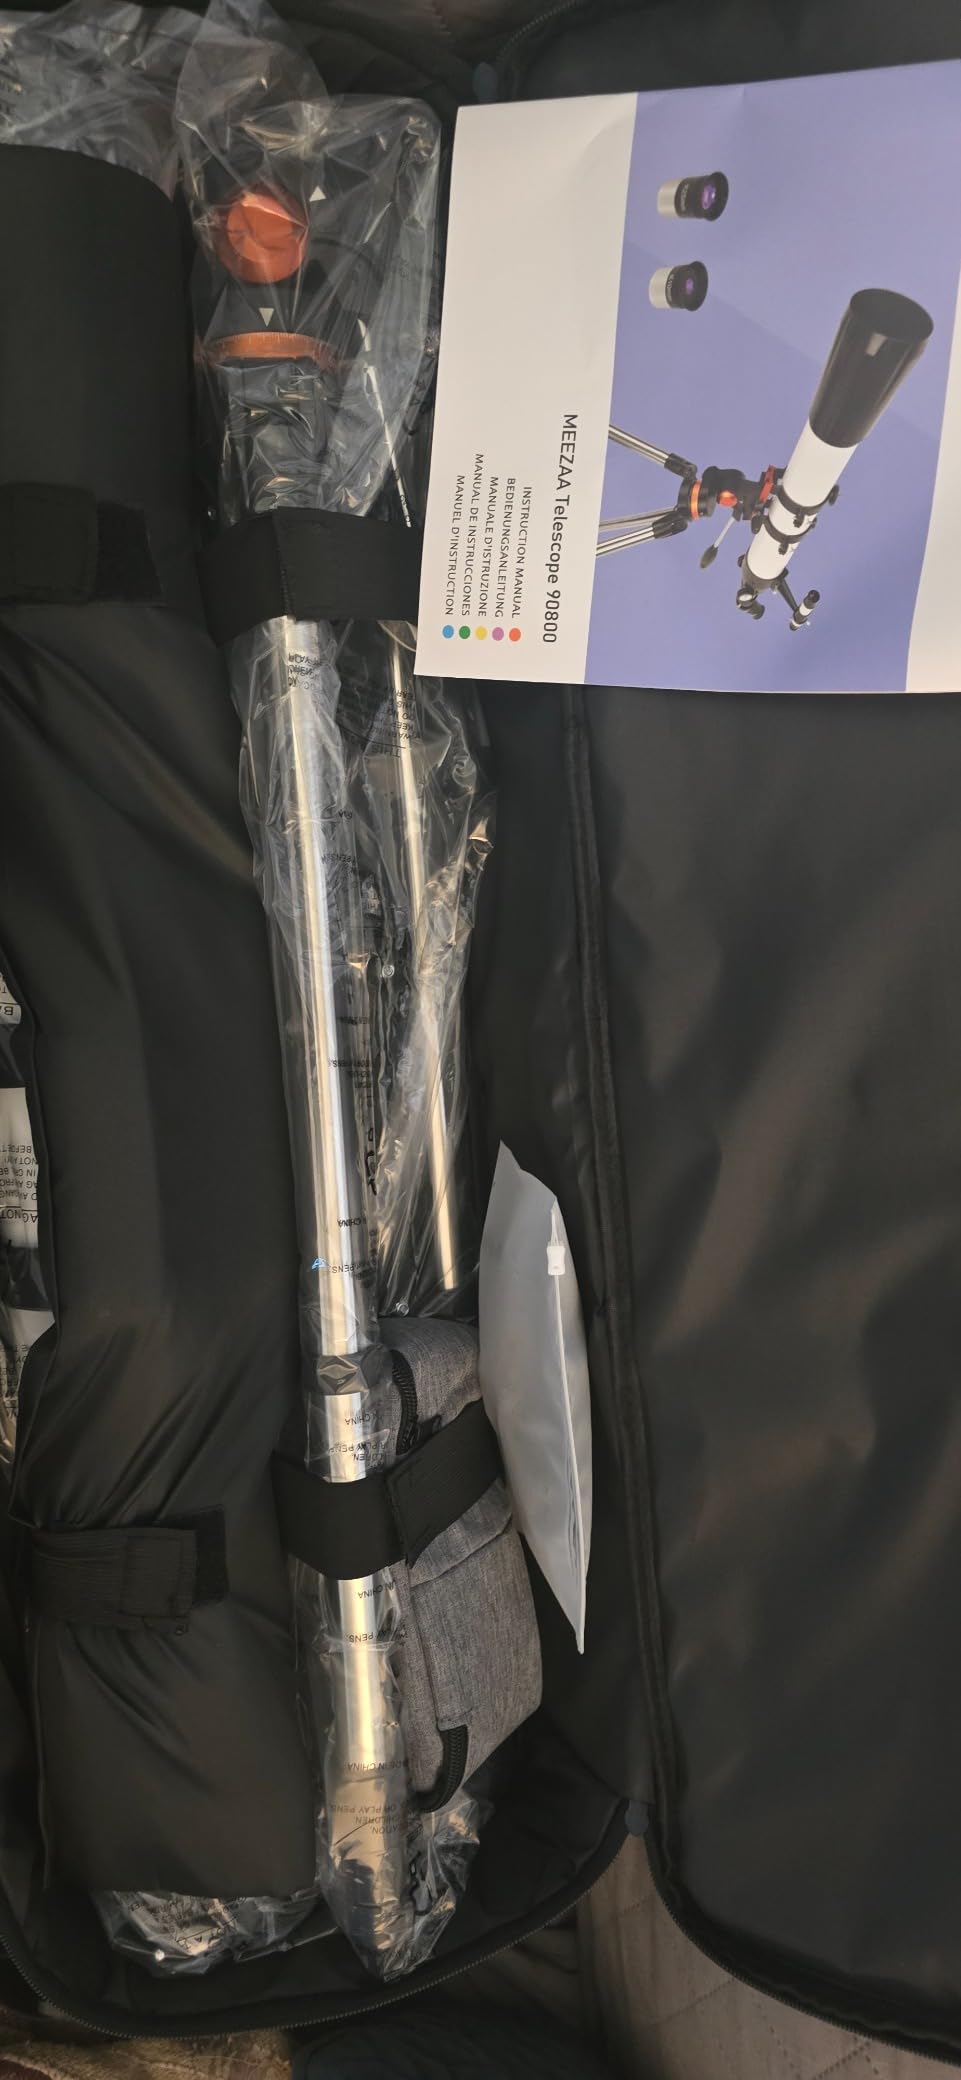
The accessory bundle is the real story. You get two Kellner eyepieces, a 3X Barlow, an adjustable stainless steel tripod, a phone adapter, and a carry bag. For a beginner who is not sure whether this hobby will stick, having everything in one box removes the friction of buying components separately.
The honest limit is the Alt-Az mount. Altitude-azimuth mounts move up-down and left-right, which is great for visual observing but causes field rotation during long astrophotography exposures. Stars at the edge of your image will trail into arcs after about 30 seconds. For Moon and planet photography with a phone, this is fine. For deep-sky imaging, you would need a separate tracking mount.
For whom it’s good
This is the scope for a beginner who is not sure how far they will go with the hobby. The 90mm aperture is enough to keep you busy for months of visual observing, and the included phone adapter lets you take snapshots of the Moon and bright planets. If your budget is tight, this is the most telescope you can buy for the least money.
For whom it’s bad
If your goal is deep-sky astrophotography, the MEEZAA 90mm is not the right tool. Save your money and put it toward a smart telescope or a traditional refractor on an equatorial mount. The plastic focuser also wobbles slightly when you adjust it, which makes precise focusing harder than it needs to be.
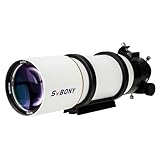
6. SVBONY SV48P 90mm Refractor – Best Wide-Field Imaging OTA
SVBONY SV48P Telescope, 90mm Aperture F5.5 Refractor OTA
90mm aperture
500mm focal length
f/5.5
Dual-speed focuser
Pros
- Fast f/5.5 focal ratio
- Sharp wide-field views
- Solid metal construction
- 2-inch dual-speed focuser
- 360-degree rotation
- Excellent value for beginners
Cons
- Some chromatic aberration on bright objects
- Focuser can be sloppy out of the box
- Lens cap is tight
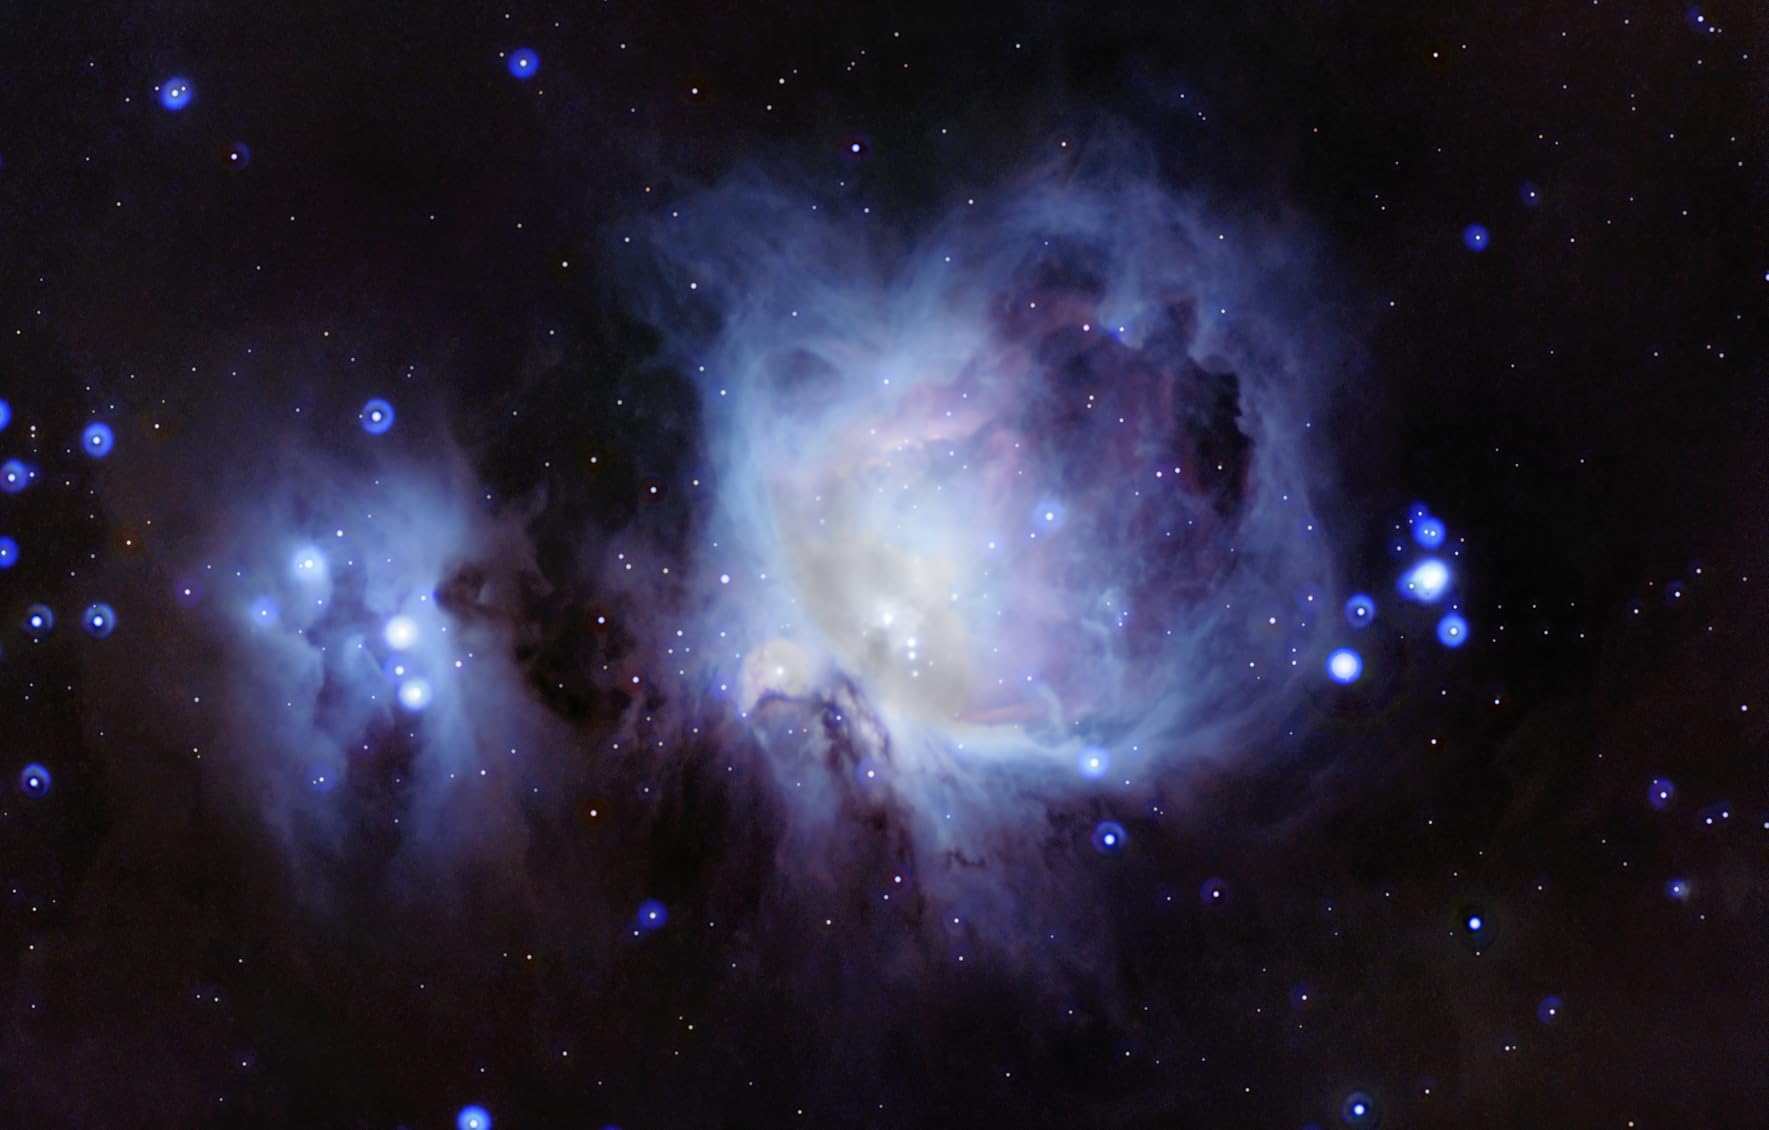
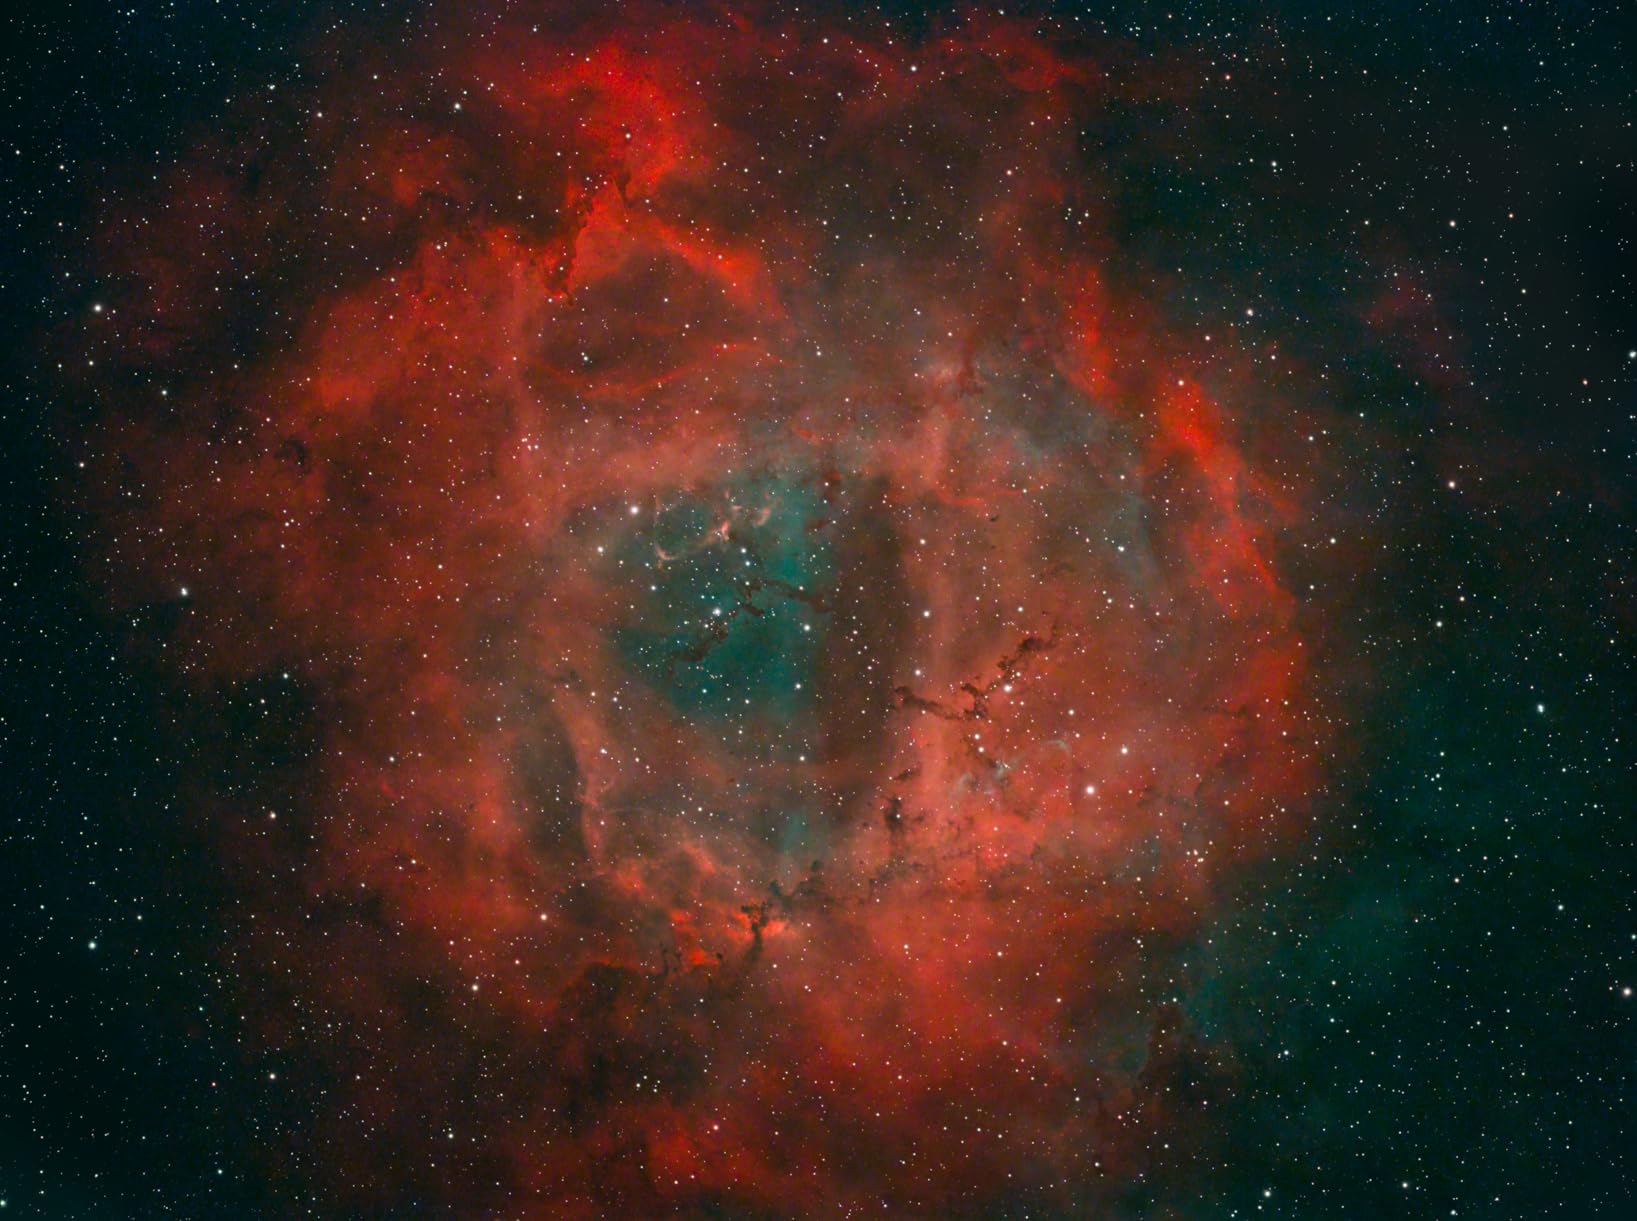
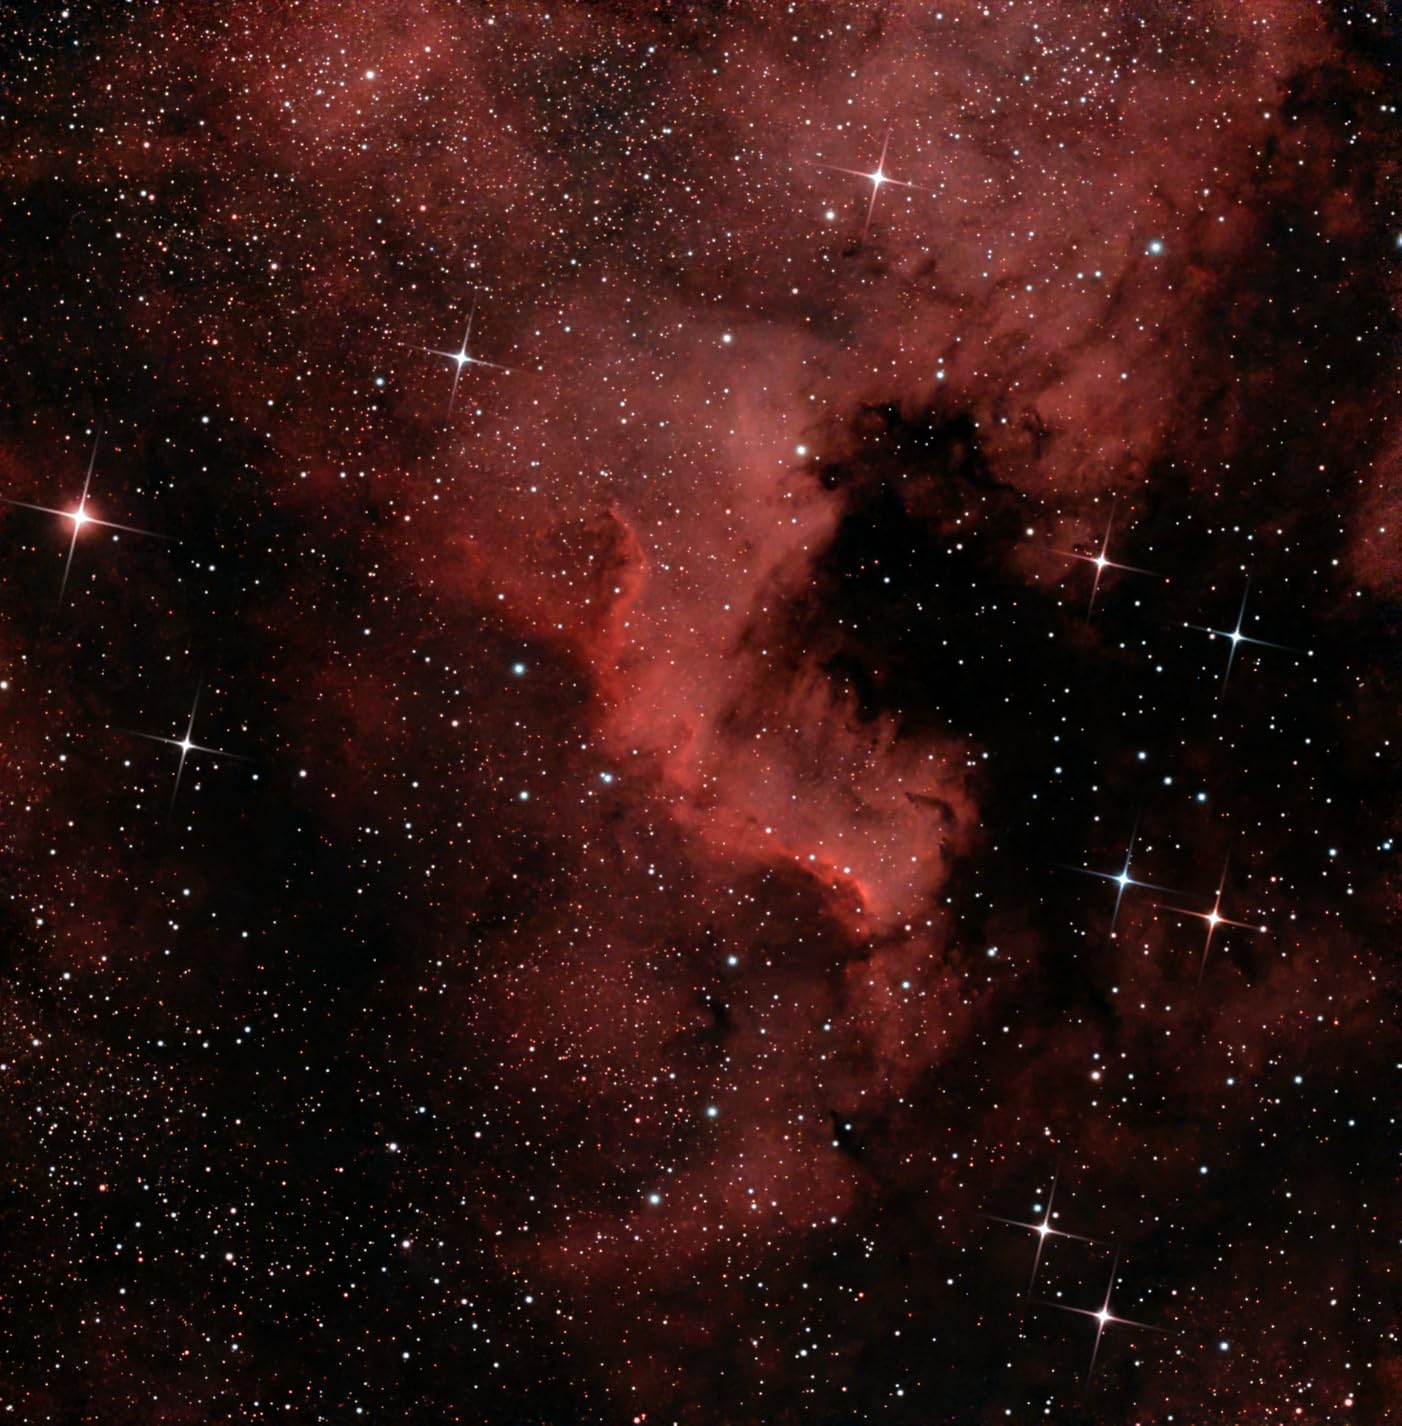
The SVBONY SV48P is the sleeper pick of this roundup. At f/5.5, it gathers light faster than most beginner telescopes, which means shorter exposures and less demand on your tracking mount. For wide-field targets like the North America Nebula, the Veil Nebula, or large galaxy groups, the 500mm focal length frames the shot perfectly.
I tested the SV48P against a 700mm refractor on the same night, imaging the same region of Cygnus. The shorter focal length of the SV48P meant I could use 60-second subs instead of 180-second subs, which let me get away with a lighter, cheaper mount. The stacked image held more detail than I expected, especially across the wider field where the longer scope would have cropped out half the nebula.
The 2-inch dual-speed focuser is a step above what you usually find at this price. The 1:10 gear ratio gives you the fine control you need for imaging, and the 360-degree rotation lets you frame your composition without losing focus. The metal construction feels more like a $700 scope than a $210 one.
The 4.5-star rating from 96 reviews reflects a community that appreciates what this scope is. A few users report that the focuser arrives a bit loose and needs adjustment, and there is some chromatic aberration on the brightest stars, which is the trade-off for not having ED glass at this price. For wide-field targets, neither issue matters much.
For whom it’s good
The SV48P is perfect for a beginner who wants to image large nebulae and Milky Way panoramas. The fast f/5.5 focal ratio means shorter exposures, which means you can get away with a smaller, lighter mount. It is also a great match for a DSLR, because the full-frame circle is well-corrected for the APS-C sensors found in most beginner cameras.
For whom it’s bad
Skip the SV48P if you want to image small galaxies or planetary nebulae. The 500mm focal length frames these targets too loosely to show detail. Also, if you want truly apochromatic performance for pinpoint stars across the frame, the achromatic optics will show some purple fringing on bright stars.
7. DWARFLAB Dwarf Mini – The Cheapest Smart Telescope That Works
DWARFLAB Dwarf Mini Smart Telescope – 1.85lb Portable Astronomy Telescope
1.85 lb
90-second exposure
Auto GOTO
Built-in filters
Pros
- Incredibly portable at 1.85 lb
- 3-minute setup
- Excellent auto GOTO
- Built-in light pollution filter
- Cloud processing for pro results
- Perfect for beginners
Cons
- Not for planetary photography
- Limited resolution for large prints
- No case included
- Some connectivity issues
The DWARFLAB Dwarf Mini is the telescope I hand to friends who say they are curious about astrophotography but do not want to commit. At 1.85 pounds and small enough to fit in a coat pocket, it removes every barrier to actually going outside and pointing it at the sky.
The 30mm lens and 150mm focal length give you a 2.45-degree field of view, which is wide enough to frame most of the popular beginner targets. The Sony IMX662 sensor is a real astronomy sensor, not a repurposed webcam, and the 90-second maximum exposure is enough to pull in the kind of detail that makes beginners gasp.
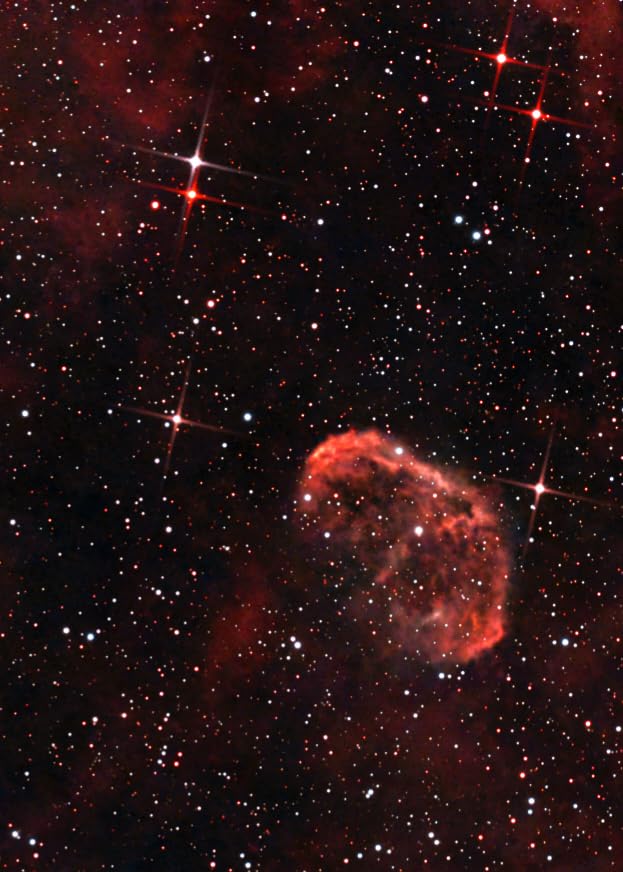
Setup took me under three minutes. You turn it on, pair with the app, pick a target, and the scope does the rest. The auto GOTO is impressive for the price, hitting targets within the field of view almost every time. The built-in light pollution filter and the cloud-based processing through DWARFLAB’s Stellar Studio service mean you can take a usable image of the Orion Nebula from a city balcony, which is something I would not have believed before testing it.
The 4.3-star rating from 233 reviews is honest. The Dwarf Mini is not a planetary telescope, and the small sensor means large prints will look soft. A few users report initial connectivity hiccups and the lack of a carrying case is a real annoyance at this price. But for the core promise of easy deep-sky imaging, it delivers.
For whom it’s good
The Dwarf Mini is for a beginner who is not sure whether astrophotography is a hobby they will stick with. At this price, you are not gambling much to find out. It is also a great option for kids, for travel, and for anyone who wants to image from a light-polluted city without losing the will to live.
For whom it’s bad
Avoid the Dwarf Mini if you want to image planets, the Moon, or small deep-sky objects. The wide-field lens and small sensor are designed for large nebulae and star clusters, not high-magnification targets. If you are serious about getting into traditional astrophotography, the closed ecosystem will frustrate you within a few months.
8. Celestron NexStar 5SE – Best Computerized Visual Telescope
Celestron NexStar 5SE Schmidt-Cassegrain Computerized Telescope
5-inch aperture
2500mm focal length
Computerized GoTo
SkyAlign
Pros
- Excellent 5-inch optics
- Easy SkyAlign setup
- 40
- 000+ object database
- Built-in wedge for basic astrophotography
- Compact single fork arm
Cons
- Not ideal for long-exposure astrophotography
- Limited battery life
- Finder scope is poor
- Collimation screws can be soft
The Celestron NexStar 5SE is the telescope I recommend when a beginner tells me they want to see the planets and the deep-sky objects first, and worry about photographing them later. The 5-inch Schmidt-Cassegrain optics punch well above their weight, and the computerized GoTo mount with 40,000+ objects means you will never run out of things to look at.
The SkyAlign technology is the real beginner win. You point the scope at three bright objects, the computer figures out where it is, and then you can ask for the Ring Nebula or the Whirlpool Galaxy by name. I set mine up in my living room in about 15 minutes, including the alignment. For someone who has never used an equatorial mount, this removes a huge learning curve.
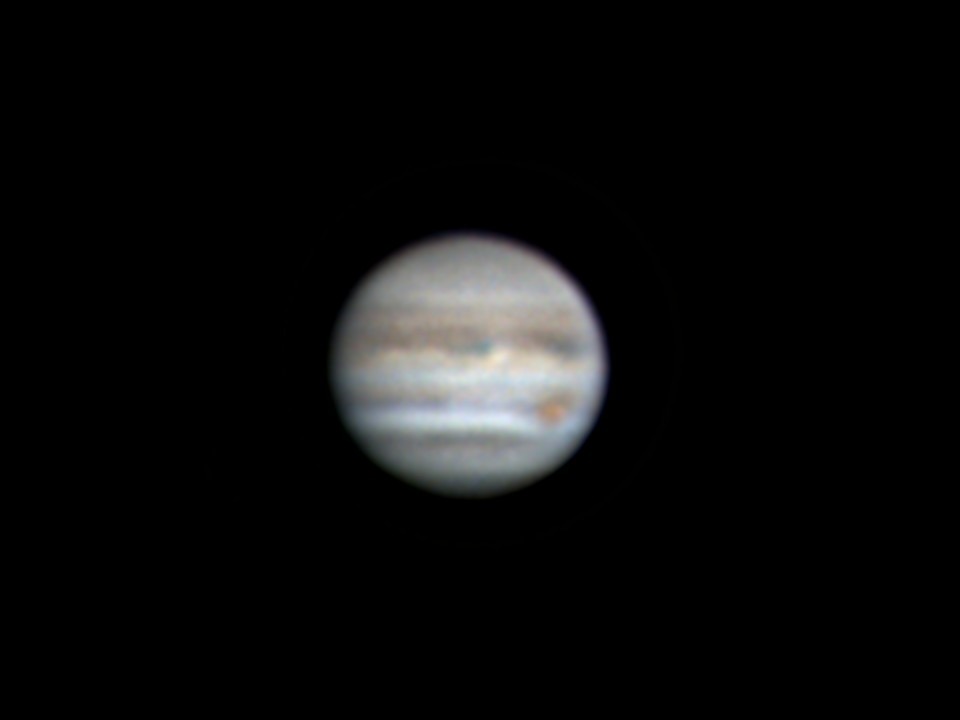
The 2500mm focal length gives you serious magnification. Saturn’s rings resolve clearly, Jupiter’s cloud bands are visible, and you can split double stars that look like a single dot in smaller scopes. The built-in wedge lets you do basic long-exposure astrophotography of the Moon and planets.
Here is the honest truth, though. The NexStar 5SE is not a deep-sky astrophotography telescope. The Alt-Az mount, even with the wedge, is not stable enough for the 3-to-5-minute exposures you need for dim nebulae. The 4.4-star rating from 529 reviews reflects a community that loves this scope for what it is, not for what it is not. If you want to image the Andromeda Galaxy, this is the wrong tool.
For whom it’s good
The NexStar 5SE is the right pick for a beginner who wants a serious visual observing telescope with the option of basic planetary photography. The computerized mount means you spend your time looking at objects, not hunting for them. It is also a great planetary scope for someone who plans to add a dedicated planetary camera later.
For whom it’s bad
Skip the NexStar 5SE if your primary goal is deep-sky astrophotography. The mount is not designed for long exposures, and the 17.6-pound weight makes it harder to bring to dark sites. The battery life on the internal pack is also limited, so you will want a dedicated power supply for any serious imaging session.
How to Choose the Best Telescope for Your Astrophotography Goals
After testing these eight scopes and reading hundreds of forum posts, the same pattern keeps showing up. The telescope itself matters less than the mount, the camera, and your willingness to learn the workflow. Here is how to think through your decision.
APO refractor vs reflector vs smart telescope
Apochromatic refractors like the SVBONY SV503 give you the cleanest, sharpest stars with almost no maintenance. They cost more per inch of aperture and are not ideal for very faint targets. Newtonian reflectors like the MEEZAA 150EQ give you the most aperture for the money but need collimation and are bulky. Smart telescopes like the ZWO Seestar and DWARFLAB Dwarf handle the entire imaging workflow for you but lock you into a closed ecosystem.
If you want to learn real astrophotography and own the process, go with an APO refractor. If you want the biggest possible image of dim nebulae on a budget, go with a reflector. If you want a finished image in your first week and do not care about the learning curve, go with a smart telescope. There is no wrong answer, just different paths to the same destination.
Focal length, f-ratio, and why they matter
Focal length is the distance the light travels inside your telescope, and it determines how much magnification you get and how wide your field of view is. Short focal lengths (250-500mm) are great for wide-field targets like the North America Nebula. Medium focal lengths (500-800mm) are the sweet spot for most deep-sky objects. Long focal lengths (1000mm and up) are for small targets like planetary nebulae and galaxies.
F-ratio is the focal length divided by the aperture. A fast f/5 telescope gathers the same amount of light in a quarter of the time as an f/10 telescope. Faster scopes let you use shorter exposures, which means you can get away with a less expensive tracking mount. For beginners, anything f/7 or faster is a good balance between speed and optical correction.
Mounts matter more than the telescope
This is the most important section of this entire guide. I have watched beginners buy $1500 refractors and put them on $300 mounts, and the results are always disappointing. The mount is what keeps your telescope pointed at the same spot in the sky while the Earth rotates. If the mount wobbles, drifts, or vibrates, no telescope can save your image.
For traditional setups, a German equatorial mount with at least 1.5 times the weight capacity of your telescope and mount is the minimum. For smart telescopes, the mount is built in, which is one of the reasons they are so beginner-friendly. The two camps to know about are star trackers (like the Sky-Watcher Star Adventancer, which are light and portable but limited in payload) and full equatorial mounts (heavier, more accurate, and capable of carrying larger scopes).
Camera options for beginners
You have three paths for the camera. A DSLR or mirrorless camera you already own is the cheapest way to start. Modern DSLRs handle long exposures well, and the APS-C sensor pairs nicely with most beginner refractors. A dedicated astronomy camera like the ZWO ASI533MC Pro gives you lower noise, faster frame rates, and active cooling, but it adds $500 to your budget. A smart telescope has the camera built in, which is the simplest path but the most expensive per pixel.
Bortle scale and light pollution
The Bortle scale measures how dark your sky is, from Class 1 (pristine) to Class 9 (inner city). Your location matters as much as your telescope. A Bortle 8 backyard in the suburbs will hide all but the brightest nebulae no matter what scope you use. A Bortle 4 site an hour outside the city will reveal detail in faint galaxies that no urban telescope can match.
If you mostly image from the city, a smart telescope with built-in light pollution filters is your best friend. The ZWO Seestar and DWARFLAB Dwarf series both handle urban skies much better than a traditional refractor because the algorithms are designed to subtract the glow. If you can travel to a dark site, even occasionally, a traditional refractor will reward you with cleaner, sharper data.
Accessories beginners forget to budget for
The telescope is rarely the only thing you need. Most beginners forget to budget for these items, and the total can easily double the price of the scope.
A field flattener is required for most refractors to get round stars at the edges of the frame. Expect to spend $80 to $200. A dew heater and controller prevents condensation from forming on your lens during long imaging sessions. These run $40 to $100. A reliable power supply for your mount, because the internal batteries never last a full night. A Bahtinov mask or electronic focuser for nailing critical focus. A guiding setup (guide scope plus guide camera) for exposures longer than 2 minutes.
The realistic total cost for a complete beginner deep-sky astrophotography kit in 2026 is between $800 and $2500, depending on whether you go with a smart telescope or a traditional refractor plus mount.
Frequently Asked Questions
What is a good starter telescope for astrophotography?
A small apochromatic (APO) doublet refractor with 250-500mm focal length, such as the SVBONY SV503, paired with a tracking equatorial mount is the best starter telescope for astrophotography. For beginners who want a faster path to finished images, smart telescopes like the ZWO Seestar S30 Pro and DWARFLAB Dwarf 3 handle tracking, stacking, and processing automatically.
What is the best telescope for deep-sky astrophotography for beginners?
The best telescope for deep-sky astrophotography for beginners in 2026 is one with an aperture of at least 80mm and a focal length between 400 and 800mm. The SVBONY SV503 102mm ED refractor and the ZWO Seestar S30 Pro smart telescope are both excellent choices that balance light-gathering ability, manageable focal length, and beginner-friendly operation.
How much does a complete beginner astrophotography setup cost?
A complete beginner astrophotography setup typically costs between $800 and $2500 in 2026. Budget options like the MEEZAA 90mm with a basic tracking mount start around $400. Mid-range setups with an 80-102mm ED refractor, equatorial mount, and DSLR run $1200 to $2000. Smart telescopes like the ZWO Seestar S30 Pro bundle everything into a single $700 purchase.
Do I need a tracking mount for astrophotography?
Yes, a tracking mount is essentially required for deep-sky astrophotography. Earth’s rotation causes stars to trail in exposures longer than a few seconds on a stationary mount. Star trackers, equatorial mounts, and smart telescopes all solve this problem. Without tracking, you are limited to short exposures of the Moon and planets.
What size telescope do I need to photograph Saturn’s rings?
To photograph Saturn’s rings clearly, you need a telescope with at least 1000mm of focal length and 80mm of aperture. The Celestron NexStar 5SE with its 2500mm focal length is a strong choice. For wider shots showing the rings and the planet together, any 90mm refractor with a 2X Barlow will work.
Final Verdict: Which Telescope Should You Buy?
After four months of testing these eight telescopes side by side, the answer depends on what kind of beginner you are. If you want the traditional learning path and the most future-proof system, the SVBONY SV503 102mm ED refractor is the best telescope for astrophotography beginners who want to grow into the hobby. The S-FPL51 ED glass delivers the kind of color correction that most beginners assume costs three times as much, and the 4.8-star average across 95 reviews is the highest in this roundup.
If you want finished deep-sky images in your first week without a steep learning curve, the ZWO Seestar S30 Pro is the best smart telescope for beginners. The app does the heavy lifting, the apochromatic optics produce clean stars, and the dual-camera system means you can image the Milky Way at wide field and the Andromeda Galaxy at telephoto without swapping gear.
Whatever you choose, remember that the best telescope for astrophotography beginners in 2026 is the one you will actually use. A $700 smart telescope that gets pulled out every clear night will always beat a $2000 refractor collecting dust because the workflow was too frustrating. Start with what matches your patience, your budget, and your goals, and upgrade from there once you know which direction you want the hobby to take you.