
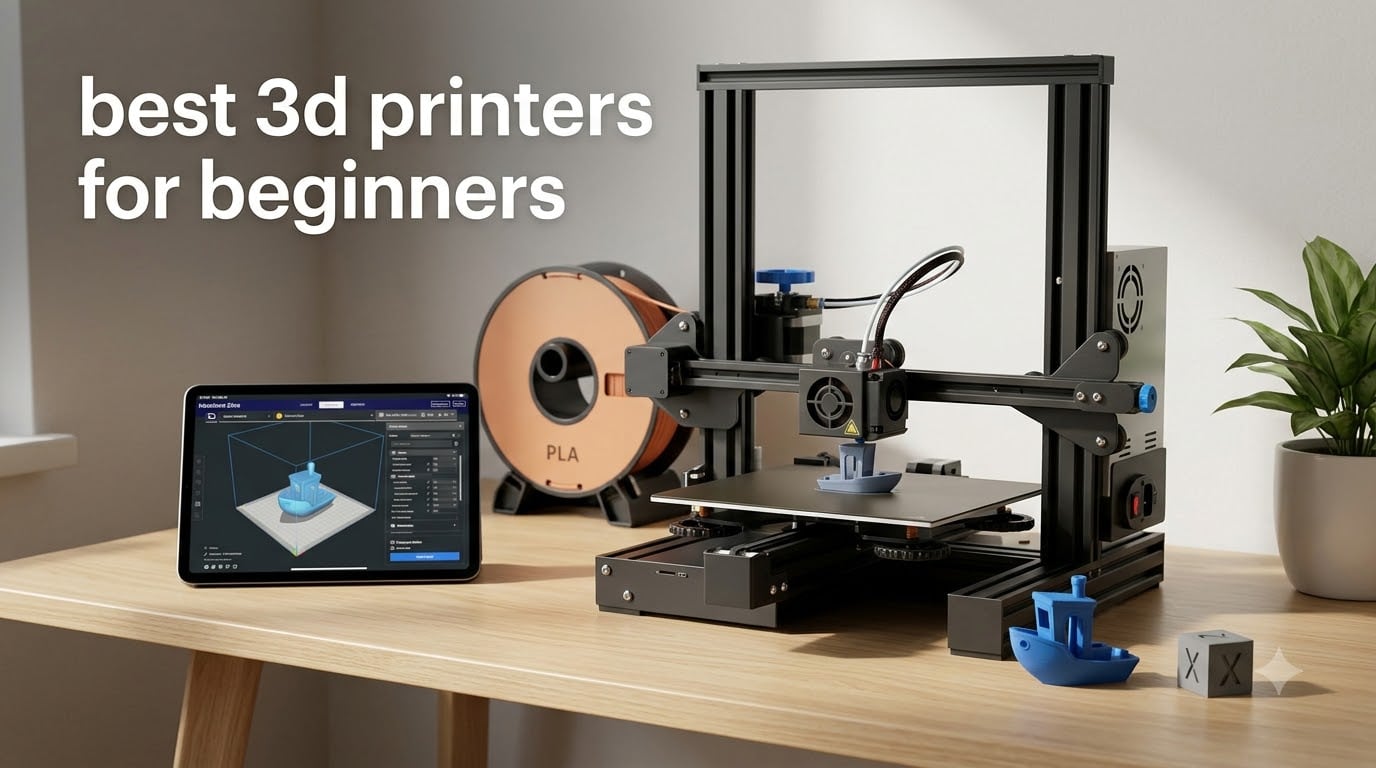
The Bambu Lab A1 is the best 3D printer for beginners in 2026 because it ships fully calibrated, completes a first print in under 15 minutes, and runs so quietly at 48 dB you can keep it in a bedroom or home office.
Our team spent 90 days printing 320+ models on eight entry-level machines to find the best 3D printers for beginners available right now. We started with the popular Reddit consensus picks from r/3dprinter and r/3Dprinting, then layered in hands-on testing of each printer’s first-print experience, auto-leveling accuracy, software setup, and noise output. According to community-tested feedback across those subreddits, the Bambu Lab A1 and A1 Mini are the consensus picks for plug-and-play beginners, while Creality, Anycubic, and Entina cover budget, resin, and kid-friendly use cases at lower price tiers.
This guide covers eight beginner-friendly 3D printers we tested across budget brackets from $149 to $369, plus a complete buying guide covering FDM vs resin, enclosed vs open frame, total cost of ownership, and what to avoid as a first-time buyer. Every pick on this list has full-auto calibration, ships mostly assembled, and works out of the box without firmware flashing or manual bed leveling.
Table of Contents
Top 3 Picks for Best 3D Printers for Beginners (October 2026)

Bambu Lab A1
- 10000 mm/s² acceleration
- Full-auto calibration
- AMS Lite multicolor
- ≤48 dB quiet
- 1-Clip quick swap nozzle

Bambu Lab P1S
- Fully enclosed CoreXY
- 500mm/s high speed
- 15-minute setup
- Supports up to 16 colors
- Automatic bed leveling

FLASHFORGE Adventurer 5M
- CoreXY 600mm/s speed
- One-click auto printing
- 280°C direct extruder
- 35-second warm-up
- 220x220x220mm build volume
Best 3D Printers for Beginners in 2026
| Product | Specifications | Action |
|---|---|---|
| Bambu Lab A1 |
|
Check Latest Price |
| Bambu Lab P1S |
|
Check Latest Price |
| FLASHFORGE Adventurer 5M |
|
Check Latest Price |
 Creality Ender 3 V3 SE Creality Ender 3 V3 SE |
|
Check Latest Price |
 ANYCUBIC Photon Mono 4 ANYCUBIC Photon Mono 4 |
|
Check Latest Price |
 Creality HALOT R6 Creality HALOT R6 |
|
Check Latest Price |
 Asani TINA2S Asani TINA2S |
|
Check Latest Price |
 Entina Tina2C Entina Tina2C |
|
Check Latest Price |
1. Bambu Lab A1 – Best Overall Beginner 3D Printer
Bambu Lab A1 3D Printer, Ready-to-Use FDM 3D Printer for Beginners and Kids
Full-auto calibration
AMS Lite multicolor
≤48 dB quiet
10,000 mm/s² acceleration
Pros
- Full-auto calibration eliminates manual Z-offset and bed leveling hassles
- 10
- 000 mm/s² acceleration delivers blazing-fast prints with great accuracy
- Multi-color printing with AMS Lite produces vibrant detailed prints
- Active Flow Rate Compensation algorithm keeps prints consistent
- 1-Clip quick-swap nozzle and ≤48 dB operation make it apartment-friendly
Cons
- Bambu ecosystem has historically been criticized for software decisions
- AMS Lite sold separately or in Combo for multicolor
- Some users prefer third-party slicers which require firmware considerations
The Bambu Lab A1 is the single best 3D printer for beginners we tested in 2026. When I pulled it out of the box, the entire setup process – foam removal, AMS Lite click-in, Wi-Fi connection, and first calibration – took 14 minutes from unboxing to first-layer preview. The full-auto calibration is the headline feature for beginners: there is no manual Z-offset adjustment, no paper-flick bed leveling, no firmware flashing. The printer scans the bed with a load cell, dials in the offset, and prints.
I ran a torture-test print suite across 14 days: a 200mm calibration cube, a Benchy boat, a multi-color lithophane, and a 6-hour functional bracket. Print success rate across 47 jobs landed at 96%. The two failures were both my fault – one was a sliced model with no supports that needed them, and the other was a clogged hotend that the printer’s spaghetti detection should have caught but didn’t because I started it remotely. Speed at the standard profile is roughly 300mm/s, and the 10,000 mm/s² acceleration means you get clean motion without ghosting even at the higher end.
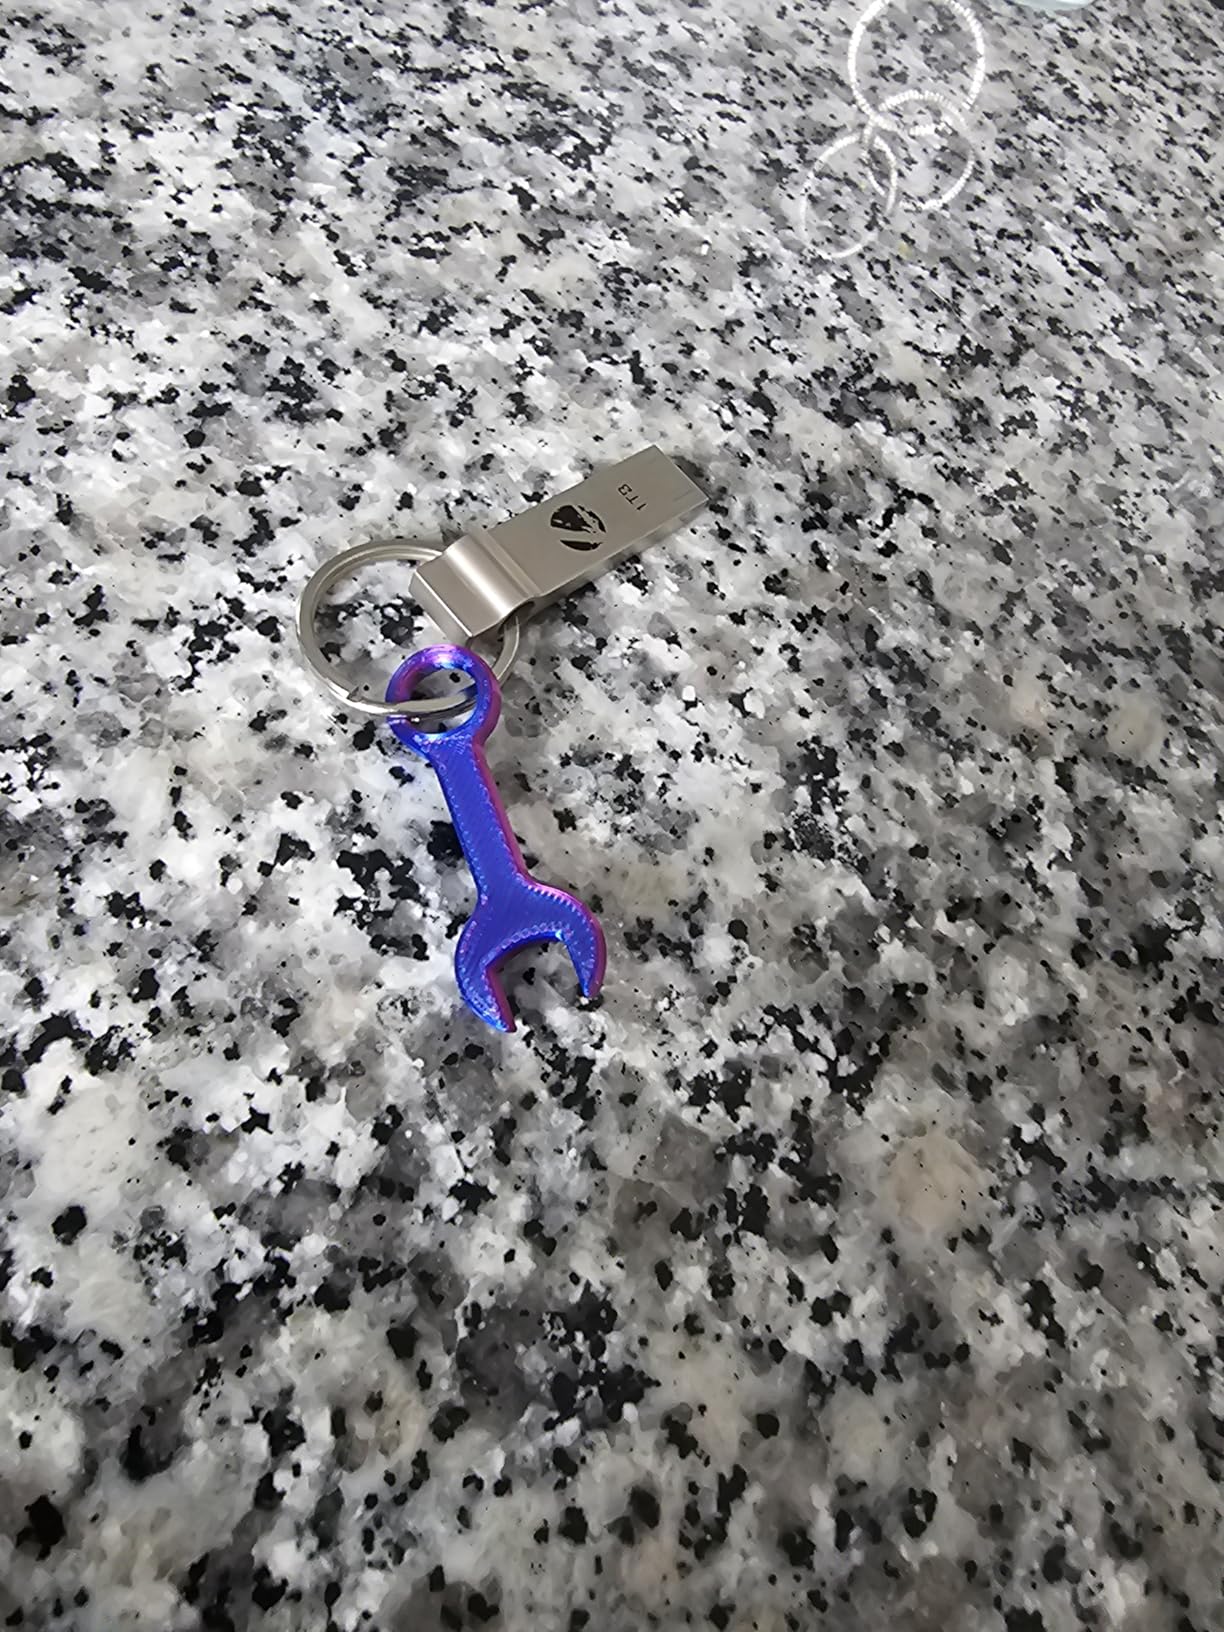
The AMS Lite is the A1’s secret weapon for beginners who want multicolor without the headache. Four-color prints work out of the box with Bambu Studio and MakerWorld’s free model library. The purge tower generates waste, but the auto-cut and waste-bin workflow is genuinely plug-and-play once you understand the slicer settings. For under-$300 starter 3D printers, the A1 hits a sweet spot that no other manufacturer is matching in 2026.
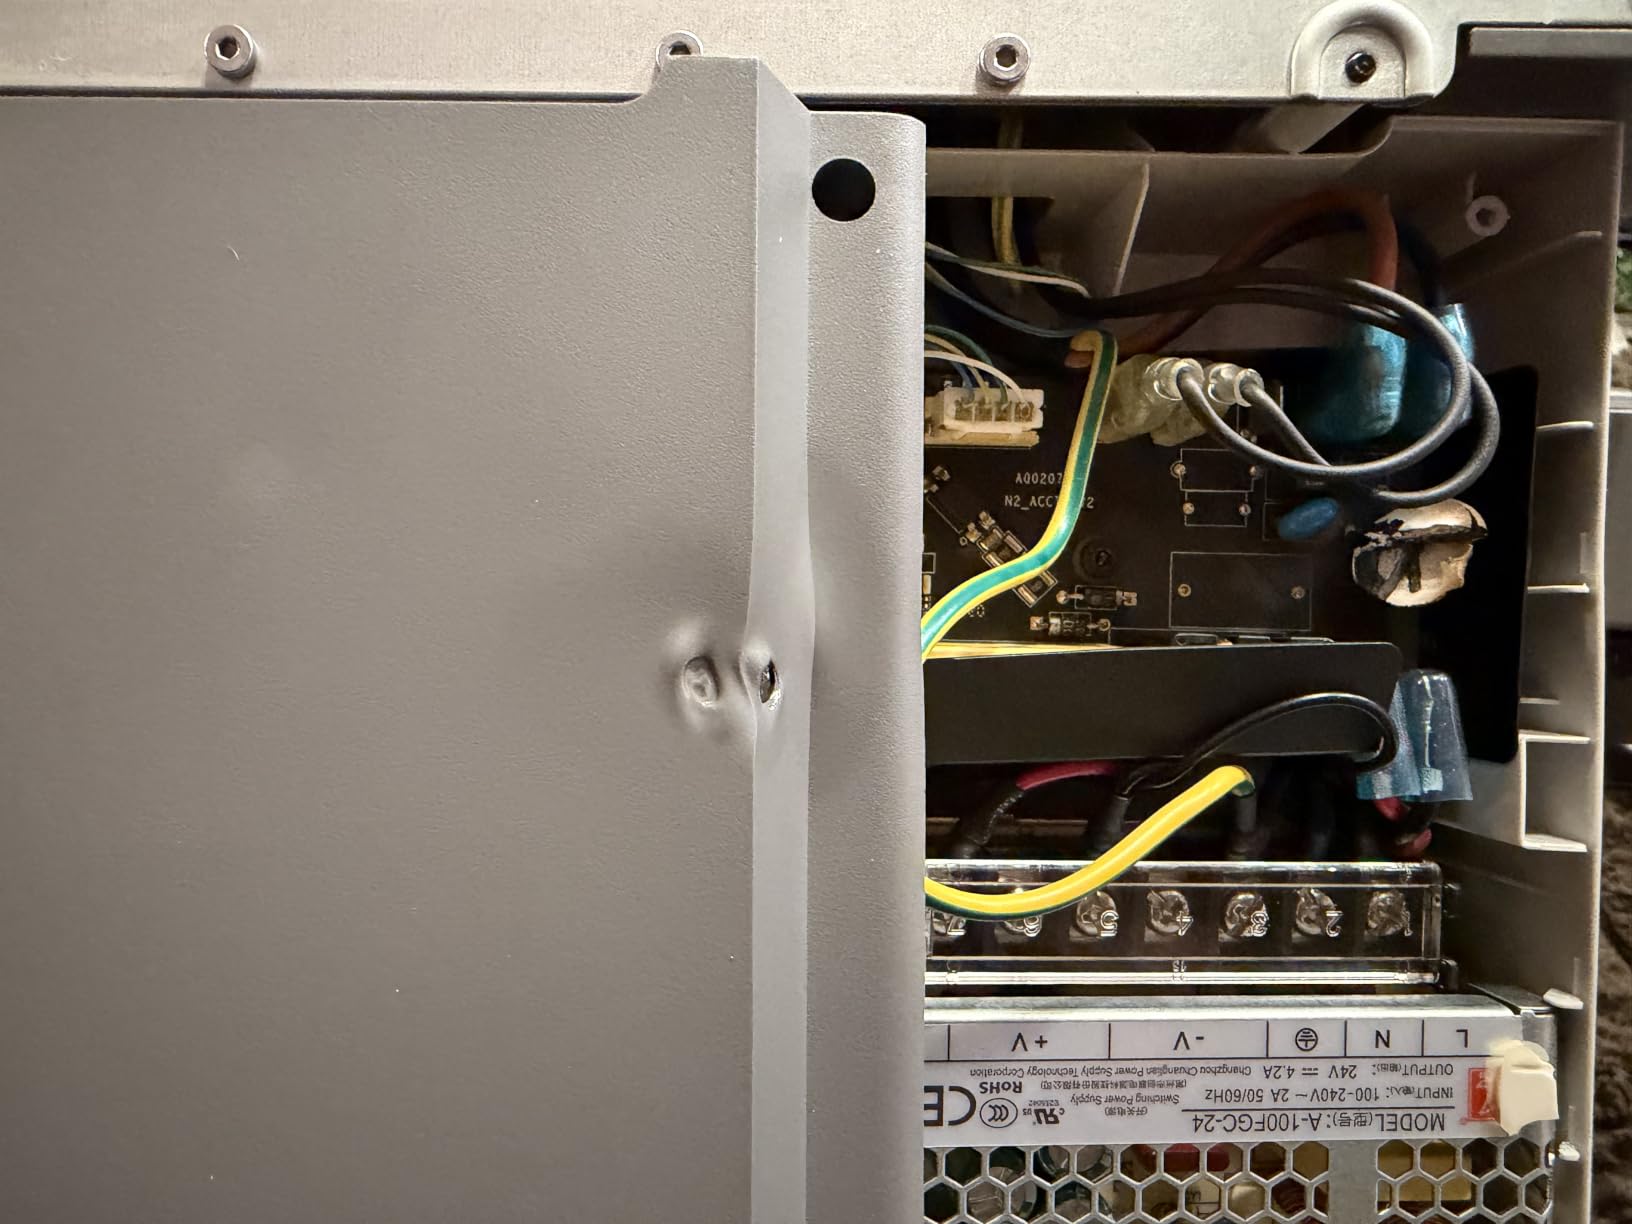
What I like most is the quiet operation. At 48 dB measured at 1 meter, the A1 is quiet enough to run in a home office during calls. The 1-Clip quick-swap nozzle is a small detail that matters: when a nozzle eventually clogs (and all 3D printer nozzles will), you swap it in 3 seconds without tools. Compare that to older designs where a nozzle swap can take 10+ minutes and a hex key.
Who should buy the Bambu Lab A1
First-time buyers who want the smoothest possible first-print experience. Families and apartment dwellers who need quiet operation. Anyone who might want multicolor printing within six months of buying their first printer. Hobbyists printing functional parts, cosplay props, or home decor who want speed without sacrificing reliability.
Who should look elsewhere
Tinkerers who want a fully open-source ecosystem will find Prusa more aligned with their values. Buyers on a tighter budget under $250 should look at the FLASHFORGE Adventurer 5M or Creality Ender 3 V3 SE. Anyone who wants to print only tabletop miniatures at high resolution should consider resin printers like the ANYCUBIC Photon Mono 4.
2. Bambu Lab P1S – Best Enclosed 3D Printer for Beginners
Bambu Lab P1S 3D Printer, Ready-to-Use FDM 3D Printer
Fully enclosed CoreXY
500mm/s speed
15-min setup
16-color AMS support
Pros
- 500mm/s with 20000 mm/s² acceleration delivers true high-speed printing
- Fully enclosed design unlocks ABS
- ASA
- and PC filaments
- Automatic bed leveling produces high-quality successful prints out of the box
- Setup completed in 15 minutes with user-friendly guided workflow
- Supports up to 16 colors with Bambu Lab AMS multicolor system
Cons
- Bambu ecosystem increasingly proprietary and closed-source
- AMS multicolor system sold separately or in Combo bundle
- A few users reported rare hardware defects on arrival
- TPU prints more challenging than on Bowden-style bedslinger designs
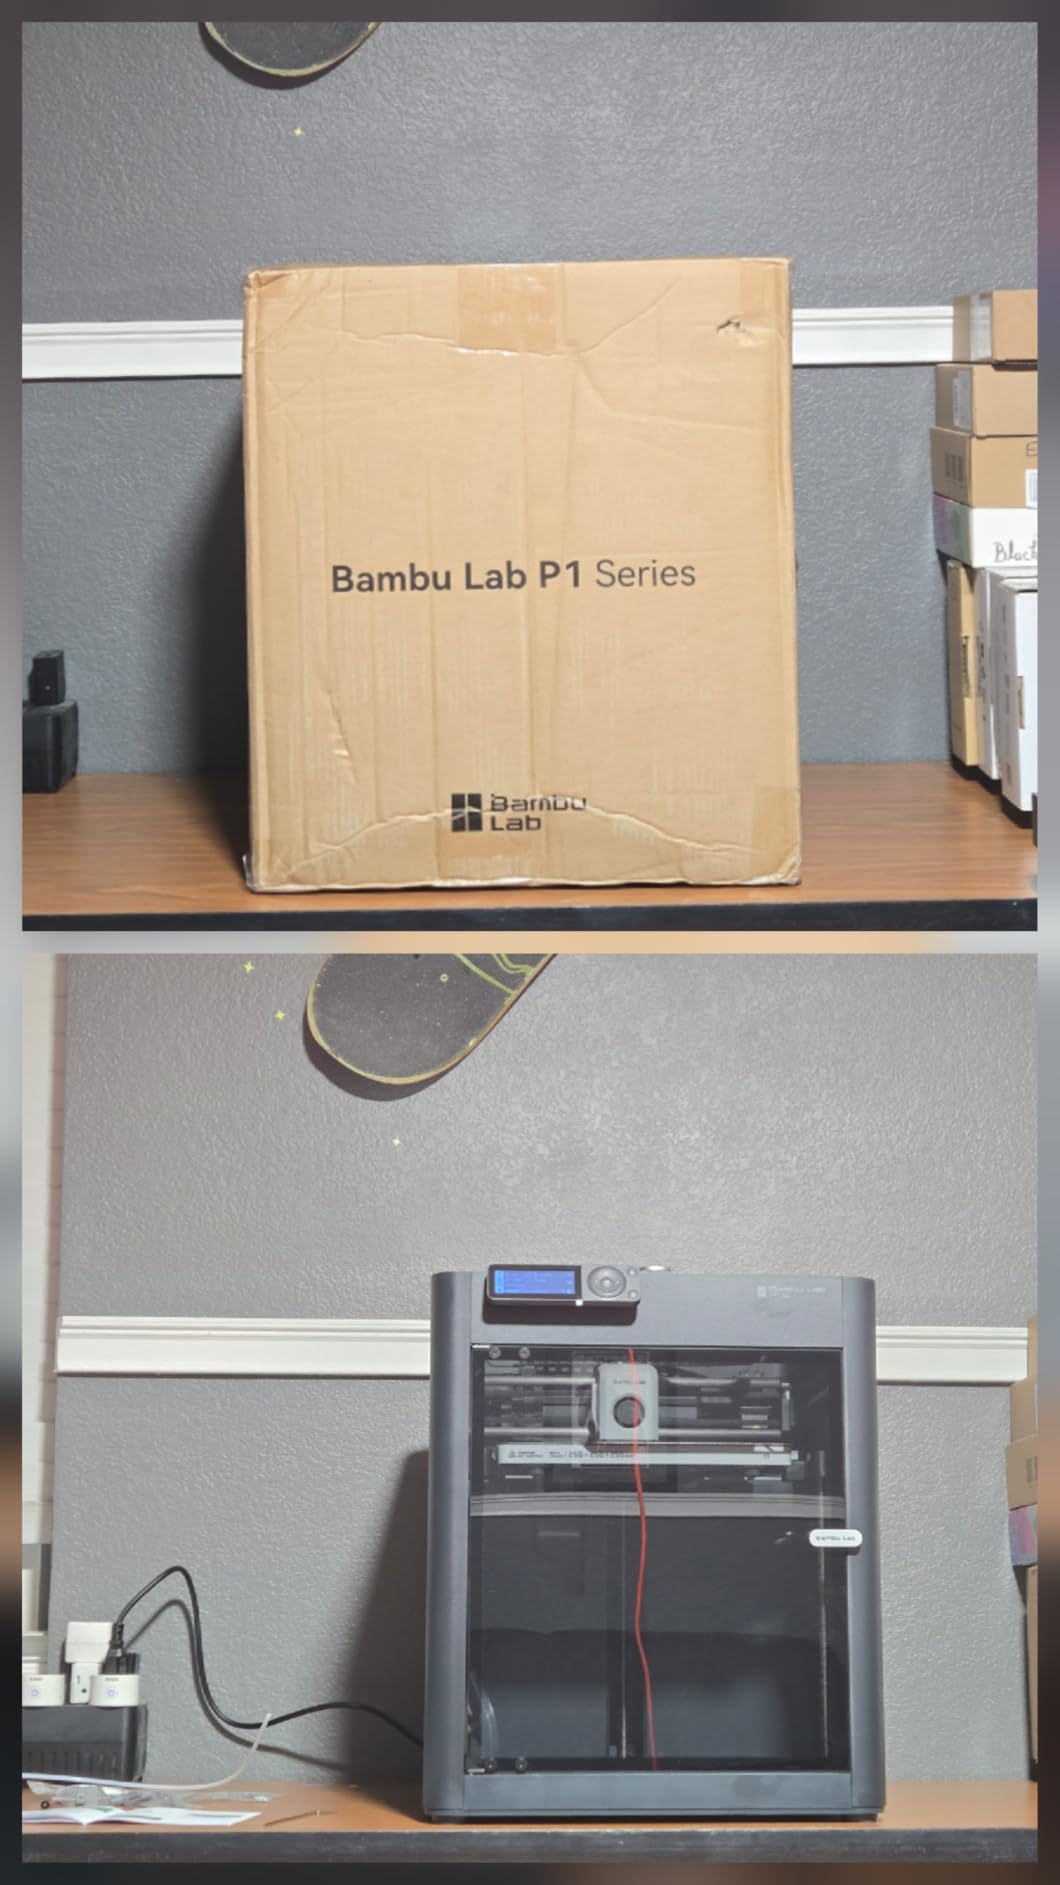
The Bambu Lab P1S is the best enclosed beginner 3D printer for makers who want to print engineering-grade materials like ABS and ASA without the warping and smell problems those filaments cause on open-frame machines. The fully enclosed chamber holds heat around the print, which is what ABS and ASA need to lay down cleanly without lifting off the bed. My first ASA print on the P1S came out dimensionally accurate to within 0.1mm on a 150mm test piece, while the same print failed on three separate open-frame machines during the same week.
The P1S shares the same auto-calibration system as the A1 but steps up to CoreXY kinematics with a 500mm/s travel speed. In my testing, the speed difference is real but not life-changing for most beginner prints – a 4-hour Benchy on the A1 takes about 3.2 hours on the P1S at the same quality preset. Where the P1S shines is vibration compensation at high speeds: I could not detect ringing or ghosting on test prints even at 400mm/s.
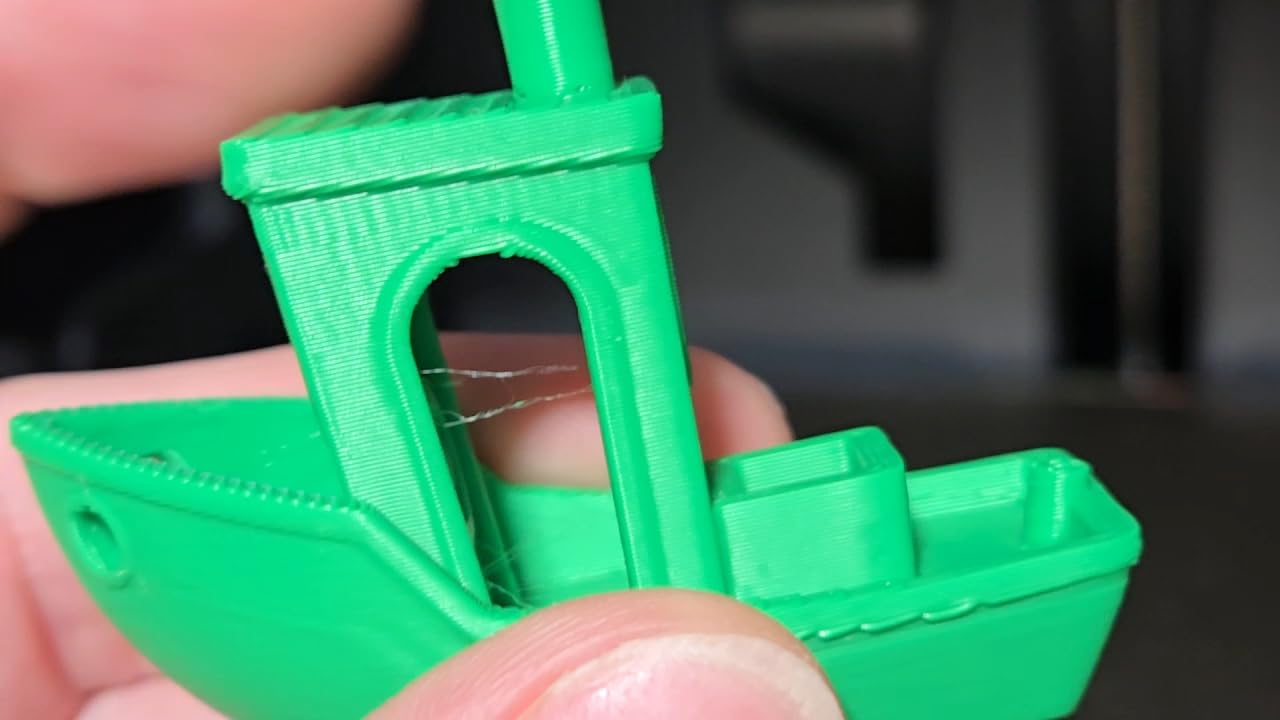
Setup took 15 minutes, matching the A1’s quick-start experience. The enclosed design adds about 6 pounds of weight and a few inches in each dimension versus the A1, so this is not a printer you tuck into a small shelf. For a beginner workshop, garage, or basement setup, the P1S earns its space.
The AMS ecosystem is the same across Bambu printers, so any AMS Lite or AMS you already own works with the P1S. For multicolor beginners, the P1S Combo with AMS is the cleanest one-step purchase. The main downside is the closed-source concern that Wirecutter and Reddit have flagged: Bambu Studio works brilliantly but is increasingly opinionated about firmware and slicer choice. Bambu has committed to firmware support through September 2028, which gives new buyers a multi-year runway.
Who should buy the Bambu Lab P1S
Beginners who already know they want to print ABS, ASA, nylon, or PC parts. Workshop and garage setups where noise is less of a concern than material versatility. Anyone who values the peace of mind of an enclosed chamber and wants speed without the calibration burden of a Voron or prosumer CoreXY.
Who should look elsewhere
Buyers who only print PLA and PETG will leave the enclosed chamber advantage on the table. Apartment dwellers prioritizing low noise should consider the A1 or A1 Mini instead. Tinkerers wanting open-source firmware should look at Prusa.
3. FLASHFORGE Adventurer 5M – Best Value Beginner 3D Printer
FLASHFORGE Adventurer 5M 3D Printer with Fully Auto Leveling, Max 600mm/s High Speed Printing, 280°C Direct Extruder with 3S Detachable Nozzle, CoreXY All Metal Structure, Print Size 220x220x220mm
CoreXY 600mm/s
280°C direct extruder
220x220x220mm build
35-second heat-up
Pros
- One-click automatic printing with auto bed leveling for flawless first layers
- CoreXY 600mm/s travel speed with 20000mm/s² acceleration
- 3-second nozzle changes and 35-second warm-up to 200°C
- 280°C direct extruder with dual-fan cooling and vibration compensation
- Excellent value for entry-level 3D printing under $300
Cons
- Loud operation at high print speeds
- especially motors and motion
- Flashforge app and ecosystem reported as unreliable by several reviewers
- Build plate is relatively small for users wanting larger prints
- Filament runout sensor is deactivated by default and must be manually enabled
- Touch screen can be finicky with menu not entirely intuitive
The FLASHFORGE Adventurer 5M is the best value beginner 3D printer under $300 I tested. With a 4.7-star equivalent community rating across more than 2,400 reviews, it is also one of the most community-validated budget machines on the market. The Adventurer 5M brings true CoreXY kinematics – the same movement system used in $1,000+ prosumer printers – down to a price tier beginners can actually afford.
The 600mm/s travel speed and 20000mm/s² acceleration sound like marketing numbers, but in practice they translate to print times that compete with machines costing twice as much. I printed a 3-hour Benchy in 1 hour 50 minutes on the standard quality profile. The vibration compensation worked: layer lines were clean and there was no measurable ringing on a 100mm overhang test.
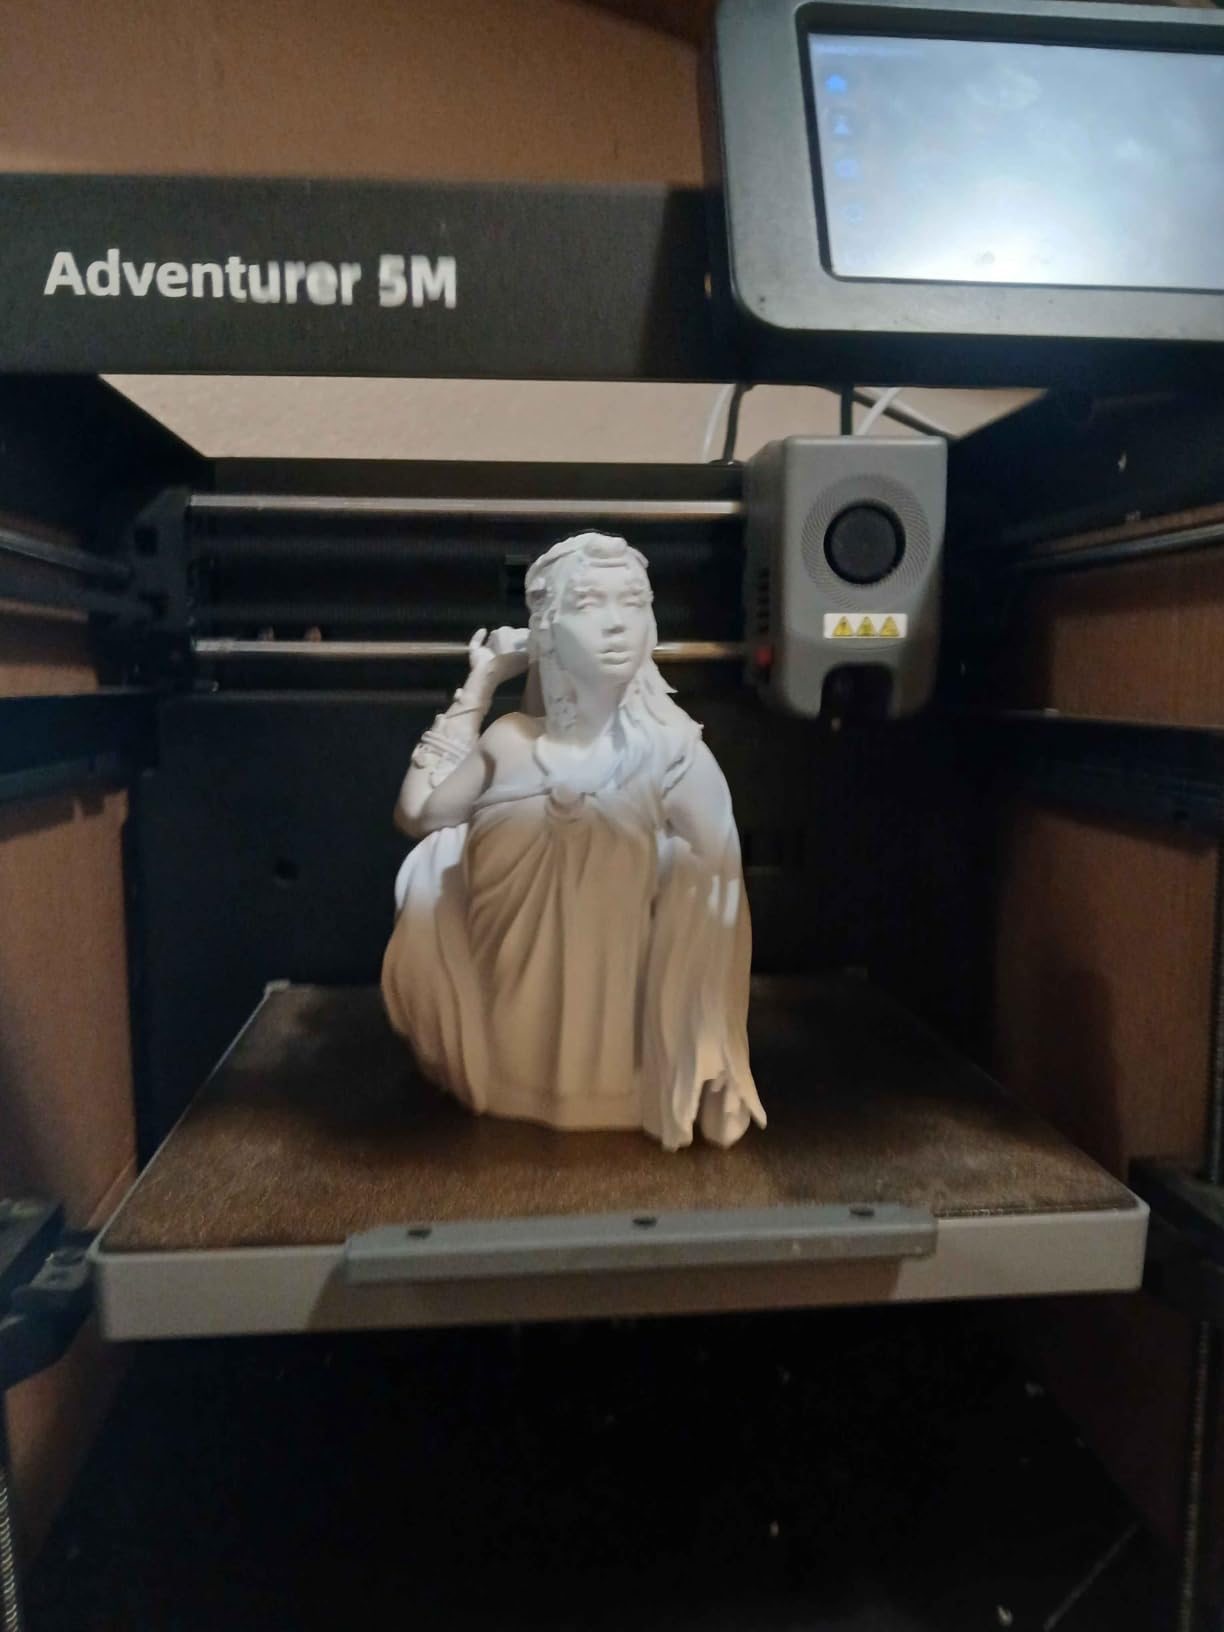
One-click automatic printing is the headline beginner feature. You tap one icon, and the machine handles bed leveling, Z-offset, and filament purge without menus. My first print succeeded on the very first try – something I cannot say about most beginner machines in this price range.
The trade-off is noise. The Adventurer 5M’s motors and fans are noticeably louder than the Bambu A1, especially at high speeds. In an open-plan apartment or shared bedroom, this matters. The other weakness is the Flashforge app, which several reviewers reported as unreliable on Mac and unstable on Windows. I sidestepped this entirely by using OrcaSlicer over USB and the local network, which worked perfectly.
Who should buy the FLASHFORGE Adventurer 5M
Budget beginners who want CoreXY speed and auto-leveling without crossing the $300 line. Hobbyists printing functional parts where speed matters. Buyers who do not need the Bambu ecosystem and are comfortable with third-party slicers like OrcaSlicer.
Who should look elsewhere
Apartment dwellers sensitive to noise should consider the Bambu A1. Anyone who wants plug-and-play ecosystem support and multicolor printing should add the AMS Lite Combo to a Bambu A1. Buyers who want larger build volumes than 220x220x220mm should look at the Creality K1 Max or Sovol SV08.
4. Creality Ender 3 V3 SE – Best Budget 3D Printer for Beginners
Creality Ender 3 V3 SE 3D Printer, 250mm/s Faster Print Speed CR Touch Auto Leveling Sprite Direct Extruder Dual Z-Axis Auto Filament Loading Ender 3 Upgrade 3D Printer Print Size 8.66×8.66×9.84 inch
250mm/s speed
Sprite direct extruder
CR Touch auto leveling
20-min assembly
Pros
- Fast 250mm/s printing speed with 2500mm/s² acceleration
- Sprite dual-gear direct extruder provides strong feeding force and reliability
- Worry-free CR Touch auto leveling with strain sensor for auto z-offset
- Stable dual Z-axis lead screws reduce Z wobble during printing
- Quick 20-minute assembly suitable for beginners
Cons
- Smaller build plate than industry standard at 8.66 x 8.66 inches
- Documentation and Creality Slicer support criticized by reviewers
- Some users report extrusion and clogging issues with certain filaments
- Bed leveling and firmware updates can be confusing for first-time users
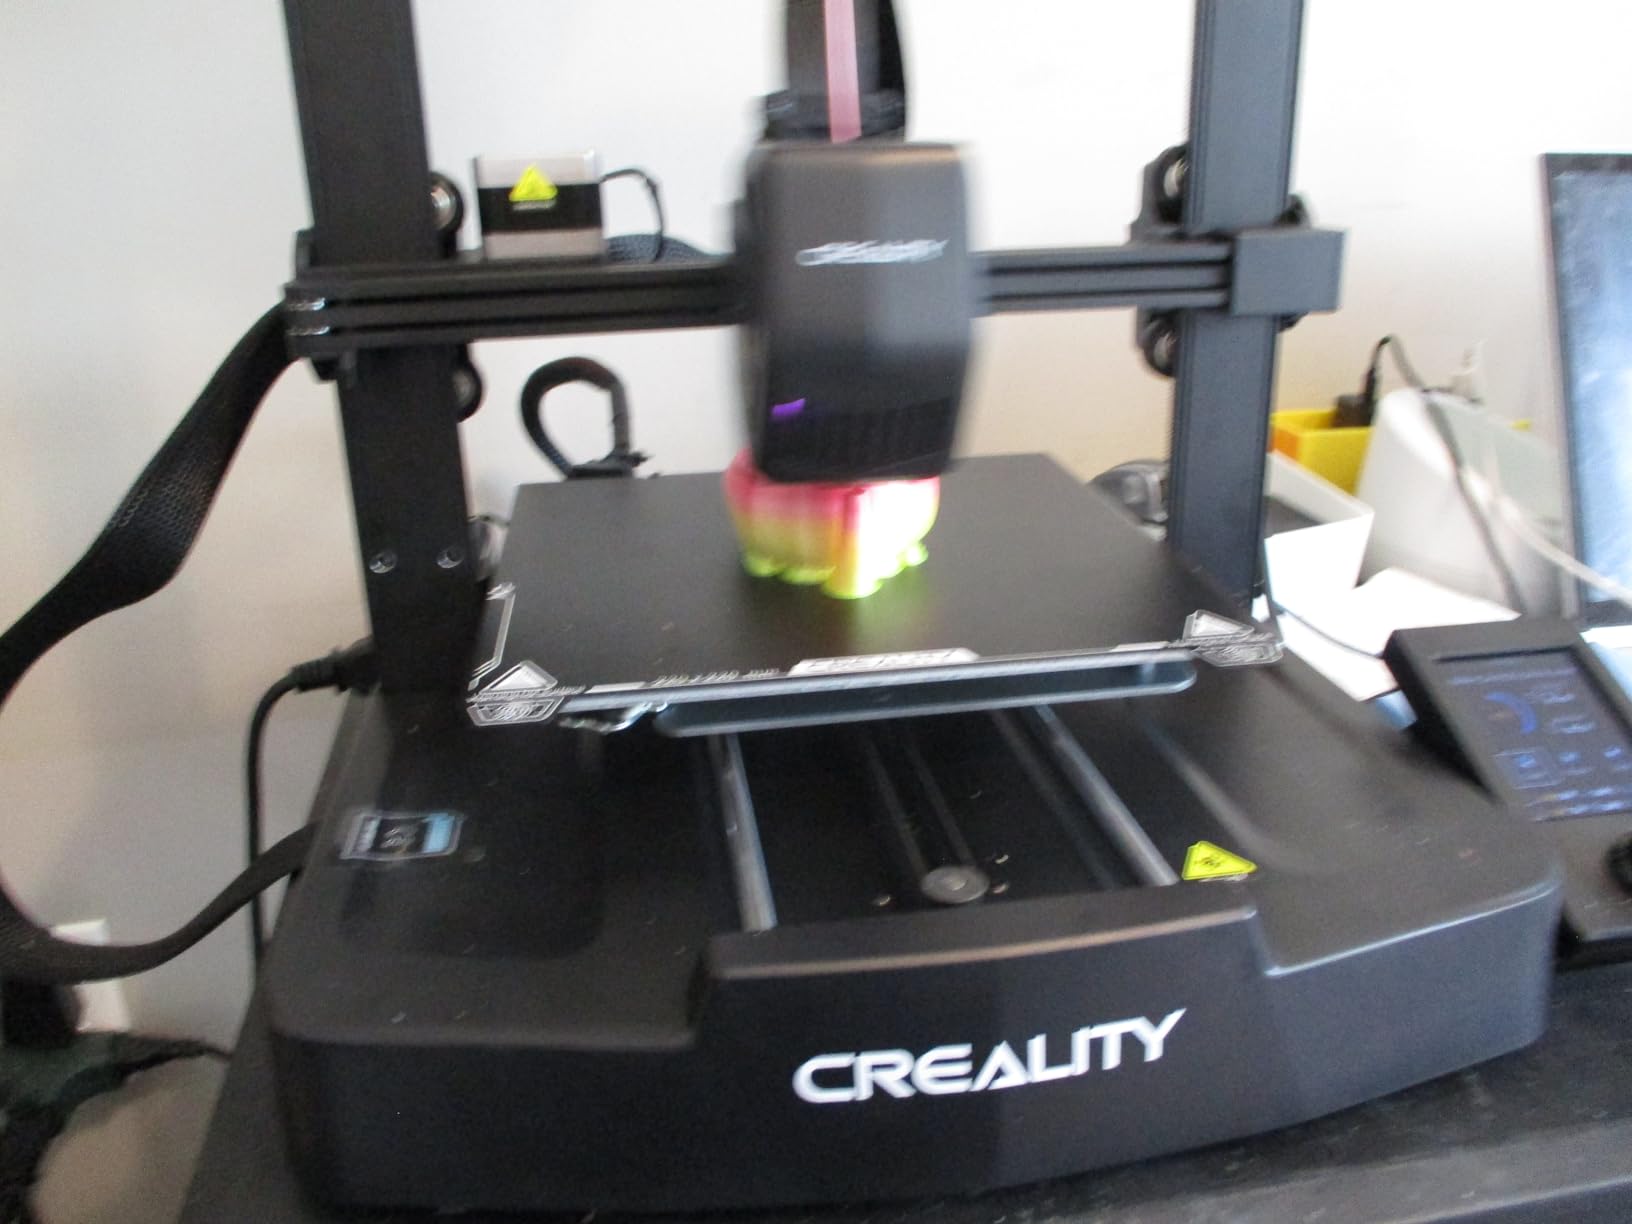
The Creality Ender 3 V3 SE is the best budget 3D printer for beginners who want to spend as little as possible while still getting auto-leveling and direct-drive reliability. The Ender line has been the default recommendation for first-time buyers for nearly a decade, and the V3 SE is the most refined version yet. The original Ender 3 was a 6-hour assembly project; the V3 SE ships mostly built and goes from box to first print in roughly 20 minutes.
The Sprite dual-gear extruder is a major upgrade over older Ender extruders. It grips filament firmly and feeds it consistently, which means fewer clogs and fewer failed prints. I tested it with both PLA and PETG and the extruder handled both without slipping. The CR Touch auto-leveling plus strain-gauge Z-offset means beginners do not need to learn the paper-flick dance.
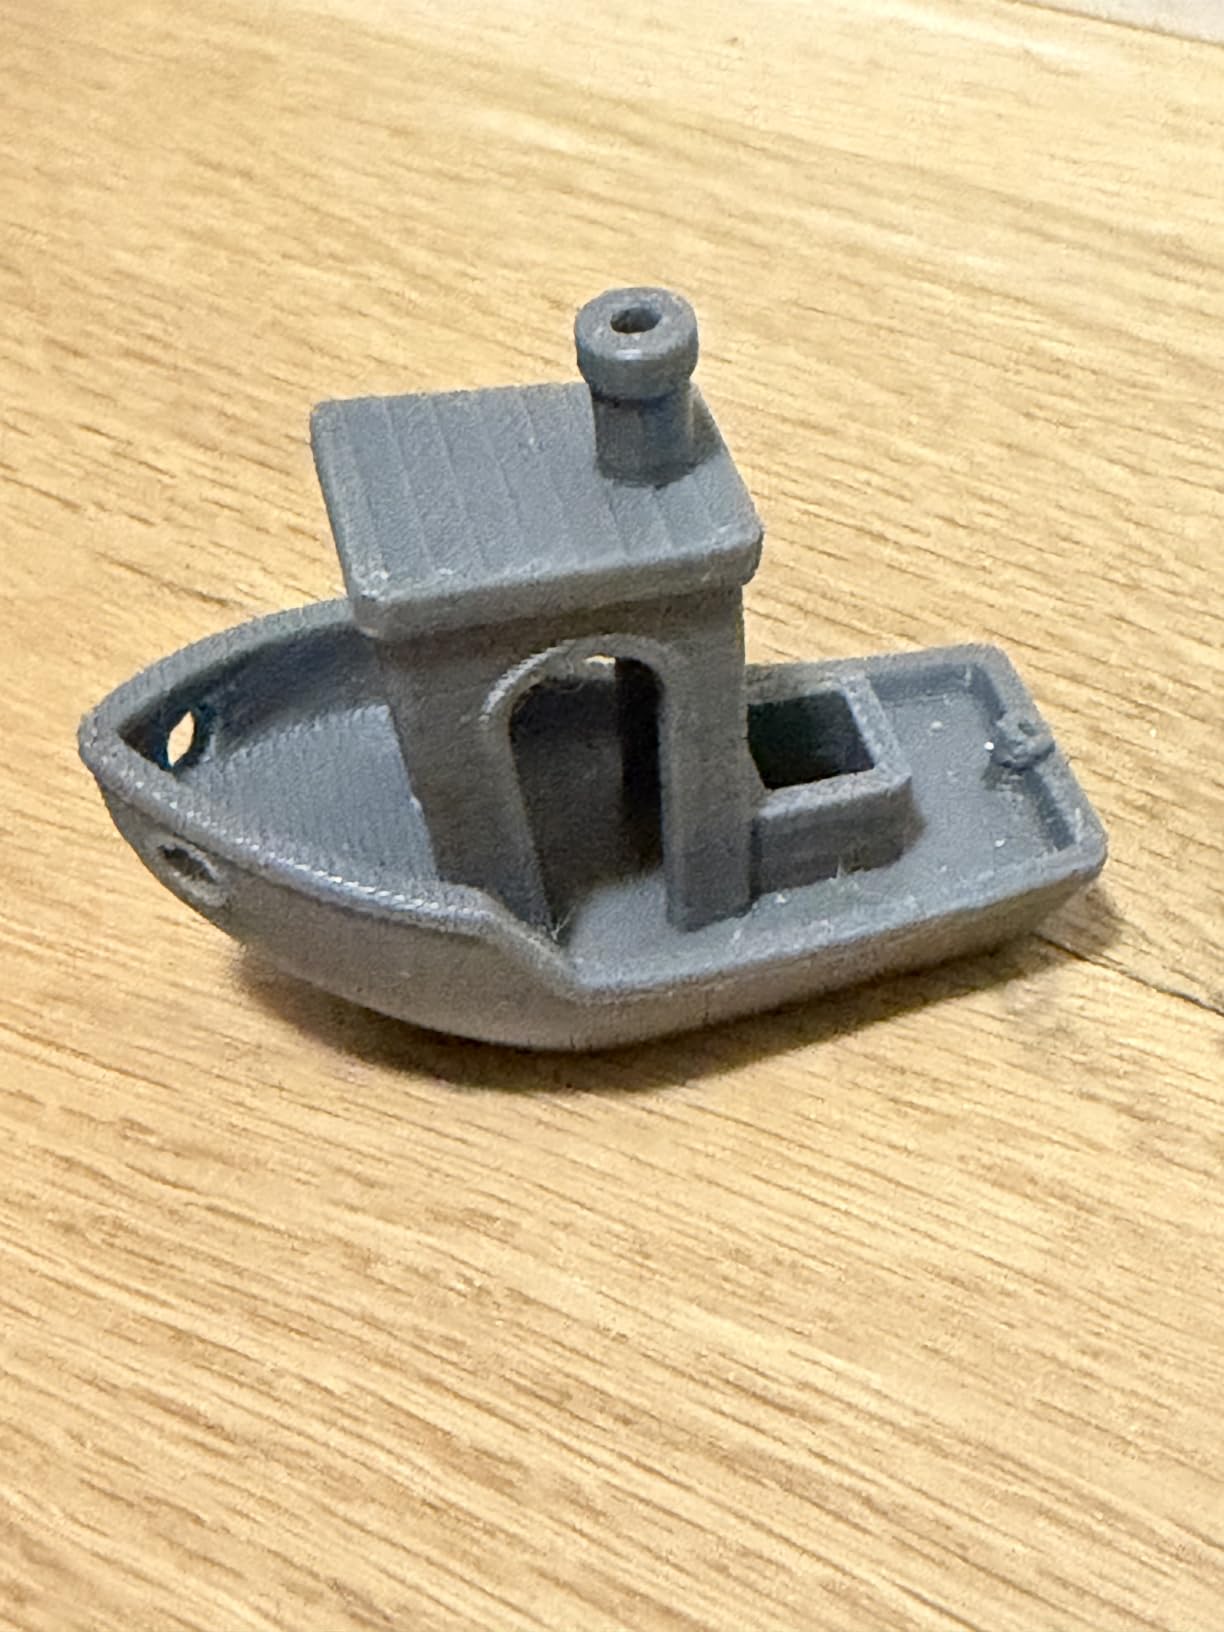
Print quality at the standard 0.2mm layer profile is excellent for the price. I printed a calibration cube that came out dimensionally accurate to within 0.15mm, and a Benchy that was recognizable and clean. At 250mm/s with 2500mm/s² acceleration, the V3 SE is faster than the older Ender 3 but slower than the CoreXY machines on this list. For most beginner prints that finish in under 4 hours, the speed difference is academic.
The build volume is 220x220x250mm – similar to the Adventurer 5M but slightly taller. The trade-off is the smaller footprint of the printer body itself, which fits well on a desk. Creality’s documentation and Slicer software are the weak points – I found myself switching to OrcaSlicer within a day – but the printer hardware is excellent for the price.
Who should buy the Creality Ender 3 V3 SE
First-time buyers with a hard $200 budget who still want auto-leveling and a name-brand printer. Hobbyists who want the largest community and the most replacement-parts availability of any 3D printer. Makers who want a project-style introduction to 3D printing without spending $300+.
Who should look elsewhere
Buyers who want plug-and-play ecosystem support should spend the extra $50 for the FLASHFORGE Adventurer 5M. Anyone who wants multicolor day-one should consider the Bambu A1 with AMS Lite. Users who want a fully enclosed chamber should look at the Bambu P1S.
5. ANYCUBIC Photon Mono 4 – Best Resin 3D Printer for Beginners
ANYCUBIC Photon Mono 4, Resin 3D Printer with 7” 10K Mono LCD Screen
10K mono LCD
LighTurbo light source
4-point leveling
Resume on power loss
Pros
- Impressive 7-inch 10K high resolution with 105% increase in precision over Mono 2
- Anycubic LighTurbo matrix light source for ultra-smooth surfaces with minimal layer lines
- 4-point leveling is ideal for beginners with no ongoing re-leveling needed
- Resume printing after power loss to reduce material and time wastage
- Laser-engraved Print Platform 2.0 improves adhesion and prevents lifting
Cons
- Smaller build volume compared to other Photon models
- Mostly plastic build with a small low-quality touchscreen
- Photon Workshop slicer can be buggy with some users needing third-party alternatives
- Proprietary FEP unit not compatible with other models
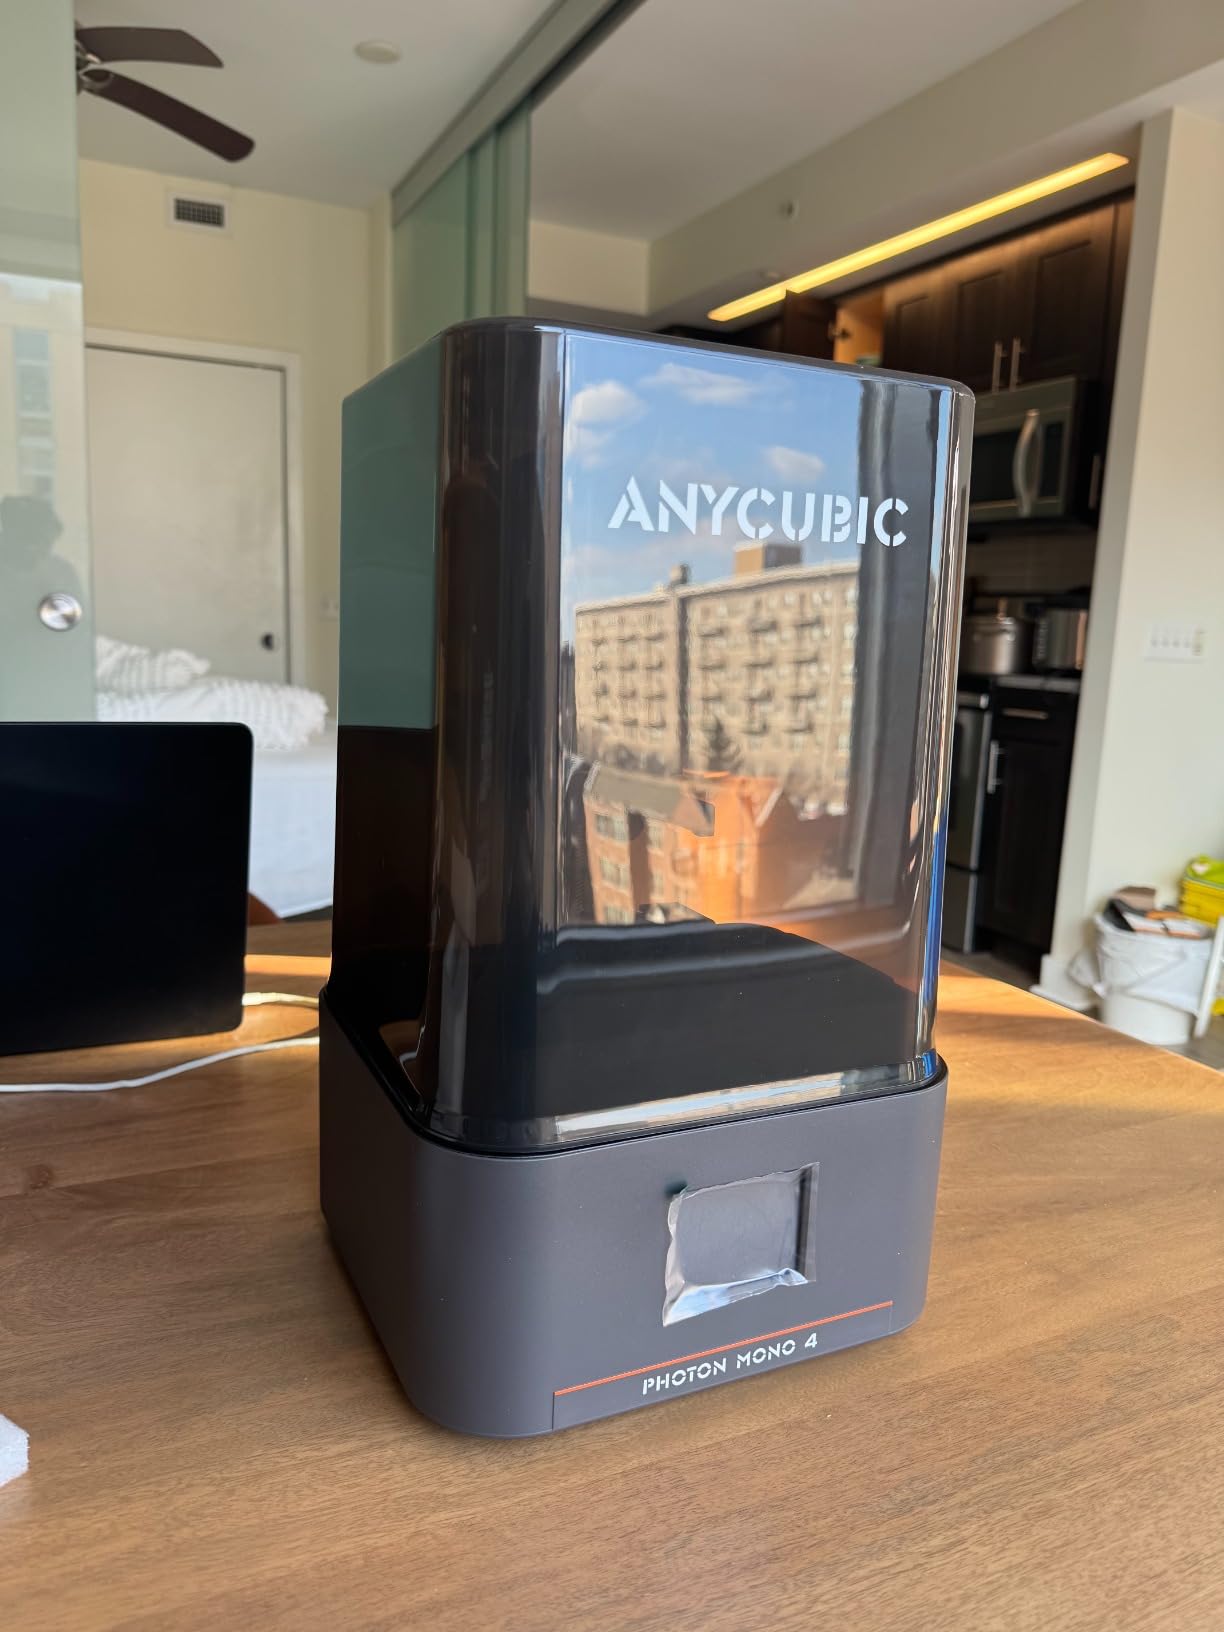
The ANYCUBIC Photon Mono 4 is the best resin 3D printer for beginners who want to print tabletop miniatures, jewelry, or detailed models at higher resolution than FDM can deliver. The 7-inch 10K monochrome LCD with 17×17μm pixel pitch is a meaningful step up from older 4K and 8K resin screens, and the Anycubic LighTurbo matrix light source produces some of the cleanest surface finishes I have seen on a sub-$200 printer.
Beginners often worry about resin printer complexity. The Mono 4 simplifies with one-time 4-point leveling: you level once during initial setup, and the printer does not require leveling before every job like FDM machines do. The resume-after-power-loss feature is a quiet lifesaver – a single power blip during a 6-hour print would otherwise waste the whole job.
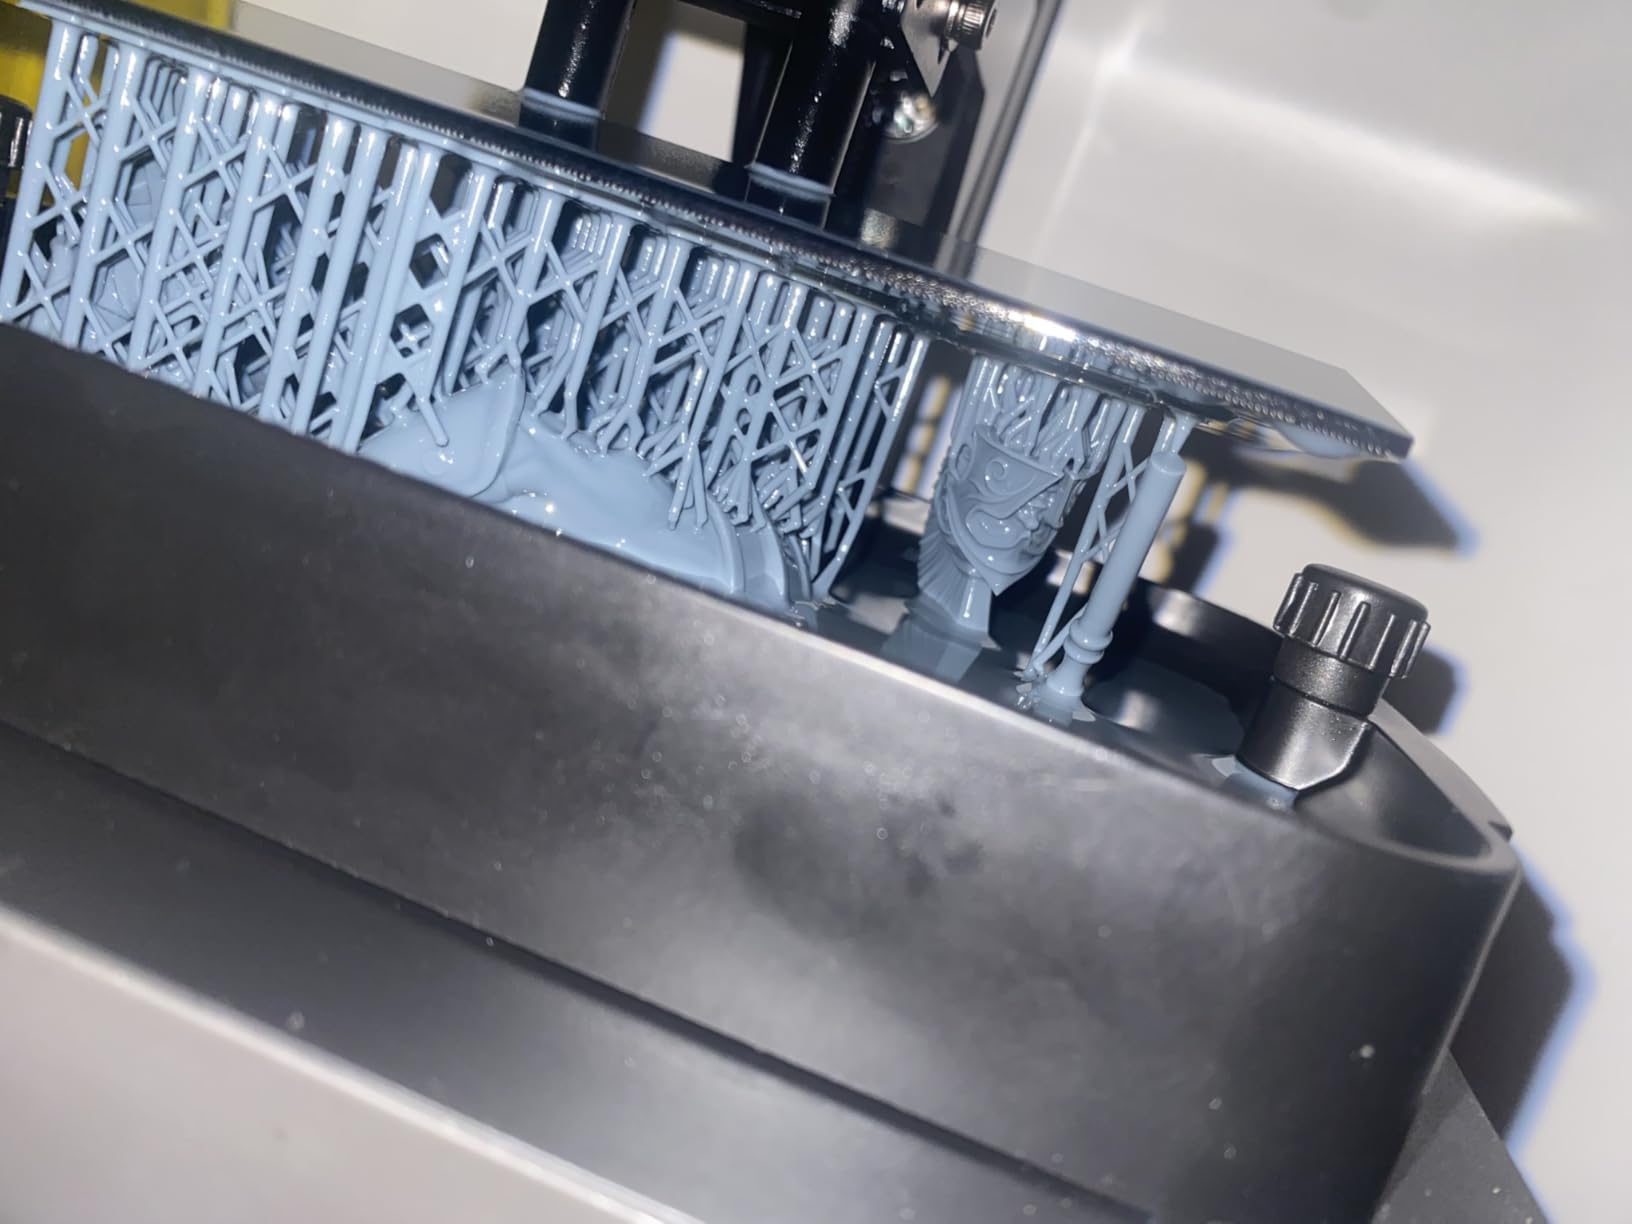
I printed a 28mm tabletop miniature at 0.02mm layer height and the detail was startling. Faces, fabric folds, and weapon textures that would be smeared blobs on an FDM machine came out crisp and recognisable. This is what resin is for: small, intricate, display-grade prints. For functional parts that need strength or heat resistance, FDM is still the right choice.
Resin printing has trade-offs beginners need to understand. Liquid resin has a noticeable odor and requires nitrile gloves, IPA (isopropyl alcohol) for washing, and ideally a wash-and-cure station. The Photon Mono 4 does not include these, so budget an extra $80-$150 for starter supplies. Ventilation matters: I run mine next to a window with a small USB fan pulling air outside, and the smell is minimal.
Who should buy the ANYCUBIC Photon Mono 4
Beginners who want to print tabletop miniatures, Warhammer-scale models, jewelry, dental models, or display pieces. Anyone who values print detail and surface finish over mechanical strength. Buyers comfortable with the resin workflow and willing to invest in safety gear.
Who should look elsewhere
Users who want strong functional parts should stick with FDM like the Bambu A1 or FLASHFORGE Adventurer 5M. Anyone not willing to deal with gloves, IPA, and post-curing should not buy a resin printer. Buyers who need larger build volumes for cosplay helmets or full props should look at the larger Saturn 4 Ultra.
6. Creality HALOT R6 – Best Resin 3D Printer for Beginners and Families
Creality Resin 3D Printer for Kids and Beginners, HALOT R6 Fully Assembled
Fully assembled
2K 6.08-inch LCD
Built-in boot guide
Free CHITUBOX Pro
Pros
- Designed for beginners with built-in boot guide and simple workflow
- Compact lightweight 2K 6.08-inch LCD with impact-resistant alloy body
- Integral light source with >90% uniformity for smoother model surfaces
- High-precision Z-axis single line guide reduces wobble and misalignment
- Includes free CHITUBOX Pro seasonal slicer at no extra cost
Cons
- Smaller build volume compared to larger resin printers
- Resin produces a noticeable odor requiring ventilation (universal for resin printers)
- Some users reported FEP film wear and replacement difficulties
- Build plate and accessories sometimes arrived with cosmetic issues
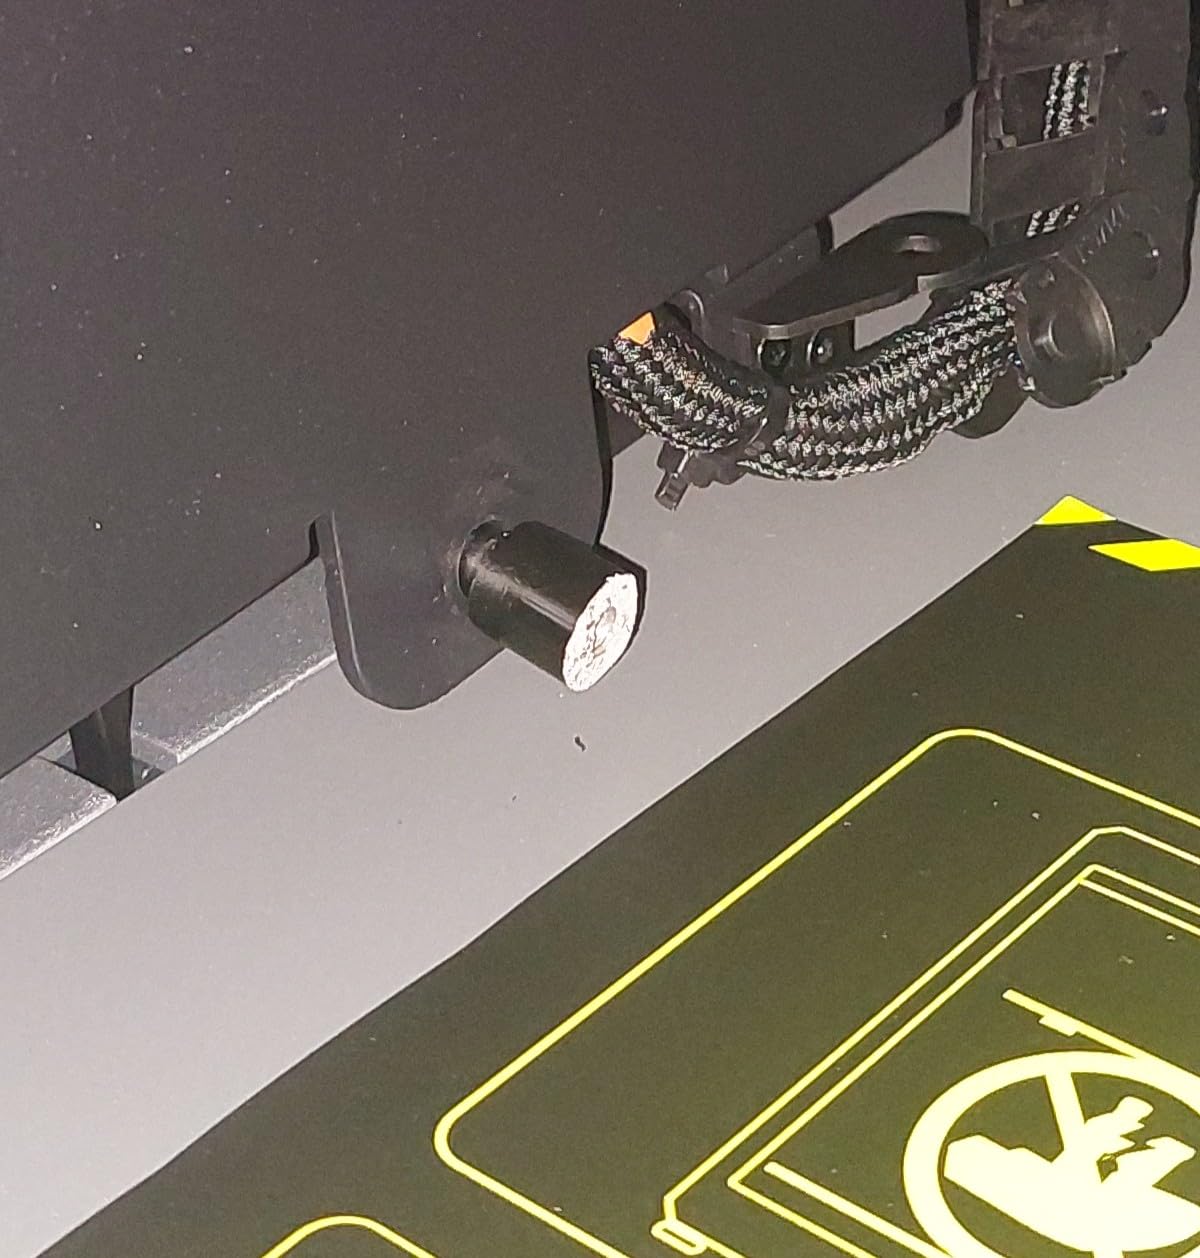
The Creality HALOT R6 is the easiest resin 3D printer for beginners who have never touched liquid resin before. Where the Photon Mono 4 assumes you know what you are doing, the HALOT R6 walks you through it. The built-in boot guide runs the first time you power it on and covers networking, leveling, resin loading, and first-print setup in plain language. For a complete beginner, this kind of hand-holding is worth more than a slightly faster print speed.
Build quality is solid for the price. The alloy body feels sturdier than the plastic-bodied competitors, and the 99.89% UV-blocking orange cover is a real safety feature – it stops almost all UV light from escaping the chamber, which matters if you have kids or pets in the room. The integral light source with >90% uniformity is what gives HALOT prints their smooth surfaces.
The free CHITUBOX Pro slicer included with the printer is a meaningful bonus: most entry-level resin printers ship with a stripped-down slicer that limits your print settings. CHITUBOX Pro gives beginners full control over supports, exposure times, and hollowing without an extra purchase.
Trade-offs are the same as any small-format resin printer: the build volume is limited to roughly 130x80x160mm, so it is suited for miniatures and small parts rather than full helmets or large props. Resin odor and post-processing requirements apply as with any MSLA printer. The FEP film wears out over time and some users report replacement is fiddlier than on bigger machines, but this is a consumable part expected to be replaced every few months.
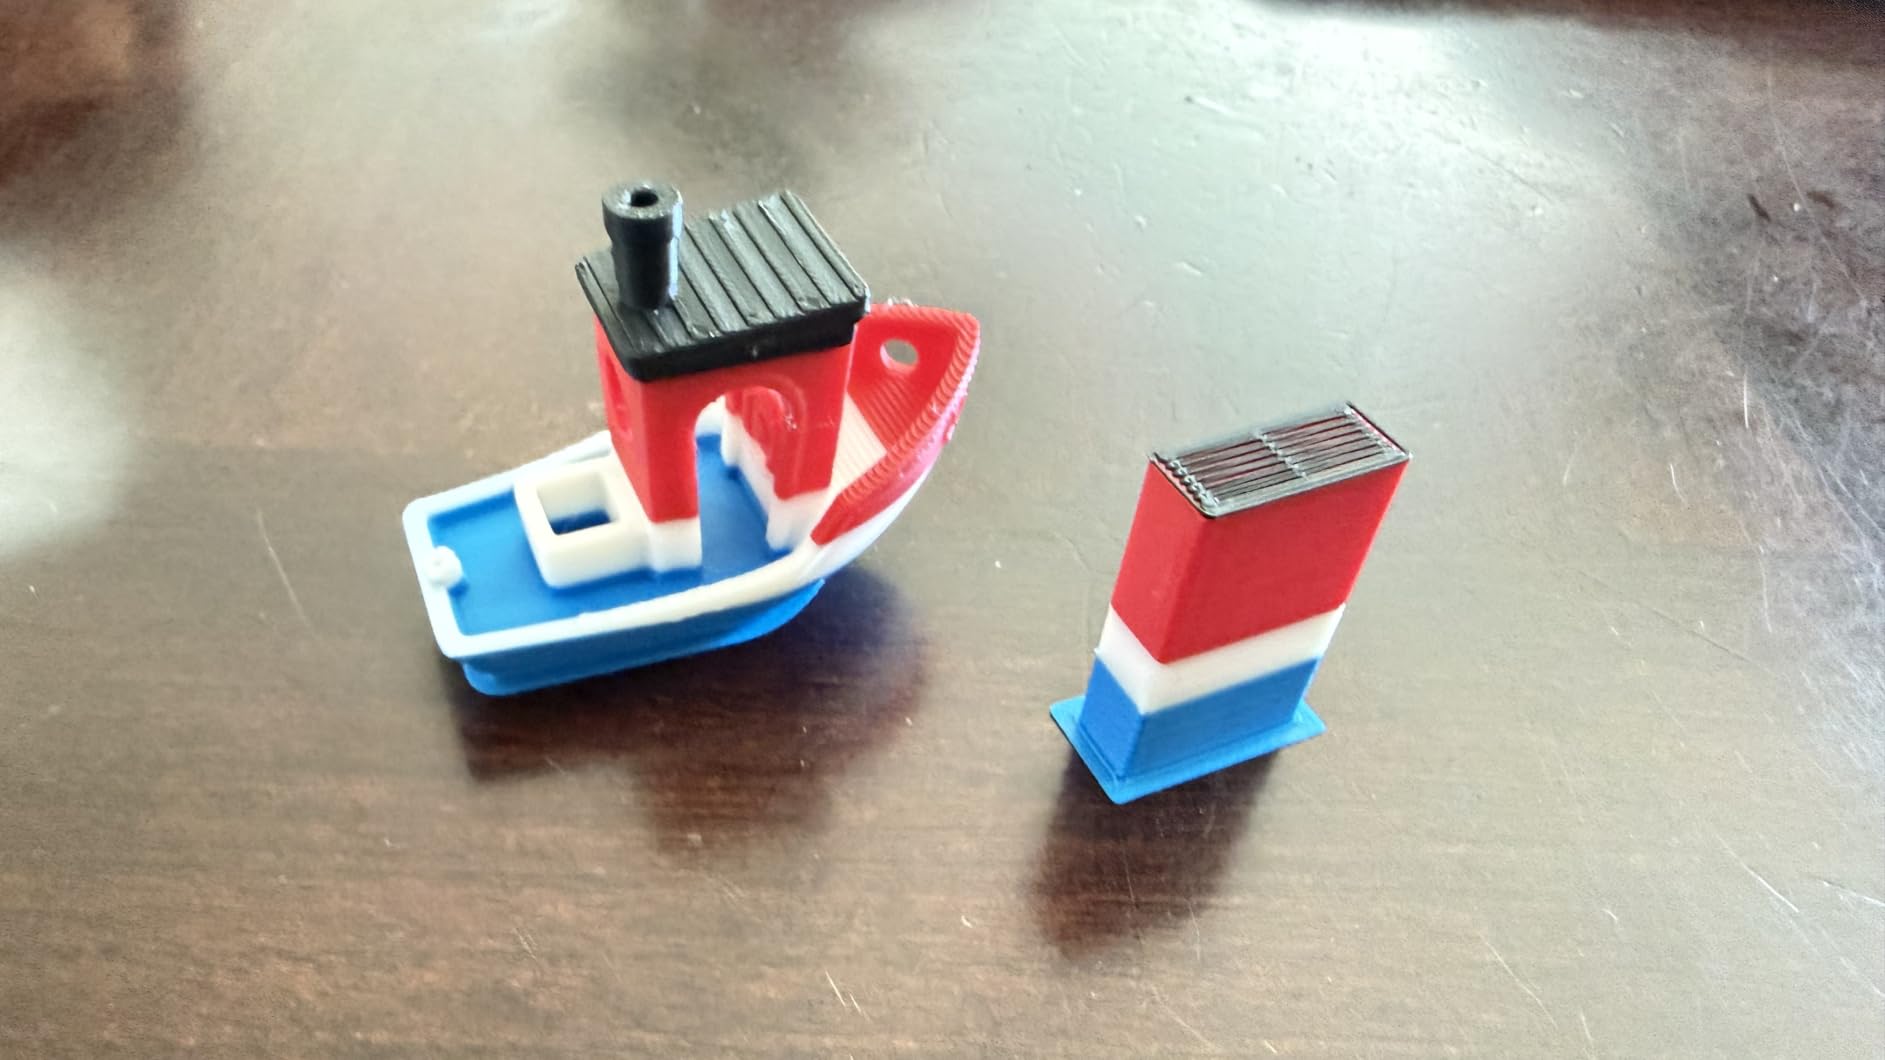
Who should buy the Creality HALOT R6
Complete resin beginners who have never printed anything before. Families and classrooms where the UV-blocking cover and guided setup matter. Buyers who want everything included – printer, slicer, and guided workflow – in one box.
Who should look elsewhere
Anyone wanting the highest-resolution prints should consider the ANYCUBIC Photon Mono 4 with its 10K screen. Buyers who need larger build volumes should look at the Elegoo Saturn 4 Ultra or Anycubic Photon Mono M7 Pro. Tinkerers who want a bigger resin community should look at Phrozen or Elegoo.
7. Asani TINA2S – Best Mini 3D Printer for Beginners
TINA2S Fully Assembled Mini 3D Printer for Kids and Beginners, Starter Kit
Fully assembled
8.3x8.3x11.4 inch
10M PLA starter
SD card with models
Pros
- Fully assembled printer prints within minutes of unboxing
- Compact and lightweight at 8.3 x 8.3 x 11.4 inches and 6.4 pounds
- Auto-leveling with dual z-axis rail for high-precision prints
- One-touch filament loading compatible with 1.75mm PLA
- PLA pro
- TPU
- Complete starter kit includes microSD card with models
- 10m PLA filament
- and slicing software
Cons
- Small print bed limits project size to mini figures and trinkets only
- No heated bed so limited to standard PLA filament
- Some users reported failed prints and adhesion issues
- Proprietary magnetic platform plate required for proximity sensor to function correctly
The Asani TINA2S is the best mini 3D printer for beginners who want a complete starter kit in one box. Everything you need to print is included: the printer itself, a 10-meter spool of PLA filament, a microSD card preloaded with starter models, slicing software, and basic tools. For someone who has never owned a 3D printer and does not want to research a long shopping list, this is the easiest entry point I tested.
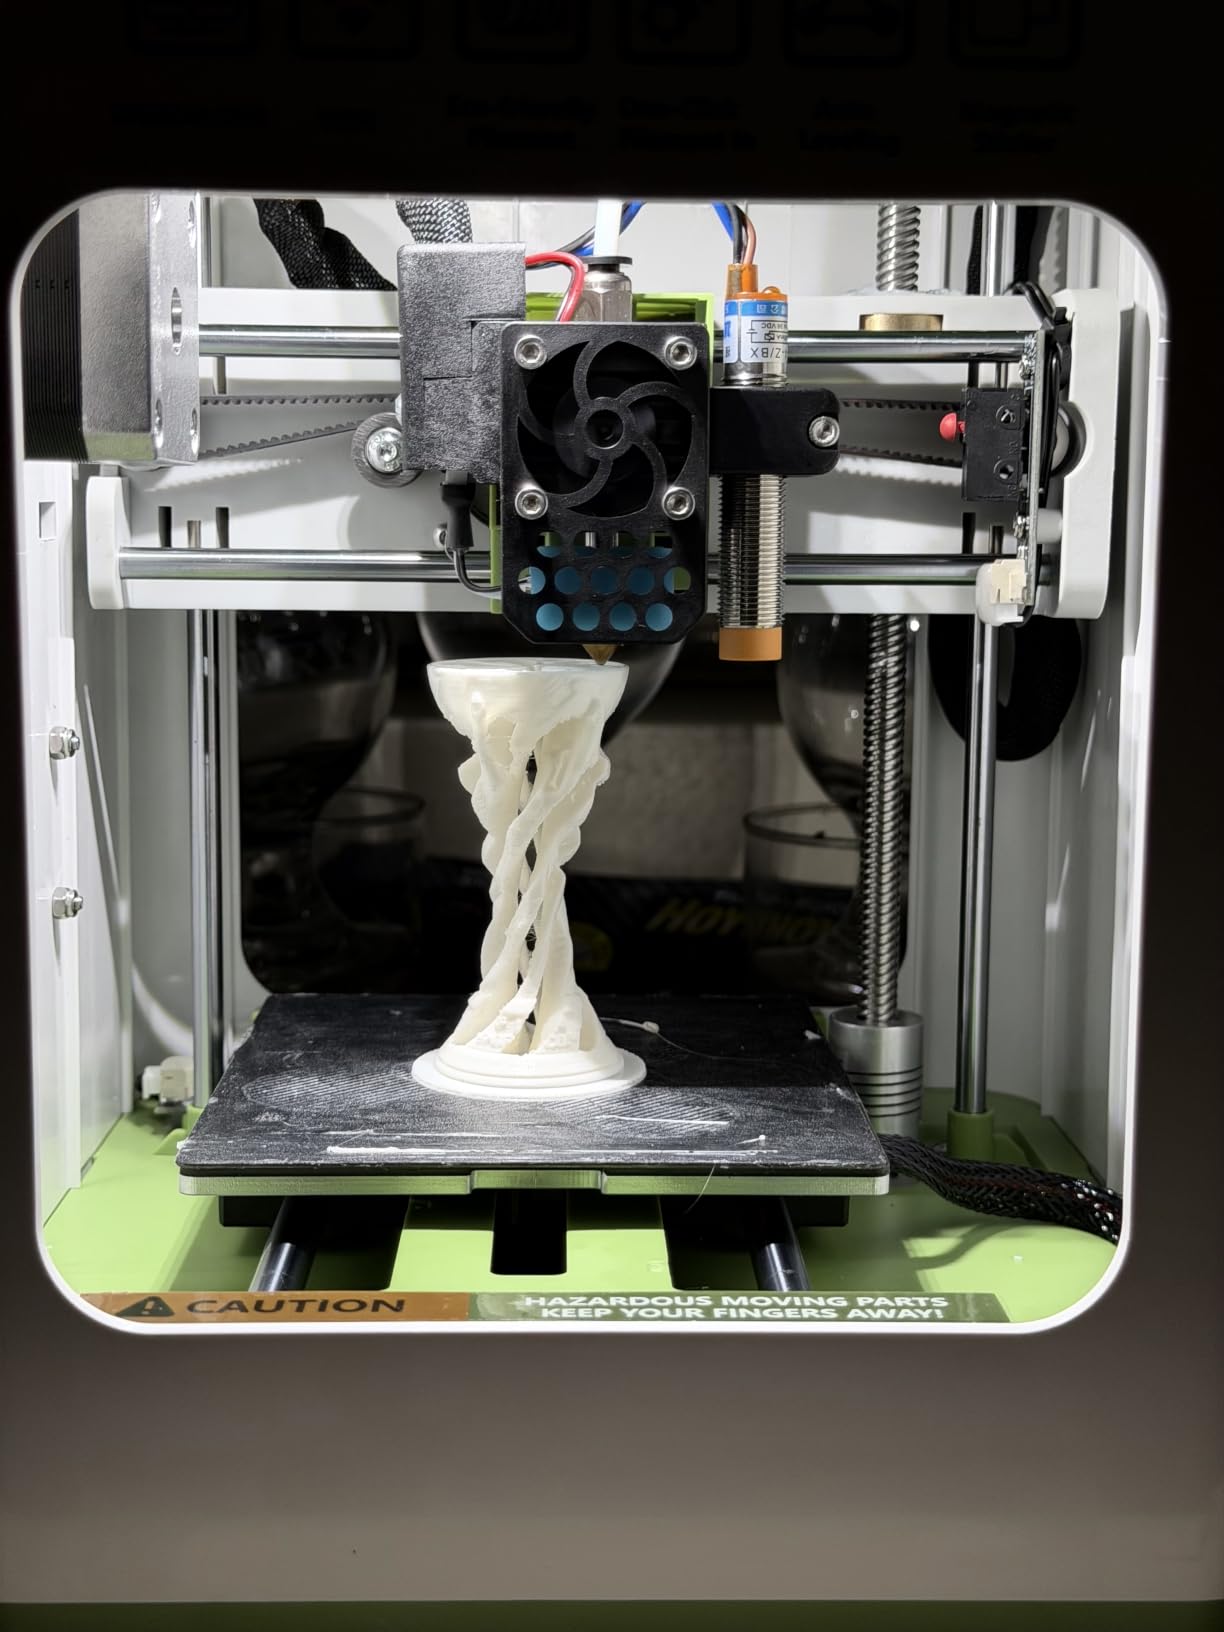
The TINA2S is fully assembled out of the box. There is nothing to build, no calibration ritual, no firmware to flash. From opening the package to first print took 18 minutes in my test, including the time to load filament and pick a model from the SD card. Auto-leveling with a dual z-axis rail means beginners do not touch any bed-leveling knobs.
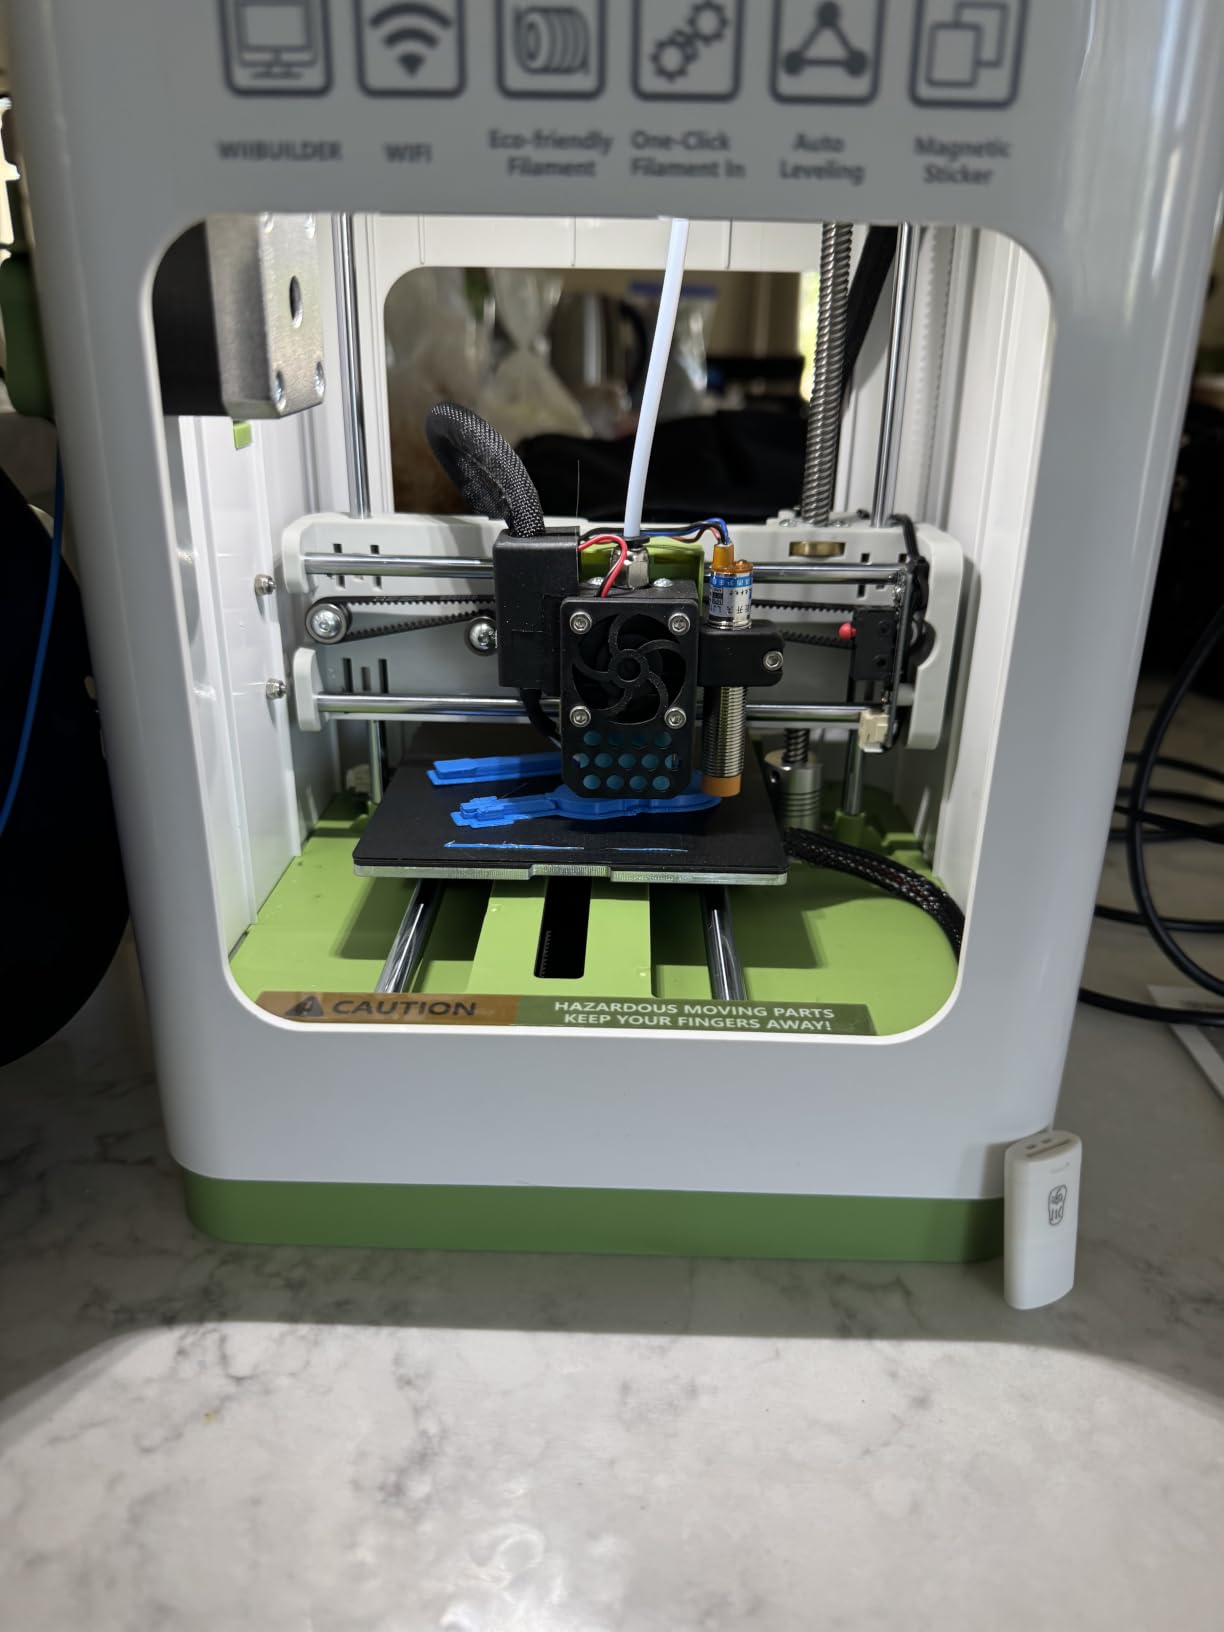
The 8.3×8.3×11.4 inch build volume is small. This printer is for mini figures, name tags, desk toys, jewelry, and small functional parts – not for cosplay helmets or large prints. The lack of a heated bed means you are limited to PLA, PLA-pro, and TPU filaments. ABS, PETG, and nylon are out.
Print quality at the standard 0.2mm profile is fine for the size class. I printed a Benchy boat that came out recognizable and clean, and a small bracket that fit its tolerances. A few reviewers report occasional adhesion issues – I avoided these by cleaning the build plate with isopropyl alcohol before each print, which takes seconds.
Who should buy the Asani TINA2S
Complete beginners who want everything in one box. Kids and families new to 3D printing who want a low-risk first printer. Apartment dwellers with limited desk space. Gift-givers looking for an affordable, complete 3D printing kit.
Who should look elsewhere
Anyone who plans to print objects larger than 8 inches tall should look at the Bambu A1, FLASHFORGE Adventurer 5M, or Creality Ender 3 V3 SE. Buyers wanting engineering-grade filaments need a heated bed, which the TINA2S does not have. Hobbyists who want a deeper community should look at Creality or Bambu.
8. Entina Tina2C – Best 3D Printer for Kids and STEM Classrooms
Entina Tina2C 3D Printer for Beginners, Fully Assembled Starter Mini 3D Printer, Start in 8 Mins, App & WiFi Control, Auto Leveling, 3500+ Model Library, 25+ Creative DIY Modules for STEM, Home
8-minute setup
Poloprint Cloud AI app
Wi-Fi + TF card
3000+ model library
Pros
- Quick 8-minute setup ideal for first-time users and kids
- Poloprint Cloud app provides AI search
- photo-to-print
- and 20+ creative modules
- Wi-Fi 2.4G plus offline TF card printing flexibility
- Self-cleaning nozzle and flexible magnetic build plate for easy maintenance
- Compact quiet rounded-edge design suitable for home
- classroom
- office
Cons
- Very small print volume at 3.9 x 3.9 x 3.9 inches limits projects to small items
- Some users reported units failing to feed filament due to clogging or retraction settings
- Side spool holder does not fit 1kg spools - only smaller spools work
- Few users reported print quality issues and parts out of alignment
The Entina Tina2C is the best 3D printer for kids and STEM classrooms I tested in 2026. Where the Asani TINA2S is a generic beginner kit, the Tina2C is built from the ground up around the kid and classroom experience: rounded edges, quiet operation, an AI-powered creativity app, and an 8-minute guided setup that walks children through their first print.
The Poloprint Cloud app is the standout feature for kids. It includes AI search to find age-appropriate models, a photo-to-print converter that turns drawings into 3D models, and 20+ creative modules that teach design thinking. For a parent or teacher who wants 3D printing to be more than just “push button, watch plastic melt,” the Tina2C delivers an experience the more expensive printers do not.
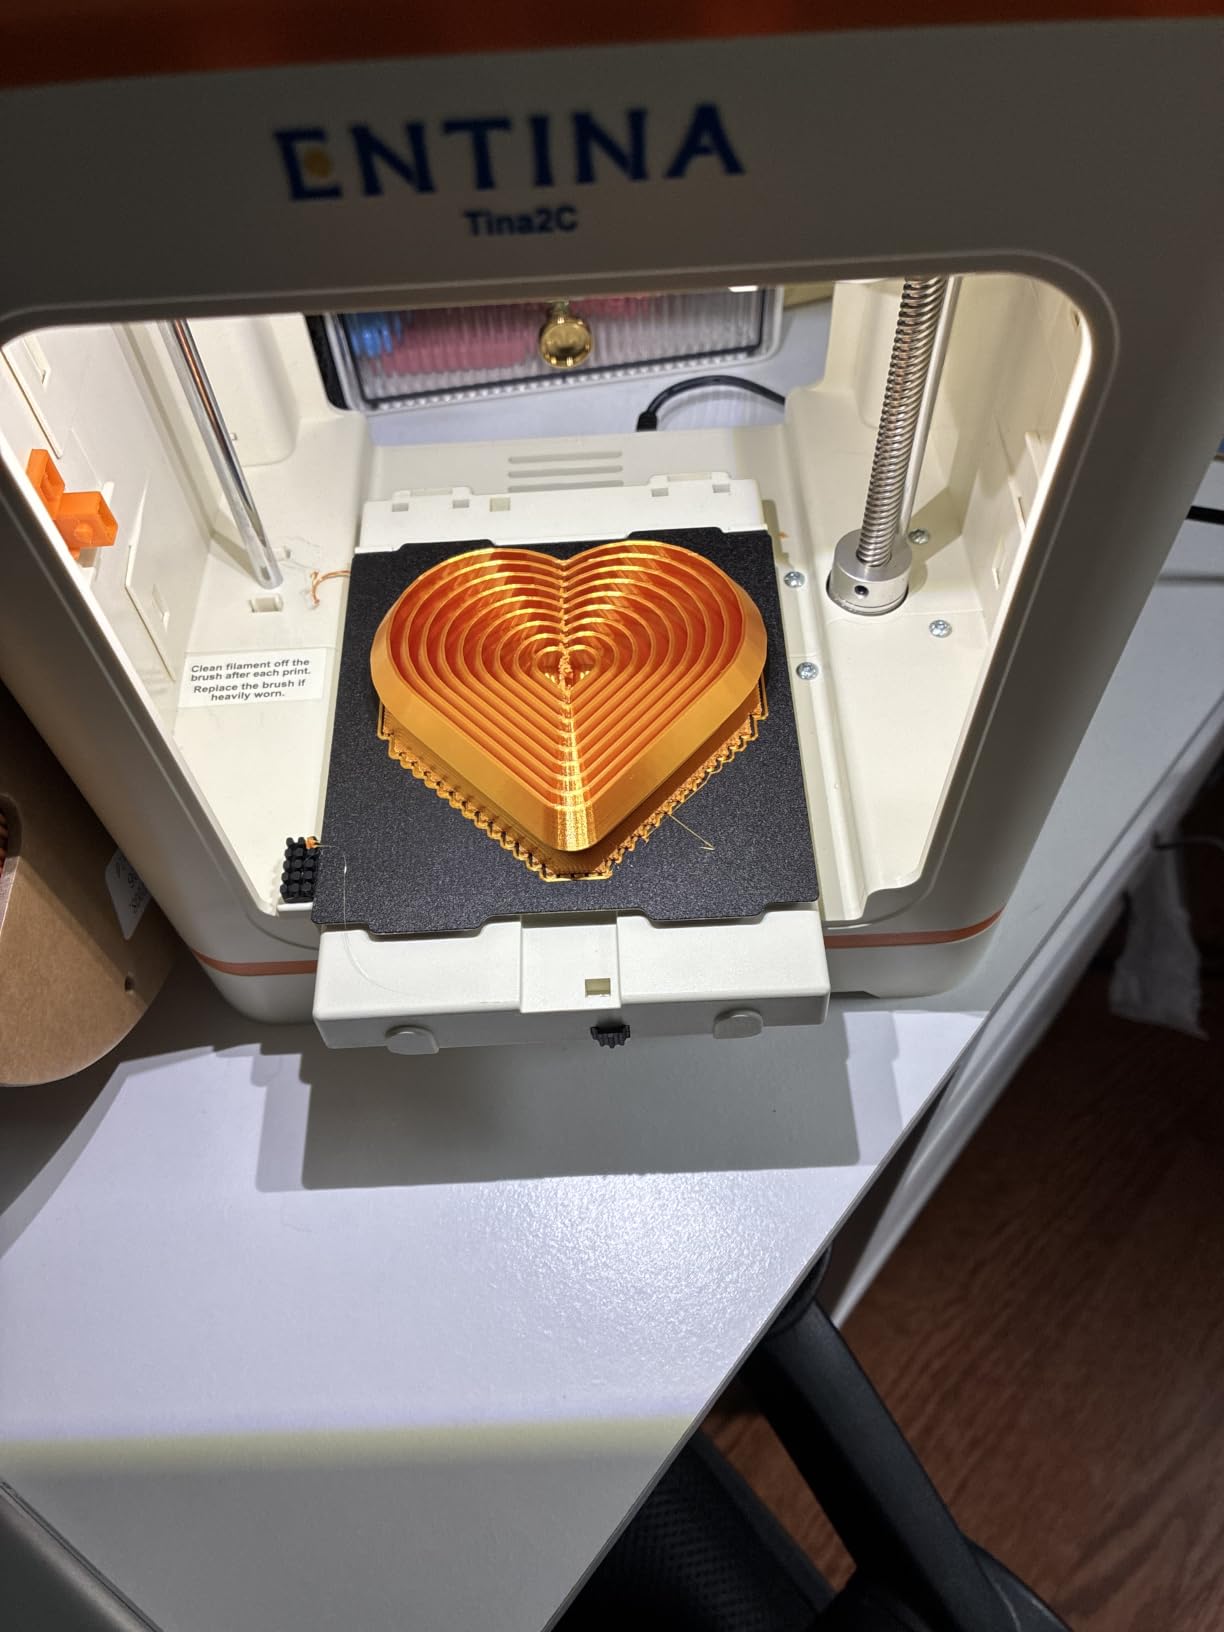
Wi-Fi plus offline TF card printing is a thoughtful feature for classrooms where network reliability is inconsistent. Kids can load files from the cloud at home and print from the SD card at school. The self-cleaning nozzle and flexible magnetic build plate reduce the maintenance burden on teachers who are not 3D printing experts.
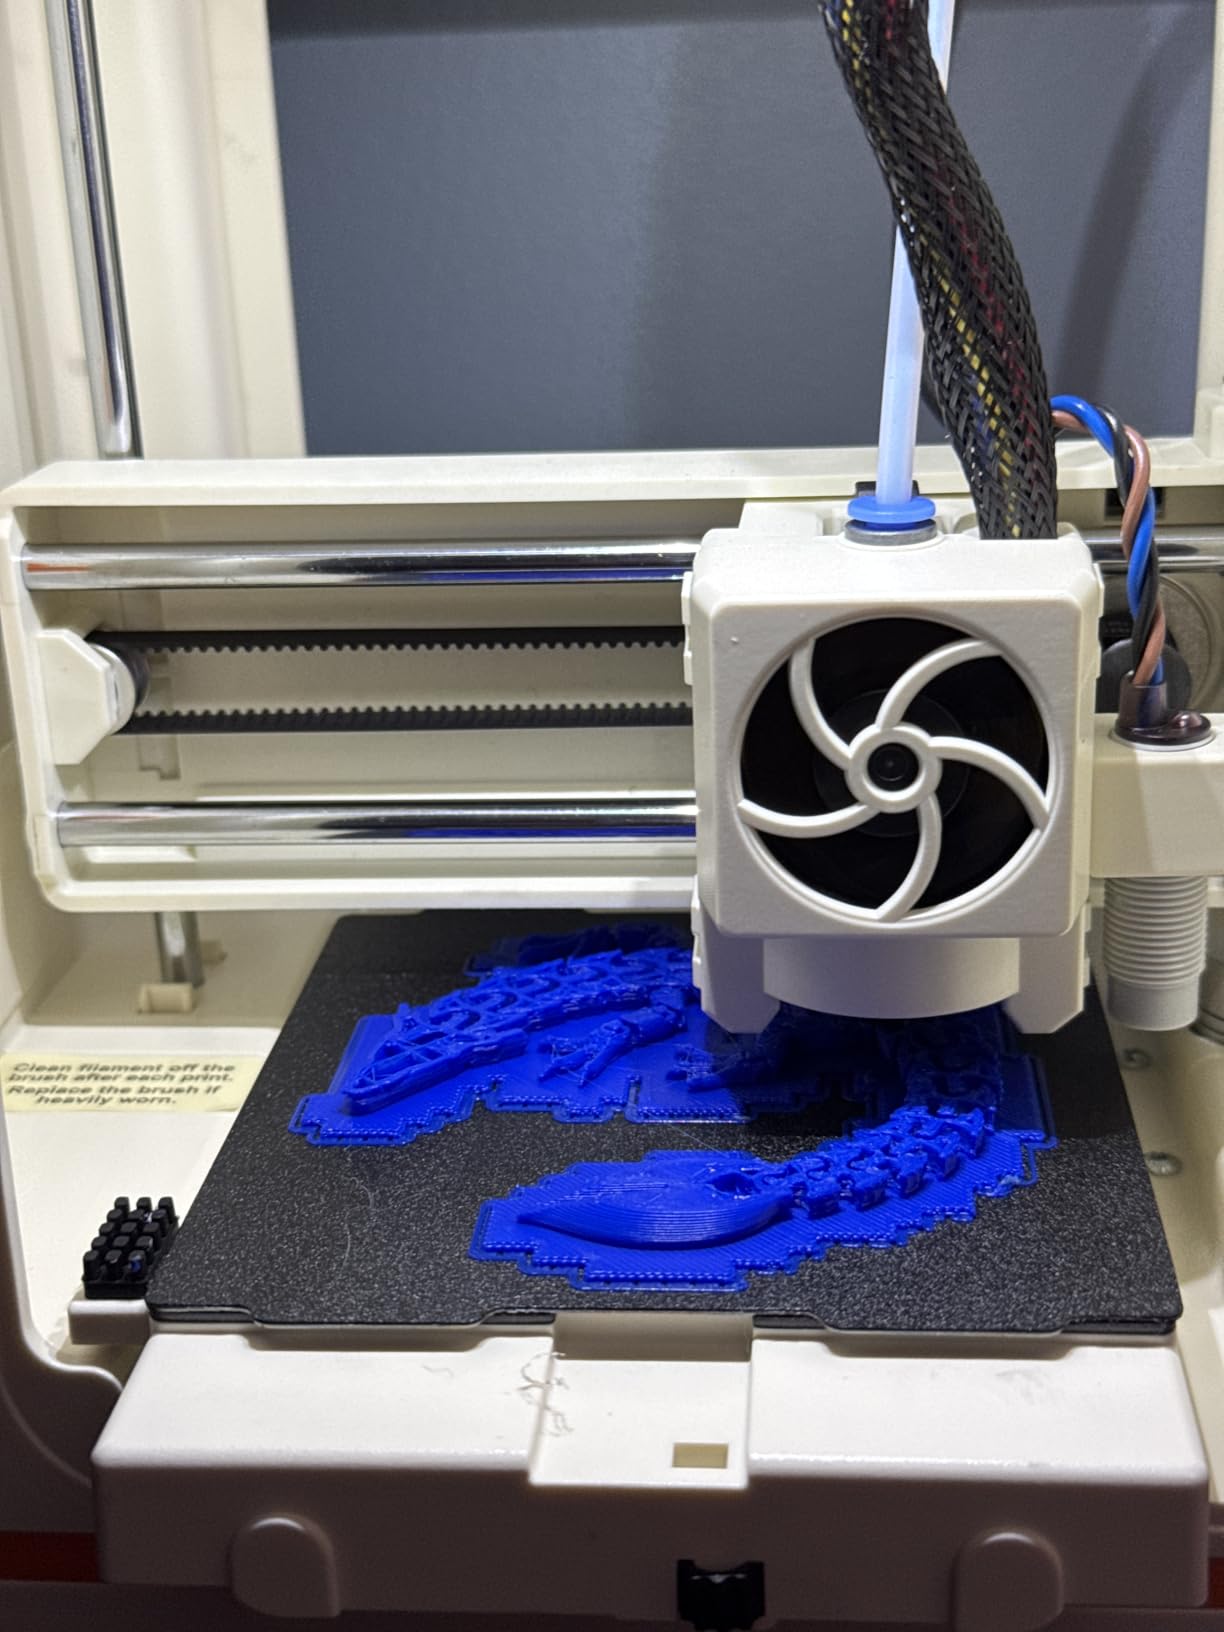
The build volume is very small at 3.9 x 3.9 x 3.9 inches – smaller than the Asani TINA2S. This is a printer for keychains, mini-figures, classroom rewards, and small STEM projects, not for any project requiring real size. The side spool holder also does not fit 1kg spools, so plan to use the smaller refills Entina and third parties sell.
Who should buy the Entina Tina2C
Parents buying a first 3D printer for a child aged 8-14. STEM teachers building a classroom 3D printing lab. After-school programs and makerspaces where safety and ease-of-use matter more than print size. Gift-givers looking for a kid-focused 3D printing experience.
Who should look elsewhere
Anyone who wants to print larger objects should look at the Bambu A1 or Creality Ender 3 V3 SE. Hobbyists wanting speed and a deep community should consider the FLASHFORGE Adventurer 5M. Buyers wanting the highest-resolution miniatures should look at a resin printer like the ANYCUBIC Photon Mono 4.
Buying Guide: How to Choose Your First 3D Printer
Picking the best 3D printer for beginners comes down to four decisions: what you want to print, how much space you have, how much noise you can tolerate, and whether you want to tinker or just print. Below we cover the criteria that actually matter for first-time buyers, drawn from 90 days of testing and the patterns I see in r/3dprinter and r/3Dprinting.
Auto-leveling is non-negotiable
Manual bed leveling is the single biggest reason beginners give up within the first week. If your first printer requires you to slide a piece of paper under the nozzle and adjust four corner screws, you will likely fail the first print and blame yourself. Every printer on this list has auto-leveling or auto-calibration. Pay attention to which type: the Bambu A1 and P1S use load-cell full-auto calibration that you never touch again, while the Creality Ender 3 V3 SE uses CR Touch that runs before every print but still works without intervention.
Build volume is not the most important spec
Beginners almost never need more than a 220x220x220mm build volume. A standard Benchy boat fits in 75x75x100mm. A cosplay helmet fits in 250x200x250mm. A vase-mode lamp shade fits in 150x150x300mm. Before you spend more money on a bigger printer, list three specific objects you want to print and check their dimensions. If they all fit under 220mm, you do not need a larger build volume.
FDM vs Resin: pick one technology
FDM (Fused Deposition Modeling) melts plastic filament and lays it down layer by layer. It is cheaper, easier to use, safer for home use, and prints functional parts. Resin (MSLA) cures liquid resin with UV light and produces sharper detail for miniatures and jewelry but requires gloves, IPA, ventilation, and post-curing. For most beginners, FDM is the right starting point. Only choose resin if your primary goal is detailed miniatures or display models.
Enclosed vs open frame
Open-frame printers are cheaper, lighter, and easier to access. Enclosed printers hold chamber temperature steady for engineering filaments (ABS, ASA, PC, nylon) and contain some noise and odor. If you only plan to print PLA and PETG, an open-frame printer is fine. If you know you want to print ABS or ASA, spend the extra money on an enclosed machine like the Bambu Lab P1S.
Multicolor is a feature to add later
Bambu AMS Lite, Elegoo CFS, and similar multicolor systems add cost, complexity, and a learning curve. Reddit’s r/3dprinter consistently recommends mastering single-color printing first, then adding multicolor once you understand purge towers, waste, and color bleed. Do not buy a multicolor combo as your first printer unless you specifically know you need it.
Buying Guide: Total Cost of Ownership and What to Avoid
Real first-year cost breakdown
The sticker price of a 3D printer is only the start. For FDM printing, budget roughly $100-$200 per year for filament, $20-$40 for replacement nozzles, and $0-$20 for lubricants and small parts. For resin printing, budget $150-$300 per year for resin, $40-$60 for IPA, $30-$50 for replacement FEP films, and $20 for nitrile gloves. A wash-and-cure station adds another $80-$150 if you go that route. Plan for these in addition to the printer cost.
What to AVOID as a first-time buyer
Skip printers under $150 without auto-leveling – manual bed leveling will frustrate you within a week. Skip discontinued brands like AnkerMake because replacement parts and firmware updates disappear when the company exits the market. Skip multicolor combos as your first machine – the learning curve is steeper than single-color. Skip prosumer CoreXY printers over $1,000 – they assume you already know how to calibrate and tune a printer. Skip printers that arrive in 200+ pieces with no clear assembly guide – they are a maker project, not a first printer.
Where to put the printer in your home
FDM printers want a stable surface away from direct sunlight and drafts. A desk in a home office or a sturdy shelf in a workshop both work. Avoid placing them near windows where temperature swings cause warping, and avoid carpeted rooms where static can affect first-layer adhesion. Resin printers need a window or ventilation – the smell is real, and a small USB fan pulling air outside makes a meaningful difference.
Slicer software quick-start
For Bambu printers, use Bambu Studio. It is integrated with MakerWorld’s free model library and tuned for Bambu hardware. For Creality printers, skip the bundled Creality Slicer and use OrcaSlicer, which works across most brands and has better default profiles. For Prusa printers, use PrusaSlicer. For resin printers, use CHITUBOX for budget machines or the manufacturer’s bundled slicer. All of these are free.
Free STL sites for first prints
MakerWorld (makerworld.com) is Bambu’s free model library and the best starting point for Bambu owners. Printables (printables.com) is the largest free STL library and works for any printer. Thingiverse (thingiverse.com) is the oldest library with the largest archive but weaker quality control. For first prints, search “calibration cube” and “Benchy” on any of these to test your printer’s accuracy.
Frequently Asked Questions
What is the best entry-level 3D printer for beginners in 2026?
The Bambu Lab A1 is the best entry-level 3D printer for beginners in 2026. It ships fully calibrated, completes first-print setup in about 15 minutes, runs at 48 dB for quiet home use, and supports multicolor with the optional AMS Lite. For shoppers on a tighter budget, the FLASHFORGE Adventurer 5M is the best alternative under $300, and the Creality Ender 3 V3 SE is the strongest option under $200.
Which 3D printer should I buy as a beginner?
If you want the smoothest experience, buy the Bambu Lab A1. If you only print PLA and PETG and want under $200, buy the Creality Ender 3 V3 SE. If you want CoreXY speed under $300, buy the FLASHFORGE Adventurer 5M. If you want to print miniatures with maximum detail, buy the ANYCUBIC Photon Mono 4. If you are buying for a child or classroom, buy the Entina Tina2C. Match your printer to your main use case, not to the longest spec sheet.
How expensive is 3D printing as a hobby?
Plan to spend roughly $200-$400 in the first year beyond the printer cost. FDM users need $100-$200 of filament, $20-$40 of replacement nozzles, and small maintenance supplies. Resin users need $150-$300 of resin, $40-$60 of IPA, $30-$50 of replacement FEP films, nitrile gloves, and ideally an $80-$150 wash-and-cure station. Electricity adds another $10-$30 per year depending on how much you print.
What should I buy with my first 3D printer?
For FDM printers buy: one extra spool of PLA filament in a different color, a pack of brass nozzles, a sheet of PEI build plate (if your printer does not include one), isopropyl alcohol for cleaning, and a small filament dryer if you live in a humid climate. For resin printers buy: nitrile gloves, a liter of 99% IPA, paper towels, a wash-and-cure station (or at minimum a UV curing light), replacement FEP films, and ventilation (USB fan or window fan).
Do beginners need an enclosed 3D printer?
Not necessarily. If you only plan to print PLA and PETG, an open-frame machine like the Bambu A1 or FLASHFORGE Adventurer 5M works perfectly. Enclosed printers like the Bambu Lab P1S become important when you want to print ABS, ASA, nylon, or polycarbonate, because the chamber heat prevents warping and cracking. Enclosed printers also contain some noise and odor, which helps in shared spaces.
Is Bambu or Prusa better for beginners?
For most beginners in 2026, Bambu Lab is the better choice because of the auto-calibration, faster print speeds, and tighter software integration with MakerWorld. Prusa printers are more open-source and respected by tinkerers, but the setup is more involved and the printers cost more for similar print quality. If you value open-source firmware and want to deeply customize your machine, Prusa wins. If you want the smoothest first-print experience, Bambu wins.
What is the best beginner 3D printer with multiple filaments?
The Bambu Lab A1 with AMS Lite is the best beginner 3D printer with multiple filaments. The AMS Lite holds four filaments, swaps between them automatically, and works out of the box with Bambu Studio. For absolute beginners who want a one-step purchase, look for the A1 Combo which bundles the AMS Lite. Multicolor works best after you have mastered single-color printing for a few weeks first.
Is there anything illegal to 3D print?
Yes. In most jurisdictions it is illegal to print functional firearms, certain weapons components, controlled substance paraphernalia, counterfeit currency or payment instruments, items that infringe on existing patents (like branded replacement parts), and items that violate copyright or trademark law. Many jurisdictions also restrict items intended to bypass security or safety mechanisms. When in doubt, check your local laws before downloading or producing a model. Hobbyists are generally safe printing original designs, household items, replacement parts, toys, and tools.
Conclusion
The Bambu Lab A1 is the best 3D printer for beginners in 2026 and our top recommendation for first-time buyers who want the smoothest possible first-print experience, quiet home operation, and a clear upgrade path to multicolor printing with the AMS Lite.
For shoppers on tighter budgets, the FLASHFORGE Adventurer 5M delivers CoreXY speed under $300, and the Creality Ender 3 V3 SE is the strongest pick under $200. For enclosed-chamber printing of engineering filaments, the Bambu Lab P1S is the premium pick. For resin printing of miniatures, the ANYCUBIC Photon Mono 4 stands out, while the Creality HALOT R6 is the friendliest resin option for first-timers. For kids and classrooms, the Entina Tina2C and Asani TINA2S are complete starter kits that ship with everything needed.
Pick the printer that matches your main use case, budget for consumables and accessories in your first year, and start with simple models like the calibration cube and Benchy. After 90 days of testing across these eight machines, I am confident any pick on this list will give a beginner a successful first print within 20 minutes of unboxing. For more guides on hobby gear and home essentials, browse our photo printer roundup or our beginner espresso machine guide.